ADVERTISEMENT
Step 1: Prepare the Pan
Start by lining an 8×8-inch or 9×9-inch baking dish with parchment paper or lightly greasing it. This will ensure your bars come out easily once they’ve set.
Step 2: Heat the Peanut Butter and Honey
In a medium saucepan, combine the peanut butter and honey. Heat them over medium-low heat, stirring constantly, until the mixture is smooth and combined—this should take about 2-3 minutes. Be careful not to let it boil or burn. The goal is just to melt the peanut butter and honey together into a creamy mixture.
Step 3: Mix in the Cheerios
Once the peanut butter and honey are well combined, remove the saucepan from the heat. Add the Cheerios to the mixture, stirring gently to coat the cereal evenly with the peanut butter-honey mixture.
Step 4: Press the Mixture into the Pan
Transfer the sticky mixture into your prepared baking dish, spreading it out evenly with a spatula. Press down firmly to make sure everything sticks together well and that the bars are compact.
Step 5: Chill and Set
Place the pan in the refrigerator for at least 30 minutes to allow the bars to firm up. If you want them to set faster, you can place them in the freezer for about 15-20 minutes.
Step 6: Slice and Serve
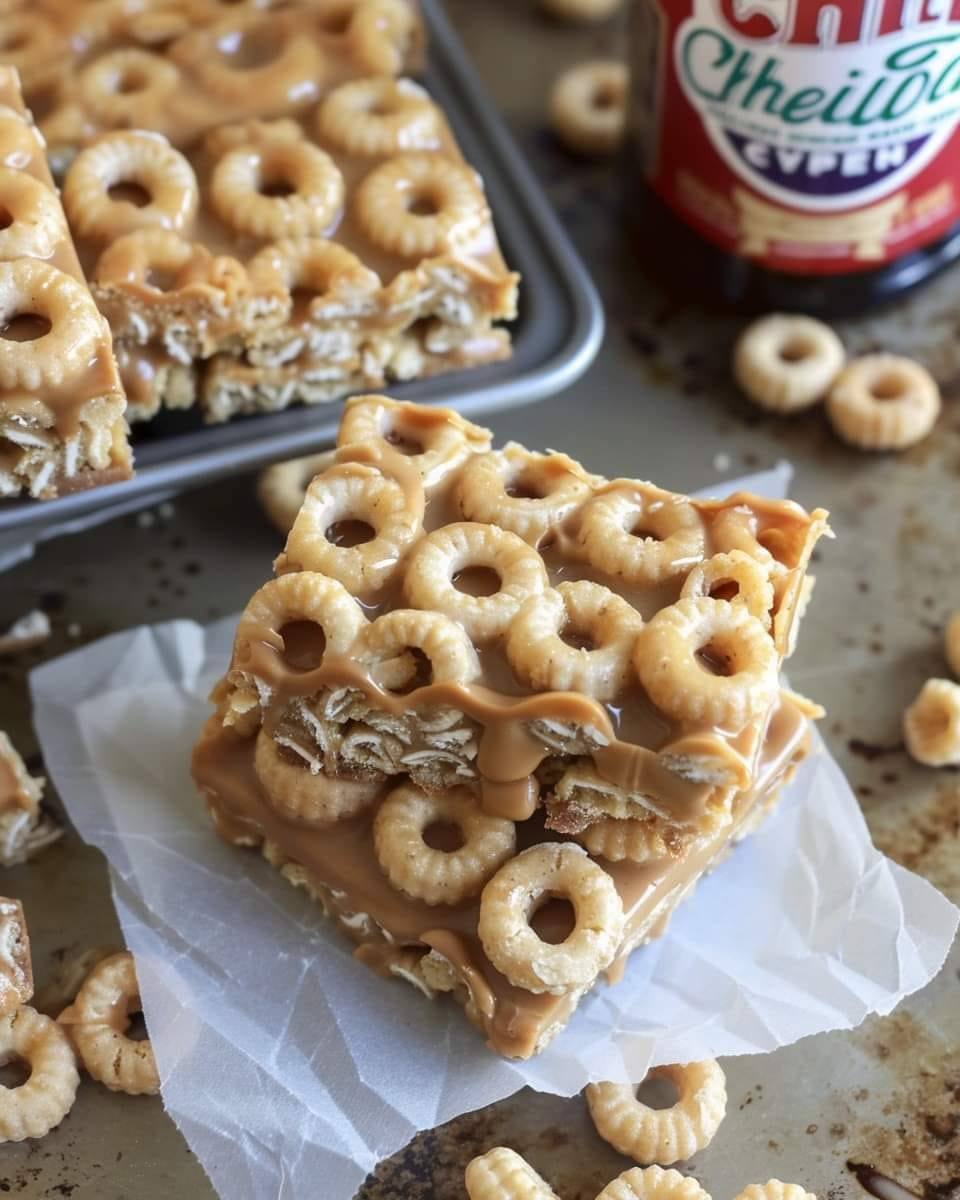
Once the bars are set and firm, remove them from the pan and cut them into squares or rectangles. Enjoy your delicious, chewy Peanut Butter Cheerio Bars!
Tips for the Perfect 3-Ingredient Peanut Butter Cheerio Bars
- Choose Your Cereal Wisely: While Cheerios are the classic choice, feel free to experiment with other cereals. You can use any plain oat cereal or even something like Rice Krispies for a different texture. Just make sure the cereal is light and crispy so it blends well with the peanut butter mixture.
- Peanut Butter Consistency: If you prefer crunchy peanut butter, you can use that for an extra crunch in your bars. If you want a smoother texture, go with creamy peanut butter. Both work great, so choose whichever one you like best.
- Sweetener Substitutes: Honey is the traditional sweetener for these bars, but you can substitute it with maple syrup for a more natural sweetness or agave nectar if you prefer something lower in glycemic index.
- Make Them Gluten-Free: If you need to make these bars gluten-free, make sure the cereal you use is certified gluten-free, as some cereals may contain trace amounts of gluten.
- Add-ins for Extra Flavor: These bars are delicious on their own, but you can also customize them with some add-ins. Try adding mini chocolate chips, dried fruit, or even a sprinkle of sea salt for a sweet and salty twist.
Storing Peanut Butter Cheerio Bars
These bars are easy to store and stay fresh for up to one week when kept in an airtight container at room temperature. If you want to extend their shelf life, you can store them in the fridge for up to two weeks.
For longer storage, these bars freeze beautifully! Simply wrap individual bars in wax paper or plastic wrap and store them in a freezer-safe bag or container. They’ll keep for up to three months in the freezer—just thaw them for a few minutes before enjoying!
Final Thoughts
When you need a snack that’s quick, tasty, and satisfying, these 3-Ingredient Peanut Butter Cheerio Bars are a fantastic choice. They’re incredibly simple to make, requiring just three pantry staples, and the result is a delicious, chewy bar with the perfect balance of sweet and salty. Whether you’re enjoying them as an after-school snack, a dessert, or a midday energy boost, these bars will become a go-to treat in no time.
So next time you’re craving something sweet and savory, try whipping up a batch of these Peanut Butter Cheerio Bars—you won’t be disappointed!
