ADVERTISEMENT
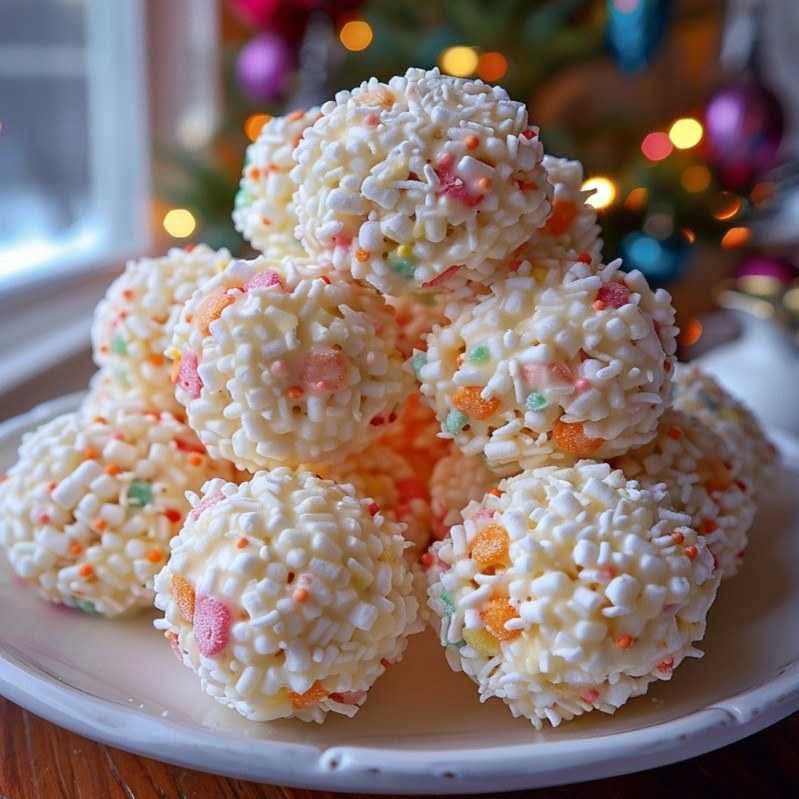
Rice Krispie Snowballs: Festive and Fun Holiday Treats
The holiday season is filled with joy, love, and, of course, delicious food! One treat that’s both easy to make and sure to delight guests of all ages is Rice Krispie Snowballs. These festive little bites are a creative twist on the classic Rice Krispies Treats, making them the perfect snack to bring to holiday parties, gift baskets, or just to enjoy at home.
With minimal ingredients and a little imagination, you can turn the humble Rice Krispie Treat into a fun, holiday-inspired snack. Here’s a simple recipe for making Rice Krispie Snowballs that’s as fun to make as it is to eat!
Ingredients
- 3 tablespoons butter
- 1 bag (10 oz) mini marshmallows (or about 40 large marshmallows)
- 6 cups Rice Krispies cereal
- 1/2 cup powdered sugar (optional, for dusting)
- 1/2 teaspoon vanilla extract (optional, for extra flavor)
- Sprinkles or edible glitter (optional, for decoration)
Instructions
- Prepare the Ingredients and Tools
Before you start making your Rice Krispie Snowballs, it’s a good idea to prepare your tools and ingredients. Get a large mixing bowl and a spoon, and have a cookie sheet lined with parchment paper or wax paper ready for the snowballs. You’ll also want to lightly butter your hands or wear disposable gloves to avoid sticking while shaping the treats. - Melt the Butter and Marshmallows
In a large pot, melt the butter over medium-low heat. Once the butter has melted, add the mini marshmallows to the pot. Stir constantly until the marshmallows are completely melted and smooth. If you like, you can add a bit of vanilla extract for a richer flavor. - Add Rice Krispies Cereal
Once the marshmallow mixture is smooth, remove the pot from the heat. Add the Rice Krispies cereal and stir gently until all the cereal is well coated with the marshmallow mixture. - Shape the Snowballs
Let the mixture cool for a few minutes until it’s safe to handle. Using your hands (lightly buttered or gloved), scoop out small portions of the Rice Krispie mixture and roll them into balls. Aim for about 1 to 1.5-inch-sized balls for the perfect snowball shape. - Add Powdered Sugar (Optional)
Once all your Rice Krispie balls are shaped, place them on the parchment-lined baking sheet. If you’d like, you can dust them lightly with powdered sugar to give them a frosty, snowy appearance. This adds a touch of sweetness and a beautiful snowy effect, perfect for holiday presentations. - Decorate (Optional)
For an extra touch of holiday magic, you can decorate the snowballs with sprinkles, edible glitter, or small candy decorations to make them even more festive. Get creative with how you decorate each one—think of it as a fun craft project for you and the kids to do together. - Let Them Set
Allow the Rice Krispie Snowballs to cool and set for about 30 minutes. Once they’re cool, they’re ready to serve! If you’re preparing them ahead of time, you can store them in an airtight container at room temperature for up to 3 days. - For Complete Cooking STEPS Please Head On Over To Next Page Or Open button (>) and don’t forget to SHARE with your Facebook friends
Tips and Variations
- Flavor Variations:
Want to make these snowballs even more festive? Consider adding different
