ADVERTISEMENT
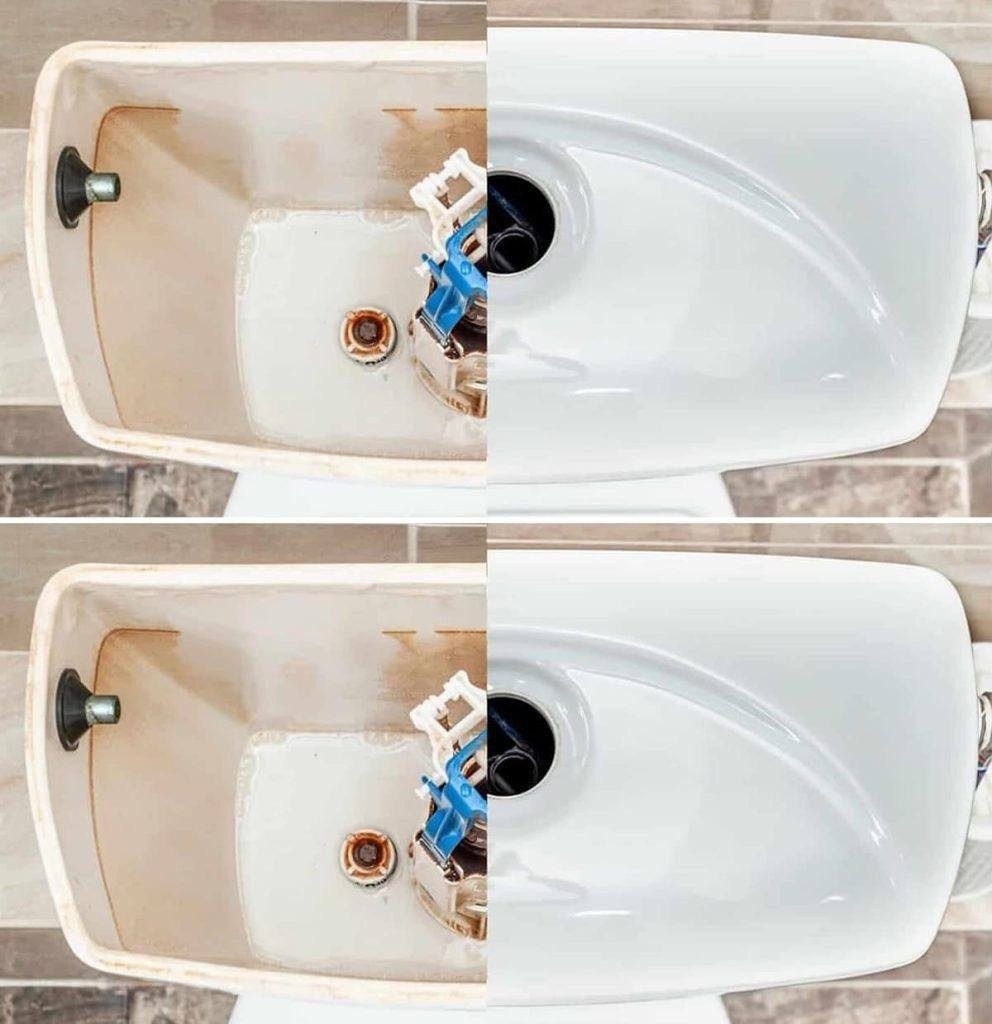
How to Clean the Toilet Tank and Make It Look Like New
When it comes to cleaning the bathroom, most people focus on the toilet bowl and surrounding areas. However, one part of the toilet that often gets overlooked is the toilet tank. Over time, the tank can accumulate grime, mineral deposits, and bacteria, making it not only unsightly but also potentially affecting the function of your toilet. Luckily, with just a few simple steps, you can clean the toilet tank and restore it to its fresh, new appearance!
Here’s everything you need to know about cleaning your toilet tank and keeping it looking like new.
Why Clean the Toilet Tank?
Cleaning the toilet tank is important for several reasons:
- Prevents Mold and Mildew Growth: The tank is often damp, providing a perfect environment for mold and mildew to grow. This can lead to unpleasant odors and potential health concerns.
- Eliminates Mineral Buildup: If you live in an area with hard water, the minerals in the water can build up inside the tank over time, affecting the performance of your toilet and causing damage to internal components.
- Improves Toilet Performance: Cleaning the tank can help improve the function of your toilet by ensuring all parts are free from clogs or blockages that may hinder the flushing mechanism.
- Enhances Aesthetics: A clean toilet tank looks fresh and inviting, adding to the overall cleanliness of your bathroom.
What You’ll Need
Before you begin cleaning, gather the following items:
- Rubber gloves (to protect your hands)
- White vinegar (natural cleaner and deodorizer)
- Baking soda (abrasive cleaner to help with stains)
- A sponge or soft cloth (for scrubbing)
- Toilet brush (optional for hard-to-reach spots)
- Old toothbrush (for detailed cleaning)
- Bucket or container (to hold vinegar or water)
- All-purpose cleaner or disinfectant (optional)
Step-by-Step Guide to Cleaning Your Toilet Tank
Step 1: Turn Off the Water Supply
Start by turning off the water supply to the toilet. The water shut-off valve is usually located on the wall behind the toilet near the floor. Turn the valve clockwise to stop the water flow. After turning off the water, flush the toilet to drain most of the water from the tank. This will make it easier to clean the tank without too much water in the way.
Step 2: Remove the Toilet Tank Lid
Gently lift the toilet tank lid and set it aside in a safe place. Be careful as these lids can be heavy and fragile.
Step 3: Inspect the Tank
Before you begin cleaning, take a moment to inspect the interior of the tank. Look for signs of mineral buildup, mold, mildew, or any debris. You may also notice some grime or sludge at the bottom of the tank. Identifying problem areas will help you focus your cleaning efforts where they’re most needed.
Step 4: Clean the Tank with Vinegar and Baking Soda
For a natural and effective cleaning solution, white vinegar is your best friend. Its acidity helps break down mineral deposits, mold, and grime without harsh chemicals.
- Pour Vinegar: Pour about 2 cups of white vinegar into the tank. Allow the vinegar to sit for 1-2 hours to help loosen any grime or stains.
- Scrub: After the vinegar has had time to sit, use a sponge or soft cloth to scrub the inside of the tank, paying special attention to the sides and bottom where dirt or mineral deposits tend to build up. Use an old toothbrush to scrub around the edges, the flush valve, and other hard-to-reach areas.
- Baking Soda for Stubborn Stains: If you encounter st
