ADVERTISEMENT
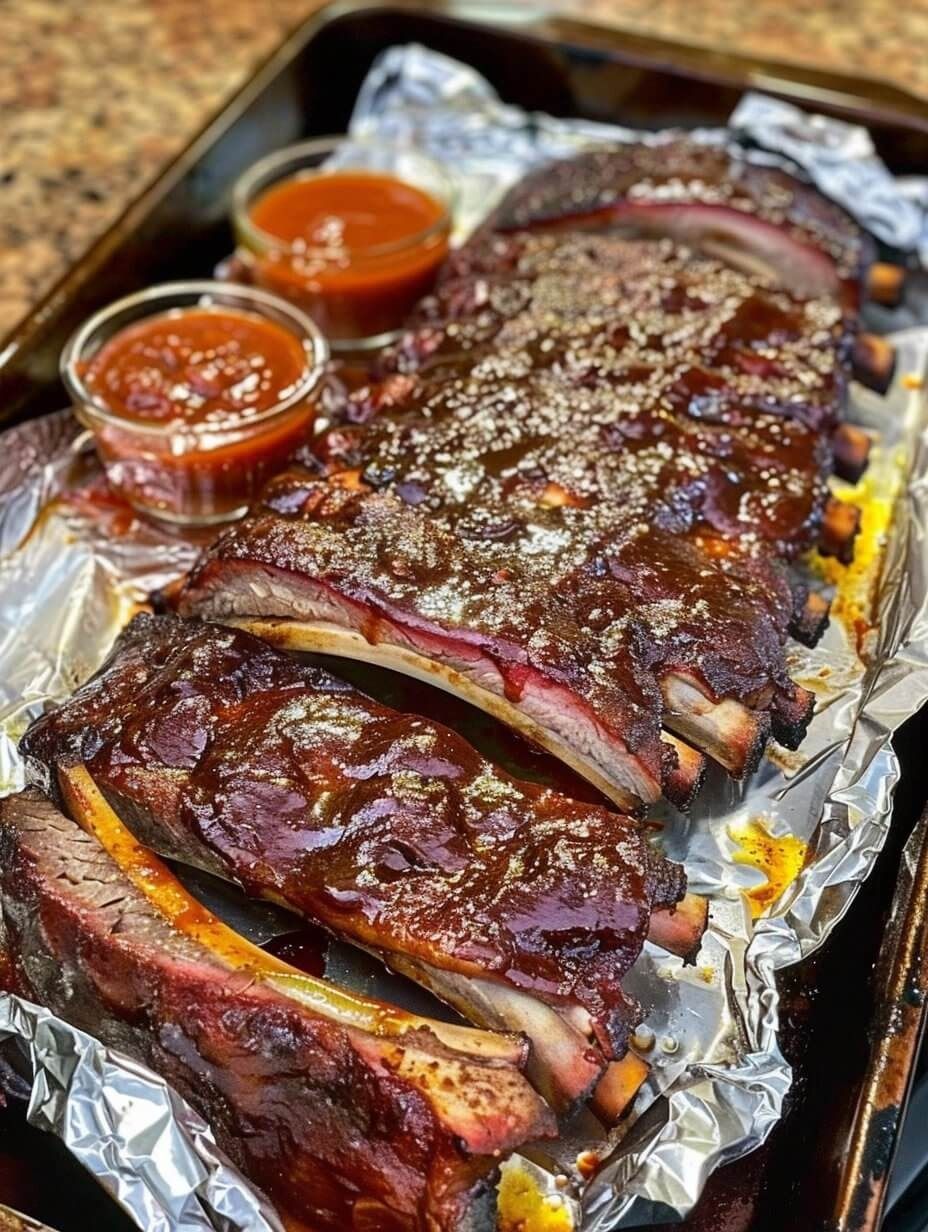
Best Bone Oven-Baked Ribs: A Simple and Delicious Recipe
There’s nothing quite like a plate of tender, juicy, and flavorful ribs. Whether you’re hosting a backyard barbecue, craving comfort food, or looking to impress guests, oven-baked ribs are a foolproof option that doesn’t require a grill. Using the oven, you can create fall-off-the-bone bone-in ribs that are just as delicious as those cooked on the grill. In fact, oven-baked ribs can be even more tender and flavorful because the slow-cooking process helps the meat absorb all the delicious seasonings.
If you’re ready to sink your teeth into some of the best oven-baked ribs, follow this simple and straightforward recipe. With just a few ingredients and an hour or two in the oven, you can enjoy restaurant-quality ribs right from the comfort of your own home.
Ingredients:
- 2 racks of bone-in ribs (baby back or spare ribs, your choice)
- Salt and freshly ground black pepper, to taste
- 1 tablespoon garlic powder
- 1 tablespoon onion powder
- 1 tablespoon smoked paprika
- 1 teaspoon cayenne pepper (optional for heat)
- 1/2 cup brown sugar
- 1/2 cup barbecue sauce (or your favorite sauce)
- Olive oil (for rubbing)
Instructions:
Step 1: Preheat the Oven and Prepare the Ribs
Start by preheating your oven to 300°F (150°C). This low temperature ensures that the ribs cook slowly and evenly, allowing the meat to become tender without drying out.
Next, prepare the ribs by removing the silver skin (the thin membrane on the back of the ribs). To do this, use a butter knife to gently lift the silver skin at one end, then grab it with a paper towel and pull it off. Removing this membrane ensures the ribs are more tender and allows the seasonings to penetrate the meat better.
Step 2: Season the Ribs
Now, it’s time to season your ribs. Drizzle the ribs with a small amount of olive oil to help the seasoning stick. Then, rub the ribs with a generous amount of salt, black pepper, garlic powder, onion powder, smoked paprika, and cayenne pepper (if you like a little heat). You can adjust the seasoning amounts based on your taste preferences, but don’t be afraid to coat the ribs generously—this is what adds great flavor!
For a touch of sweetness, sprinkle brown sugar over the ribs as well. The sugar helps create a caramelized crust when the ribs bake, giving them a nice balance of sweet and savory.
Step 3: Wrap the Ribs in Foil
Once the ribs are well-seasoned, place them on a large sheet of aluminum foil, bone side down. Wrap the ribs tightly in the foil, ensuring there are no openings. This step helps the ribs cook in their own juices, making them incredibly tender and juicy. If you have two racks of ribs, you may need to use two separate pieces of foil.
Step 4: Bake the Ribs
Place the foil-wrapped ribs on a baking sheet, and bake them in the preheated oven for about 2.5 to 3 hours. The low and slow cooking time ensures the ribs become tender and juicy. After 2.5 hours, carefully remove the ribs from the oven and check the tenderness. If they’re not quite tender enough, you can wrap them back up and bake for an additional 30 minutes.
Step 5: Apply Barbecue Sauce and Finish Baking
Once the ribs are tender, carefully open the foil and brush the ribs with a generous amount of barbecue sauce. This step gives the ribs their signature flavor and a beautiful glossy finish. If you prefer a more caramelized sauce, you can return the ribs to the oven for an additional 15-20 minutes uncovered, allowing the sauce to set and thicken.
If you like your ribs extra crispy, you can also pop them under the broiler for a couple of minutes to get the top slightly charred. Just be sure to watch them closely to avoid burning!
For Complete Cooking STEPS Please Head On Over To Next Page Or Open button (>) and don’t forget to SHARE with your Facebook friends
