ADVERTISEMENT
The Proper Way to Clean and Polish Stainless Steel Sinks
Stainless steel sinks are not only stylish but also durable and long-lasting. However, keeping them looking pristine can be a challenge with everyday use. From water stains to grease buildup, it’s easy for a stainless steel sink to lose its shine. Luckily, with the right techniques and tools, you can restore its sparkle and keep it looking brand new for years.
In this article, we’ll show you the proper way to clean and polish your stainless steel sink, ensuring that it stays shiny, hygienic, and free from damage.
Why Stainless Steel Sinks Need Special Care
Stainless steel is a popular material for sinks because it resists rust, stains, and corrosion. However, it’s not immune to the usual wear and tear from regular use. Things like hard water deposits, soap scum, and food stains can accumulate on the surface, making your sink look dull over time.
The good news is that by following a few simple steps, you can restore its shine and maintain its durability.
What You’ll Need
Before you begin cleaning and polishing your stainless steel sink, gather the following items:
- Dish soap (preferably a mild, non-abrasive one)
- Baking soda
- White vinegar
- A microfiber cloth or sponge (non-scratch)
- A soft cloth for polishing
- Olive oil or baby oil (for polishing)
- Rubber gloves (optional)
Step-by-Step Guide to Cleaning and Polishing Your Stainless Steel Sink
Step 1: Rinse and Clear Debris
Start by clearing out any food scraps, dishes, or debris from the sink. Then, rinse the sink thoroughly with warm water to remove loose dirt and grime.
Step 2: Wash with Mild Dish Soap
Use a gentle dish soap and a non-abrasive sponge to clean the sink. Apply a few drops of dish soap to the sponge and scrub the surface of the sink in a circular motion, focusing on areas with visible stains, grime, or grease.
This step will remove the majority of dirt and grime from the surface. Rinse thoroughly with warm water to ensure all soap is washed away.
Step 3: Tackle Stubborn Stains with Baking Soda
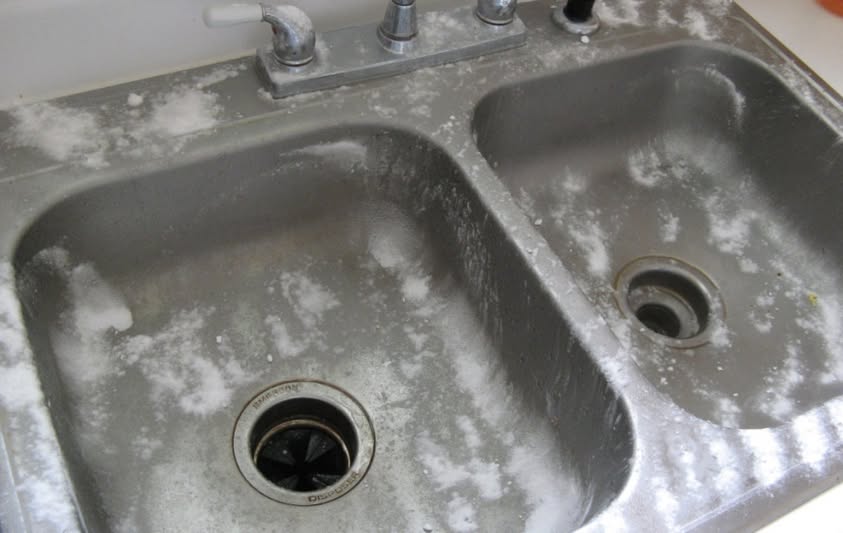
For more stubborn stains or discoloration, sprinkle baking soda directly onto the sink’s surface. Baking soda is a mild abrasive that can safely help lift stains without scratching the steel.
Dampen a soft cloth or sponge with water, then scrub the sink using circular motions. Pay extra attention to any areas with hard water deposits, food stains, or discoloration. Baking soda also works wonders for neutralizing odors in the sink.
Step 4: Clean with White Vinegar
To address water spots, soap scum, and any remaining residue, use white vinegar. Fill a spray bottle with vinegar and lightly mist it across the sink’s surface. Allow it to sit for a few minutes to break down any stubborn deposits.
You can also wipe the sink with a vinegar-soaked cloth, focusing on areas that show spots or streaks. The acidity of vinegar helps remove mineral buildup and leaves your sink looking shiny.
Step 5: Rinse Thoroughly
After using vinegar and baking soda, rinse your sink thoroughly with warm water to ensure that no cleaning solution is left behind. This is essential, as leftover residue could leave streaks or dull the finish.
Step 6: Dry the Sink with a Soft Cloth
Once the sink is clean, take a dry microfiber cloth and gently dry the sink’s surface. Drying immediately after cleaning helps prevent water spots and streaks from forming.
For Complete Cooking STEPS Please Head On Over To Next Page Or Open button (>) and don’t forget to SHARE with your Facebook friends
Step 7: Polish with Olive Oil or Baby Oil
To restore the stainless steel sink’s shine, you can use olive oil or bab
