ADVERTISEMENT
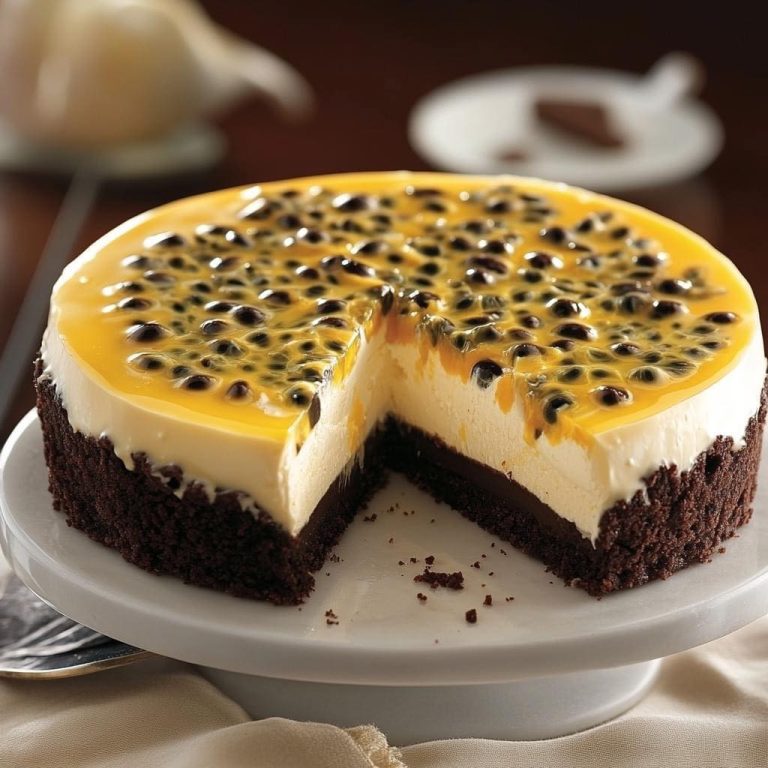
Decadent Passion Fruit and White Chocolate Cheesecake: A Tropical Indulgence 🍰🌴
Imagine a cheesecake so indulgent that every bite feels like a tropical escape. Passion fruit’s bright, tangy sweetness paired with the smooth, rich creaminess of white chocolate creates a dessert that’s both luxurious and refreshing. The Passion Fruit and White Chocolate Cheesecake is a fusion of flavors that will transport your taste buds to paradise with each mouthwatering bite. Whether you’re hosting a special occasion, indulging in a sweet treat for yourself, or impressing guests, this cheesecake is the perfect balance of tropical flavor and decadent creaminess.
Here’s how you can recreate this show-stopping dessert at home, with just the right amount of indulgence for every occasion!
Ingredients You’ll Need:
For the Crust:
- 1 ½ cups digestive biscuits (or graham crackers, crushed)
- ½ cup unsalted butter (melted)
- 2 tbsp granulated sugar (optional, depending on sweetness preference)
For the Cheesecake Filling:
- 2 cups cream cheese (softened)
- 1 cup white chocolate (chopped or chips)
- ½ cup sour cream
- 1 cup heavy cream
- 1 cup passion fruit pulp (fresh or from a can)
- ¾ cup granulated sugar
- 3 large eggs
- 1 tsp vanilla extract
For the Topping:
- Passion fruit pulp (to drizzle on top)
- White chocolate shavings or chopped white chocolate (optional)
How to Make Decadent Passion Fruit and White Chocolate Cheesecake:
Step 1: Prepare the Crust
- Preheat your oven to 325°F (163°C).
- In a food processor, crush the digestive biscuits (or graham crackers) until fine crumbs are formed. Alternatively, you can place them in a Ziploc bag and crush them with a rolling pin.
- In a bowl, combine the crushed biscuits with the melted butter and sugar (if using). Mix until everything is well combined, and the crumbs are moistened.
- Press the mixture firmly into the bottom of a 9-inch springform pan to create an even crust. Use the back of a spoon to pack it down tightly.
- Bake the crust in the preheated oven for 8-10 minutes, then remove and let it cool while you prepare the filling.
- For Complete Cooking STEPS Please Head On Over To Next Page Or Open button (>) and don’t forget to SHARE with your Facebook friends
