ADVERTISEMENT
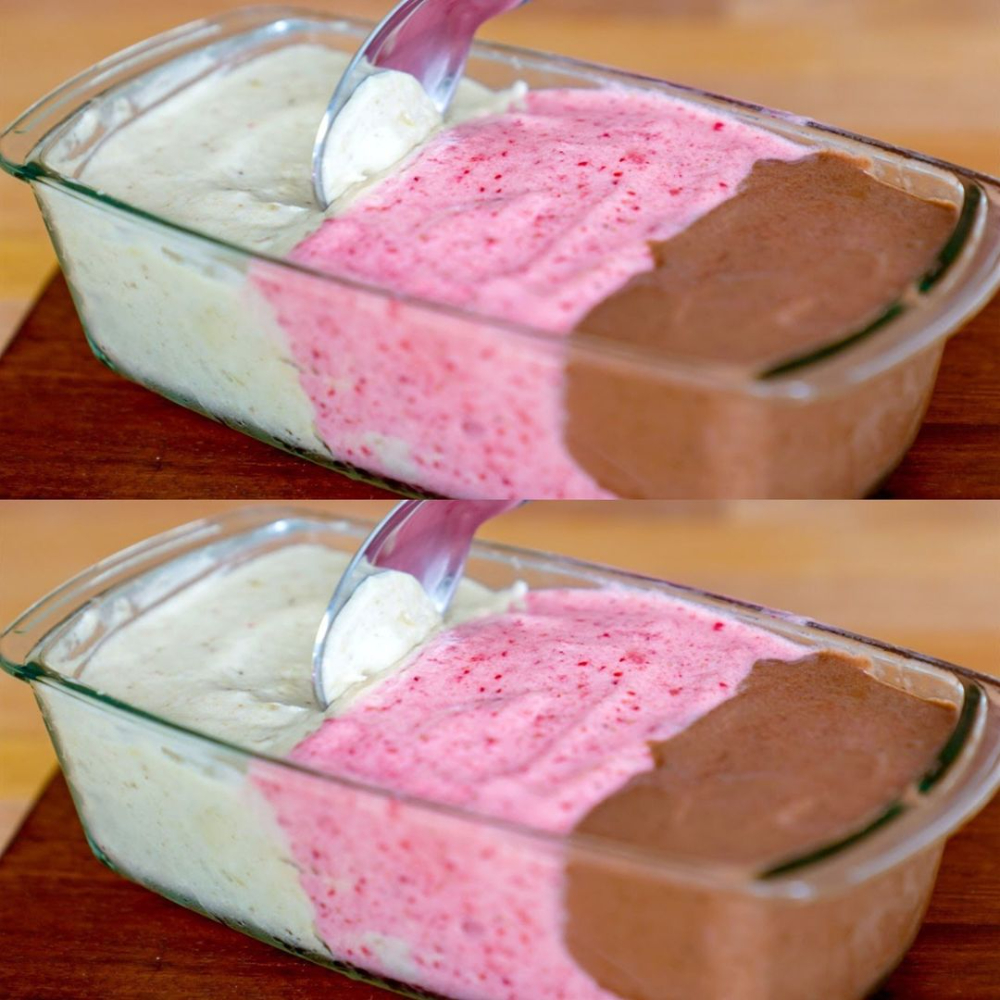
Quick and Healthy Ice Cream Without Added Sugar: A Guilt-Free Treat
Who doesn’t love ice cream? It’s a timeless treat that brings comfort and joy. But if you’re looking to indulge without the sugar rush, we’ve got you covered. Imagine a creamy, sweet, and delicious ice cream that’s free from added sugars, yet still satisfies your cravings. Yes, it’s possible! This Quick and Healthy Ice Cream Without Added Sugar is the perfect solution for anyone who wants to enjoy a frozen dessert while keeping things healthy and simple.
Why You’ll Love This Sugar-Free Ice Cream:
- No Added Sugars: This recipe uses natural sweetness from fruits like bananas and berries, so you can enjoy your dessert guilt-free.
- Quick and Easy: With just a few simple ingredients, this ice cream comes together in a flash, making it perfect for a last-minute craving.
- Customizable: You can adjust the flavors to suit your preferences, adding in a variety of fruits, nuts, or even a hint of vanilla.
- Healthy and Nutritious: Packed with nutrients from natural ingredients like bananas and berries, this ice cream can also provide a boost of fiber, vitamins, and antioxidants.
- Dairy-Free and Vegan Option: This recipe is naturally dairy-free and can easily be made vegan if you use a plant-based yogurt or milk alternative.
Ingredients:
For the Base:
- 3 ripe bananas (the riper, the sweeter!)
- 1 cup frozen berries (blueberries, strawberries, or mixed berries work great)
- 1/2 cup unsweetened almond milk (or any milk of choice)
- 1 teaspoon vanilla extract (optional for added flavor)
For Add-Ins (Optional):
- A handful of chopped nuts (almonds, walnuts, or cashews)
- A drizzle of natural peanut butter or almond butter
- A dash of cinnamon or nutmeg for extra warmth
- A few dark chocolate chips for an indulgent twist (ensure they’re sugar-free or low-sugar)
Instructions:
1. Prepare the Bananas:
- Peel the bananas and slice them into smaller chunks. For best results, freeze the banana chunks for about 2-3 hours or until completely frozen. Freezing the bananas makes the ice cream creamy and gives it that perfect ice cream texture. If you’re in a rush, you can skip this step, but frozen bananas are ideal for that creamy, soft-serve consistency.
2. Blend the Ingredients:
- Place the frozen banana chunks and frozen berries into a high-speed blender or food processor. Add the almond milk and vanilla extract (if using). Start blending at a low speed, gradually increasing as the ingredients begin to break down. You may need to scrape down the sides of the blender a few times to ensure everything blends evenly.
- Continue blending until the mixture reaches a smooth, thick consistency resembling soft-serve ice cream. If it’s too thick to blend, add a little more almond milk, but be careful not to make it too runny.
3. Add Your Favorite Mix-ins:
- Once the base is smooth and creamy, you can add any optional mix-ins you like, such as chopped nuts, peanut butter, or cinnamon. Give the mixture a quick stir to incorporate the add-ins but try not to overmix, as you want to maintain the creamy texture.
4. Freeze for a Firmer Texture (Optional):
- If you prefer a firmer ice cream texture, transfer the mixture into a shallow container or an ice cream maker. Place it in the freezer for about 1-2 hours to firm up. If you don’t have an ice cream maker, this step is still totally optional, and you can enjoy the ice cream right away in its soft-serve form.
5. Serve and Enjoy:
- Scoop out your healthy ice cream into bowls or cones. Top with extra berries, nuts, or a drizzle of sugar-free chocolate syrup, and you’re ready to enjoy!
- For Complete Cooking STEPS Please Head On Over To Next Page Or Open button (>) and don’t forget to SHARE with your Facebook friends
