ADVERTISEMENT
How to Clean and Disinfect Your Refrigerator to Keep It Looking New
A clean, organized refrigerator not only looks great but also helps ensure your food stays fresh and safe. However, keeping your fridge spotless can sometimes feel like a daunting task, with spills, odors, and bacteria lurking around every corner. Thankfully, with a few simple cleaning and disinfecting techniques, you can keep your fridge in top condition and looking as good as new.
In this guide, we’ll walk you through easy, effective steps to clean and disinfect your refrigerator, ensuring it stays hygienic, fresh, and free of unpleasant odors.
Why Should You Clean Your Refrigerator?
Regular cleaning and disinfecting of your refrigerator is essential for several reasons:
- Prevent Cross-Contamination: Leftover food, raw meat, and spills can introduce harmful bacteria into your fridge. Cleaning prevents contamination of your food.
- Eliminate Unpleasant Odors: Food spills, expired items, and bacteria can cause unwanted smells. A clean fridge helps maintain a fresh scent.
- Improve Food Freshness: A well-maintained fridge ensures your food stays fresher for longer by maintaining a hygienic environment.
- Increase Appliance Lifespan: Regular cleaning helps maintain the condition of your fridge, reducing wear and tear over time.
Steps to Clean and Disinfect Your Refrigerator
1. Empty the Fridge
Before you start cleaning, empty your refrigerator completely. Take out all food items, condiments, and containers. This gives you a clear view of the shelves and compartments and makes cleaning more manageable.
- Check Expiry Dates: While emptying the fridge, take the opportunity to check the expiry dates on your food. Dispose of anything that is expired, moldy, or no longer fresh.
- Organize the Food: This is a great time to organize your food and wipe down containers before putting them back into the fridge.
2. Remove and Clean Shelves, Drawers, and Racks
Many fridges have removable shelves and drawers, making it easier to give them a thorough cleaning. If yours are removable, take them out and wash them separately.
- Use Warm Soapy Water: Fill your sink or a basin with warm water and dish soap. Use a soft sponge or cloth to scrub the shelves, drawers, and racks.
- Rinse and Dry: After washing, rinse the parts with clean water and dry them thoroughly before placing them back in the fridge.
For non-removable shelves, you can clean them directly in place.
3. Clean the Interior Walls and Surfaces
Once the shelves and drawers are out, it’s time to clean the interior of the fridge.
- Use a Cleaning Solution: A simple homemade solution of 1 cup of water and 1 tablespoon of baking soda works wonders for cleaning and deodorizing the fridge. You can also use a mixture of equal parts water and white vinegar for a more powerful disinfectant.
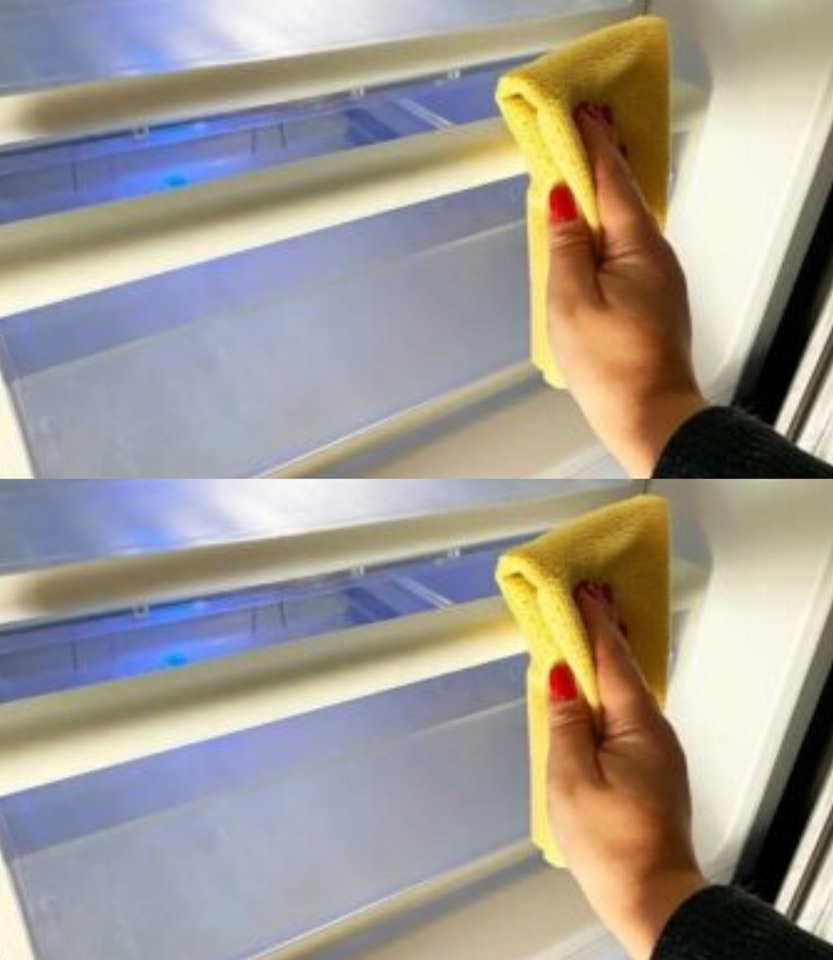
- Wipe Down: Dampen a cloth or sponge with your cleaning solution and wipe down all interior surfaces, including walls, ceiling, and the bottom of the fridge. Don’t forget to clean the door seals as well—these areas often collect crumbs, food particles, and spills.
- Tackle Stubborn Spots: For tough stains or spills, use a paste of baking soda and water to scrub away grime without damaging the surface.
4. Disinfect the Refrigerator
After cleaning, it’s important to disinfect your fridge to kill any bacteria and prevent mold growth.
- Use a Safe Disinfectant: You can use a store-bought food-safe disinfectant or make your own. A mix of 1 tablespoon of bleach in 1 gallon of water is a simple, effective disinfectant. Ensure the bleach is food-safe and that you rinse thoroughly.
- Spray and Wipe Down: Spray your disinfectant onto the interior surfaces and allow it to sit for a few minutes. Wipe down with a clean, damp cloth.
