ADVERTISEMENT
🌱 “Grow Once, Harvest Forever: The Easy Way to Grow Garlic in a Pot at Home”
Garlic is one of those kitchen staples that’s used in countless dishes around the world. But what if you could grow your own garlic at home, fresh and ready to harvest, without needing a large garden or outdoor space? You absolutely can — and it’s easier than you might think!
With the right approach, growing garlic in a pot is not only convenient but also a sustainable way to have a steady supply of homegrown garlic year after year. Here’s everything you need to know about growing garlic in a pot, so you can enjoy fresh bulbs and garlic greens with minimal effort.
🌿 Why Grow Garlic in a Pot?
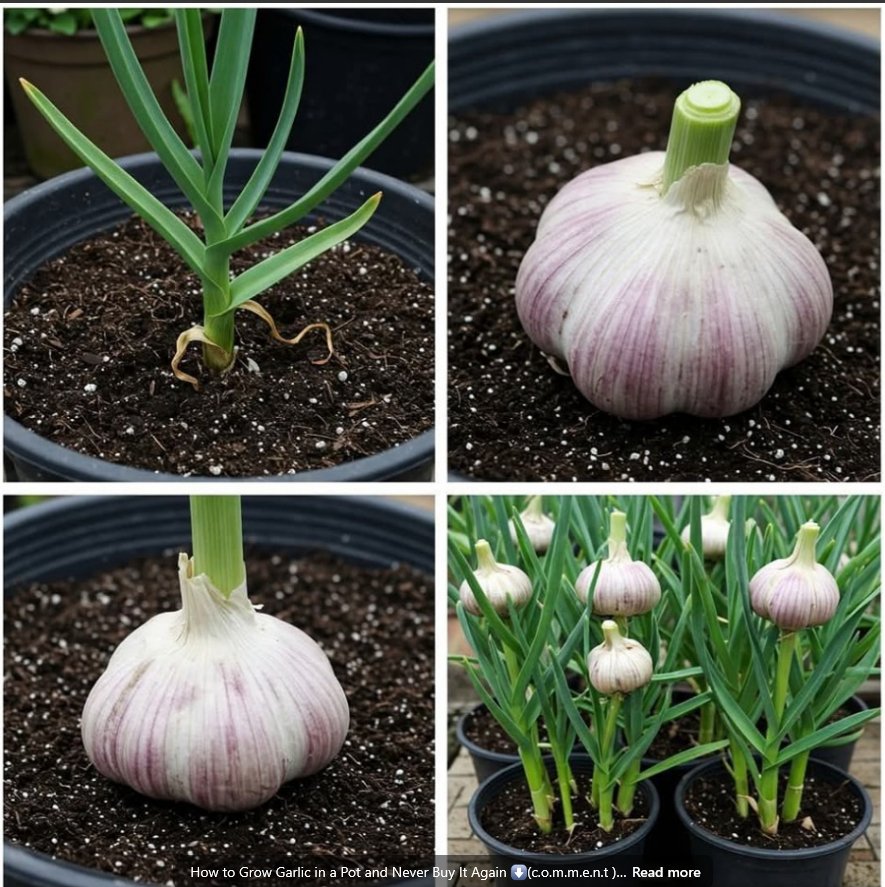
Garlic is typically grown in the ground, but it thrives in containers too! Growing garlic in a pot is an excellent option for people with limited space, such as those with small apartments, balconies, or patios.
Benefits of Growing Garlic in a Pot:
- Compact and manageable: Perfect for small spaces or urban gardening.
- Better control: You can monitor the growth, watering, and soil conditions more easily.
- Year-round harvest: Once your garlic is established, it can produce bulbs and fresh greens annually.
- Great for beginners: Garlic is one of the easiest crops to grow, even for novice gardeners.
🧄 What You’ll Need
Before you get started, here’s a quick list of materials for this easy garlic-growing project:
Materials:
- A large container or pot (at least 6 inches deep and wide to accommodate garlic bulbs)
- Garlic bulbs (organic, local garlic cloves work best — you can buy these from farmers’ markets or garden centers)
- High-quality potting soil (well-draining soil is key to healthy garlic)
- Fertilizer (optional, but can boost growth)
- Watering can (to keep the soil moist)
📝 Step-by-Step Guide to Growing Garlic in a Pot
Step 1: Choose the Right Garlic Cloves
Start by selecting high-quality, organic garlic bulbs. Avoid using garlic from the grocery store, as it may be treated with chemicals or designed for storage, not growing. Choose a variety suited for your climate—hardneck varieties work well for colder climates, while softneck varieties thrive in warmer conditions.
- Break the bulb into individual cloves. Each clove will grow into a full garlic bulb.
Step 2: Prepare the Pot
Fill your chosen pot with well-draining potting soil up to about 2 inches from the top. Garlic doesn’t like to sit in waterlogged soil, so make sure the container has drainage holes at the bottom. If you’re using a deep pot, you can add a layer of gravel or rocks at the bottom to help with drainage.
Step 3: Plant the Cloves
Place the garlic cloves pointy-side up into the soil. Space them about 4-6 inches apart so they have room to grow. Push each clove down into the soil, ensuring it’s planted about 2 inches deep. Press the soil gently around the cloves to keep them in place.
Step 4: Water and Fertilize
Once the cloves are planted, water the soil gently to settle it. Make sure the soil is moist but not soggy. You can also add a balanced, organic fertilizer to give your garlic a nutrient boost, but it’s not necessary if your soil is rich enough.
Step 5: Place the Pot in a Sunny Spot
Garlic needs plenty of sunlight to grow. Place your pot in a spot that receives at least 6 hours of direct sunlight a day. A balcony, patio, or windowsill with good light exposure works well.
🌱 Caring for Your Garlic
1. Watering
Garlic prefers consistent moisture, but it’s important to avoid overwatering. Check the soil regularly and water it when it feels dry to the touch. The key is to keep the soil moist but not soggy.
For Complete Cooking STEPS Please Head On Over To Next Page Or Open button (>) and don’t forget to SHARE with your Facebook friends
