ADVERTISEMENT
How to Create an Easy Light-Up Heart: A Fun and Simple DIY Project 💡❤️
Are you looking for a unique and heartwarming decoration to brighten up your space? Whether it’s for a romantic evening, a special celebration, or simply to add a cozy vibe to your room, creating a light-up heart is a fun, easy, and budget-friendly DIY project that will leave you smiling. And the best part? It’s incredibly simple to make!
Let’s dive into how you can create your own glowing heart in just a few easy steps. Perfect for beginners, this craft is great for kids and adults alike!
🛠️ What You’ll Need:
- String lights (fairy lights work best for this project, as they are small and flexible)
- Cardboard (large enough to create the shape of the heart)
- Scissors
- Hot glue gun and glue sticks
- Red or pink paint (optional, for added color)
- Pencil (for drawing the heart shape)
- Ruler (optional, for precise measurements)
📏 Step-by-Step Instructions:
1. Create the Heart Shape Template
Start by cutting out a piece of cardboard to your desired size. If you don’t want to freehand it, use a pencil to sketch out the shape of a heart. You can also print out a heart template from the internet and trace it onto your cardboard for a more precise shape.
Once you’ve drawn the heart, use your scissors to carefully cut it out. The result will be a flat heart-shaped piece of cardboard that will act as the base of your light-up decoration.
2. Paint the Heart (Optional)
To add some extra flair, you can paint the cardboard in your favorite colors. Red and pink are classic choices for a romantic look, but feel free to get creative with other colors like gold, silver, or even metallic shades. Let the paint dry completely before moving on to the next step.
3. Arrange the String Lights
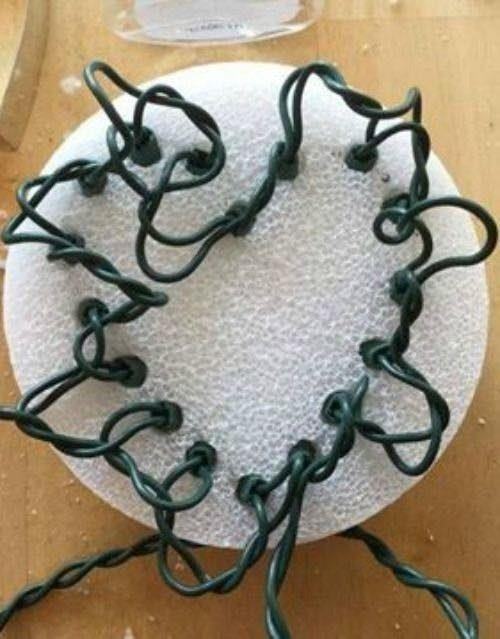
Now comes the fun part! Take your string lights (fairy lights) and begin arranging them around the heart shape. You’ll want to wrap the lights around the edges of the heart so that they create a glowing outline.
If you’re using a longer string of lights, you can even fill the interior of the heart with lights, but be sure to leave some space between the lights to keep the effect soft and glowing rather than too bright.
4. Attach the Lights to the Cardboard
Once you have the lights in place, use a hot glue gun to secure them to the cardboard. Place a small dot of glue along the path where the lights touch the cardboard, being careful not to glue the lightbulbs themselves (just the wire).
Work your way around the entire heart, securing the lights in place. Make sure the wire is snug but not too tight, so it doesn’t break when you plug the lights in.
For Complete Cooking STEPS Please Head On Over To Next Page Or Open button (>) and don’t forget to SHARE with your Facebook friends
