ADVERTISEMENT
#### **Step 4: Address the Peeling Paint**
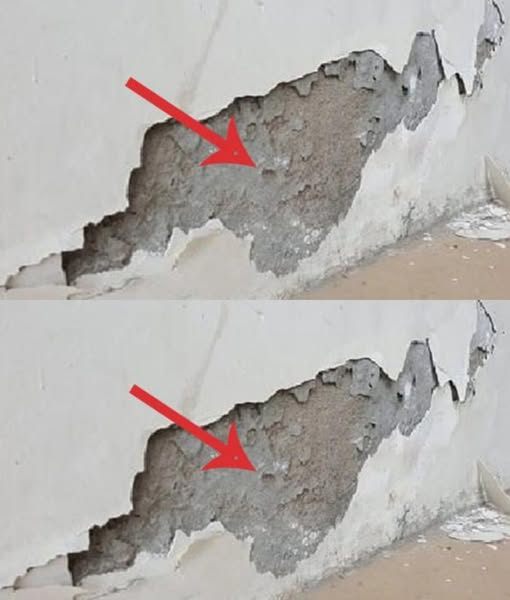
Once the mold is gone, it’s time to address the peeling paint. This is the stage where a little more effort is required, but the results are worth it.
1. **Scrape Off the Peeling Paint**: Use a putty knife or scraper to gently scrape off any loose or peeling paint from the wall. Be careful not to damage the underlying surface.
2. **Sand the Surface**: After scraping off the peeling paint, use sandpaper to smooth the surface. Sanding helps create a smooth base for the new paint and ensures better adhesion. Sanding also helps remove any residual mold or dirt that may still be on the wall.
3. **Clean the Wall**: After sanding, wipe down the wall with a damp cloth to remove any dust or debris. Let the wall dry completely before proceeding.
#### **Step 5: Prepare the Surface for Repainting**
Once the wall is clean, smooth, and dry, it’s time to prepare the surface for a fresh coat of paint.
1. **Apply a Primer**: Apply a good-quality primer to the wall. Primer helps seal the surface, making it more resistant to moisture and ensuring that the new paint adheres well. For mold-prone areas, look for a primer that has mold-resistant properties.
2. **Repaint the Wall**: Once the primer has dried, apply a fresh coat of paint. Choose a high-quality, moisture-resistant paint suitable for your wall type. If you’re repainting in a high-humidity area like the bathroom or kitchen, consider using mildew-resistant paint to prevent future mold growth.
3. **Allow the Paint to Dry**: Let the paint dry according to the manufacturer’s instructions. This usually takes a few hours for the first coat, and longer for the second coat.
—
### **Step 6: Preventing Future Mold and Peeling Paint**
Now that your walls are mold-free and freshly painted, you’ll want to take steps to prevent mold and peeling paint from recurring. Here are some preventative measures:
#### **1. Control Humidity**
Mold thrives in damp conditions, so controlling the humidity in your home is key to preventing mold growth. Consider using a dehumidifier in areas with high moisture, such as basements and bathrooms. Keep the humidity level in your home below 60% to reduce the likelihood of mold formation.
#### **2. Improve Ventilation**
Good airflow is essential for reducing moisture in your home. Open windows, use exhaust fans in the bathroom and kitchen, and consider installing an air circulation system if necessary.
#### **3. Fix Leaks Promptly**
Any leaks in plumbing or the roof should be repaired immediately to prevent water from seeping into the walls. Check for leaks regularly, especially in areas prone to moisture.
#### **4. Use Mold-Resistant Paint**
When repainting, opt for mold-resistant paint, especially in areas with high humidity. This type of paint helps prevent mold from regrowing and keeps your walls looking fresh longer.
#### **5. Regular Cleaning**
Regularly clean the walls in your home, particularly in high-humidity areas. Keeping walls free of dust, dirt, and moisture can prevent both mold growth and peeling paint. A monthly wipe-down with vinegar and water can help maintain a mold-free environment.
—
### **Conclusion**
Dealing with mold and peeling paint doesn’t have to be a stressful or expensive ordeal. With a few simple ingredients, like white vinegar, baking soda, and some basic tools, you can easily restore your walls to their former beauty. The key is to act quickly when you notice these issues, clean thoroughly, and take steps to prevent them from happening again.
By following the steps outlined in this guide, you can revive your walls, eliminate mold, and prevent peeling paint from becoming a persistent problem. Not only will your home look better, but you’ll also create a healthier environment for you and your family. Whether you’re facing a mold issue in the bathroom, or peeling paint in the kitchen, this affordable and easy solution is something any homeowner can tackle with confidence. So, gather your supplies, roll up your sleeves, and give your walls the attention they deserve!
