ADVERTISEMENT
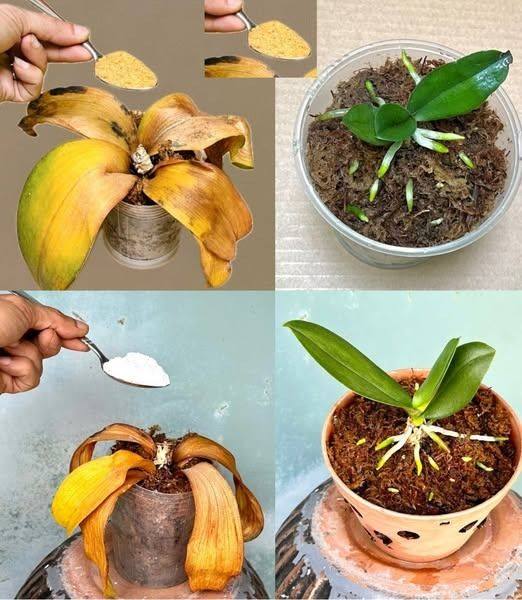
- Start by checking the health of your orchid’s roots. Gently remove the plant from its pot and inspect the roots. If you see any brown, mushy, or dried-out roots, trim them with sterilized scissors. Healthy roots should look firm and white or greenish.
2. Trim the Stems
- If your orchid still has spent flower stems, it’s time to trim them back. Depending on the type of orchid (such as Phalaenopsis), you can either trim the entire flower spike down to the base or cut it just above a node to encourage new growth. Some orchids will bloom again from the same stem, while others might need a complete trim to rejuvenate.
3. Re-pot the Orchid
- Next, prepare a new pot with fresh orchid potting mix. Orchids require well-draining soil, so choose a mix specifically designed for them. Gently place the orchid back into the pot, making sure the roots are spread out evenly. Fill in around the roots with the new mix to hold the plant in place. The pot should be just slightly larger than the root system to avoid root rot.
4. Provide the Right Conditions
- After re-potting, give your orchid the right environment. Orchids thrive in bright, indirect light, so place your plant in a spot where it gets plenty of light but isn’t exposed to direct sunlight. Keep the room temperature consistent, ideally between 65°F (18°C) and 75°F (24°C). Avoid placing the plant near drafts or heating vents.
5. Watering and Fertilizing
- Water your orchid only when the soil feels dry to the touch. Orchids do not like to sit in water, so ensure that the pot has good drainage. Mist the leaves occasionally, but be sure not to leave standing water in the pot.
- Feed your orchid with a balanced orchid fertilizer every 2 weeks during the growing season (spring and summer). In the fall and winter, reduce fertilizing to once a month.
6. Patience is Key
- Orchids often take time to bloom again, and it can take anywhere from a few weeks to several months for your plant to produce new buds. Be patient, and continue caring for it with regular watering, light, and fertilizing. Don’t be discouraged if your orchid doesn’t bloom right away—it’s normal for them to need some time to rest and recharge before blooming again.
Bonus Tip: Consider Propagating Your Orchid
If your orchid is truly past its prime and you feel it might be too far gone, you can also try propagating it! Many types of orchids can be propagated by dividing the plant or using stem cuttings. This can be a great way to keep your orchid legacy alive while also giving you a brand new plant to nurture.
Why You Should Never Throw Away Old Orchids
Now that you know the secret to reviving your old orchids, here’s why you should never throw them away:
- Cost-Effective: Orchids can be pricey to purchase, especially if you’re buying high-quality plants. Reviving an old orchid is much more affordable than buying a new one.
- Environmental Benefits: Reusing and repotting old plants helps reduce waste and promotes sustainability.
- Emotional Satisfaction: There’s something incredibly rewarding about bringing a plant back to life. The sense of accomplishment and connection to nature is priceless.
- Beautiful Blooms: When your orchid blooms again, you’ll be amazed at the beauty of the flowers. The sense of joy from seeing your revived plant thrive is unmatched.
Conclusion:
Throwing away old orchids is a thing of the past! With a little care and attention, your orchid can bloom again and continue to bring beauty into your home for years to come. By following this simple tip—re-potting, trimming, and providing the right care—you’ll be well on your way to enjoying a flourishing orchid once more.
So, before you think about discarding that orchid, give it another chance. You might just be amazed at the results! 🌸
