ADVERTISEMENT
—
### **Instructions:**
1. **Preheat the Oven**: Start by preheating your oven to 350°F (175°C). Line an 8×8-inch baking dish with parchment paper or grease it lightly to prevent sticking.
2. **Cream the Butter and Sugar**: In a large mixing bowl, cream together the softened butter and brown sugar until the mixture is light and fluffy. You can use a hand mixer or just a whisk for this step — it should take about 3-4 minutes.
3. **Add the Eggs and Vanilla**: Beat in the eggs, one at a time, ensuring each egg is fully incorporated. Then stir in the vanilla extract for added flavor.
4. **Combine Dry Ingredients**: In a separate bowl, whisk together the all-purpose flour, baking soda, and salt. Gradually add the dry ingredients to the wet mixture, stirring until everything is well combined.
5. **Add the Oats and Mix-ins**: Stir in the rolled oats, and if desired, add in the chopped walnuts or pecans and chocolate chips. You can customize this step based on what you enjoy most — the chocolate chips add a little extra indulgence, while nuts provide a nice crunch.
6. **Bake**: Pour the batter into your prepared baking dish and spread it evenly. Bake in the preheated oven for 25-30 minutes, or until a toothpick inserted into the center comes out clean or with just a few crumbs.
7. **Cool and Slice**: Allow the bars to cool in the pan for 10-15 minutes, then lift them out using the parchment paper (if used). Once fully cooled, cut them into squares or bars.
—
### **Why These Tom Thumb Bars Are So Special**
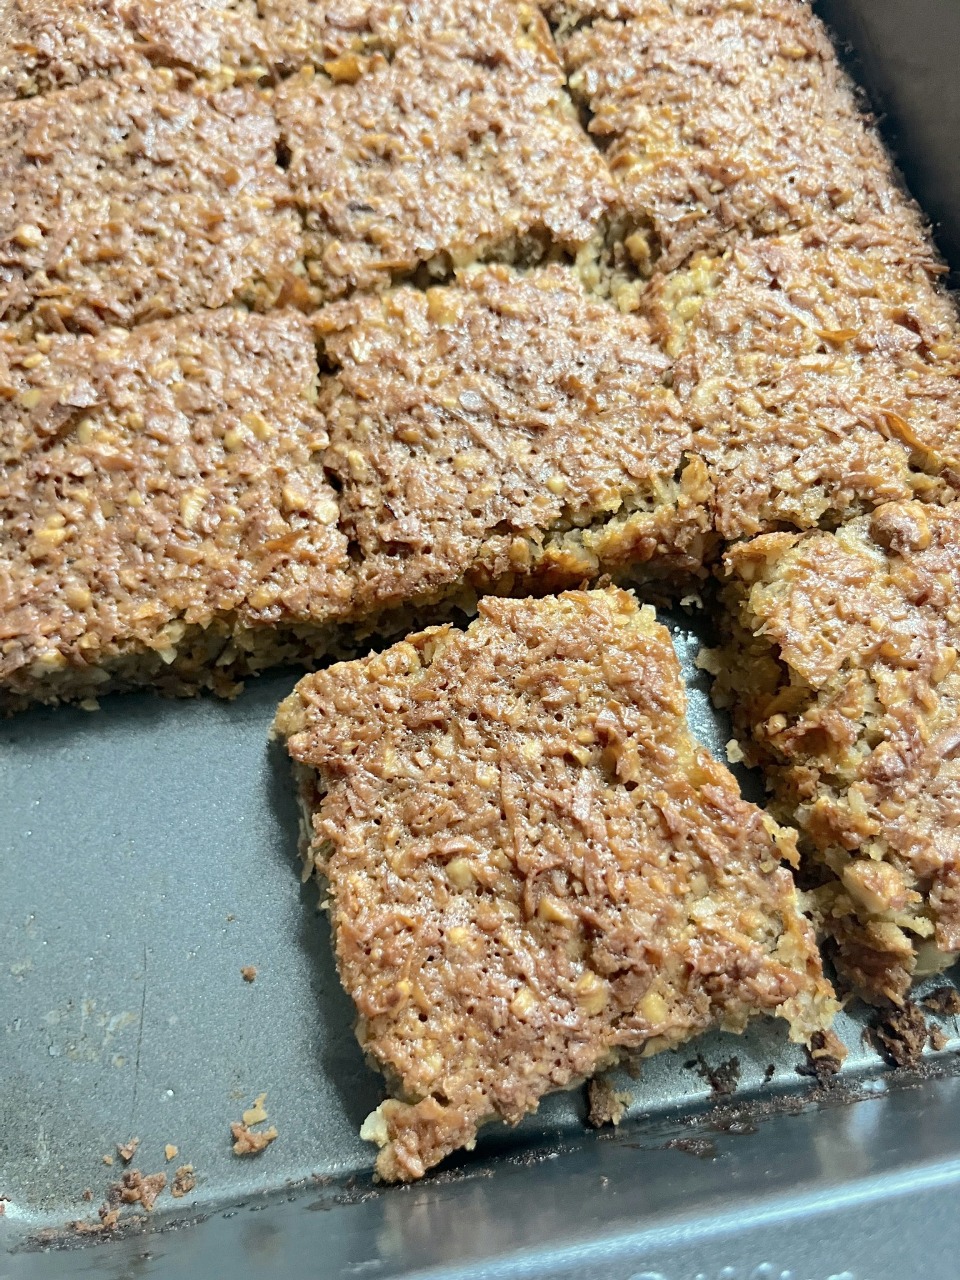
What makes Tom Thumb Bars stand out is their perfectly balanced texture. The oats give them a chewy, hearty bite, while the sugar and butter create a wonderfully soft and sweet base. The optional chocolate chips and nuts add an extra layer of flavor, but even on their own, these bars are delicious. They’re the perfect snack to grab when you’re craving something sweet, and they travel well, making them great for lunchboxes, road trips, or picnics.
—
### **Tips for Perfect Tom Thumb Bars:**
– **Don’t Overmix**: When adding the dry ingredients to the wet ingredients, mix just until incorporated. Overmixing can lead to denser bars.
– **Customize the Mix-ins**: Play around with different additions like dried cranberries, raisins, or white chocolate chips. These bars are very versatile and can be adjusted to fit your preferences.
– **Check for Doneness**: Oven temperatures can vary, so start checking the bars around 25 minutes. They’re done when a toothpick comes out clean or with a few moist crumbs.
—
### **Serving Suggestions:**
These Tom Thumb Bars are great on their own, but they also pair wonderfully with a cold glass of milk or a cup of tea. Serve them as an after-school treat, a dessert at dinner, or even as a sweet snack during movie night. If you’re serving them at a party, they’re easy to grab and go, making them a great finger food for guests.
—
### **Why You’ll Love Making These Bars**
Sometimes, the simplest recipes are the best, and Tom Thumb Bars are the perfect example. They come together in just a few easy steps, and the result is a batch of chewy, irresistible bars that are ideal for sharing with family and friends. Whether you’re a baking pro or just looking for an easy recipe to try, these bars are sure to become a favorite in your household.
—
### **Final Thoughts**
Once you try these **Best Tom Thumb Bars**, you’ll wonder why you didn’t make them sooner! They’re easy to prepare, full of flavor, and endlessly customizable. With their perfect blend of oats, sweetness, and optional mix-ins, these bars are the ultimate treat for any occasion.
So, what are you waiting for? Gather the ingredients, preheat the oven, and get ready to enjoy these delightful bars tonight!
—
Let me know if you’d like any changes or additions to the article!
