ADVERTISEMENT
#### Instructions
##### 1. Make the Sponge Cake:
1. **Preheat the Oven**: Preheat your oven to 350°F (175°C) and line a 12-cup muffin tin with paper cupcake liners.
2. **Mix the Dry Ingredients**: In a medium bowl, whisk together the flour, sugar, baking powder, and salt.
3. **Cream the Butter**: In a large mixing bowl, cream the butter until smooth and fluffy, about 3 minutes. You can use an electric mixer on medium speed for this.
4. **Add Eggs and Vanilla**: Add the eggs one at a time, mixing well after each addition. Stir in the vanilla extract.
5. **Add Dry Ingredients and Milk**: Gradually add the dry ingredients to the butter mixture in three parts, alternating with the milk. Start and end with the dry ingredients. Mix until just combined—be careful not to overmix.
6. **Fill the Cupcake Liners**: Divide the batter evenly among the cupcake liners, filling each about two-thirds full.
7. **Bake**: Bake in the preheated oven for 18–20 minutes, or until a toothpick inserted into the center of a cupcake comes out clean. Allow the cupcakes to cool in the pan for 5 minutes before transferring them to a wire rack to cool completely.
##### 2. Make the Pastry Cream:
1. **Heat the Milk**: In a medium saucepan, heat the milk and sugar over medium heat until it just starts to simmer. Stir occasionally to prevent burning.
2. **Whisk the Egg Yolks**: While the milk is heating, whisk the egg yolks and cornstarch in a separate bowl until smooth.
3. **Temper the Eggs**: Once the milk is hot, slowly pour a small amount of the milk into the egg yolks while whisking constantly. This helps to temper the eggs and prevent them from curdling.
4. **Combine and Cook**: Gradually whisk the tempered egg mixture back into the saucepan with the remaining milk. Continue to cook, whisking constantly, until the mixture thickens, about 2-3 minutes.
5. **Finish the Pastry Cream**: Remove the saucepan from the heat and stir in the butter and vanilla extract. Pour the pastry cream into a bowl, cover it with plastic wrap (press the wrap directly onto the surface of the cream to prevent a skin from forming), and refrigerate for at least 2 hours before using.
##### 3. Make the Chocolate Glaze:
1. **Heat the Cream and Butter**: In a small saucepan, heat the heavy cream and butter over medium heat until the butter is melted and the cream is simmering.
2. **Melt the Chocolate**: Remove the saucepan from the heat and add the chopped chocolate. Stir until the chocolate is completely melted and smooth. If you want extra shine, add the corn syrup and mix until well incorporated.
3. **Cool Slightly**: Let the glaze cool for about 10 minutes, or until it thickens slightly but is still pourable.
##### 4. Assemble the Cupcakes:
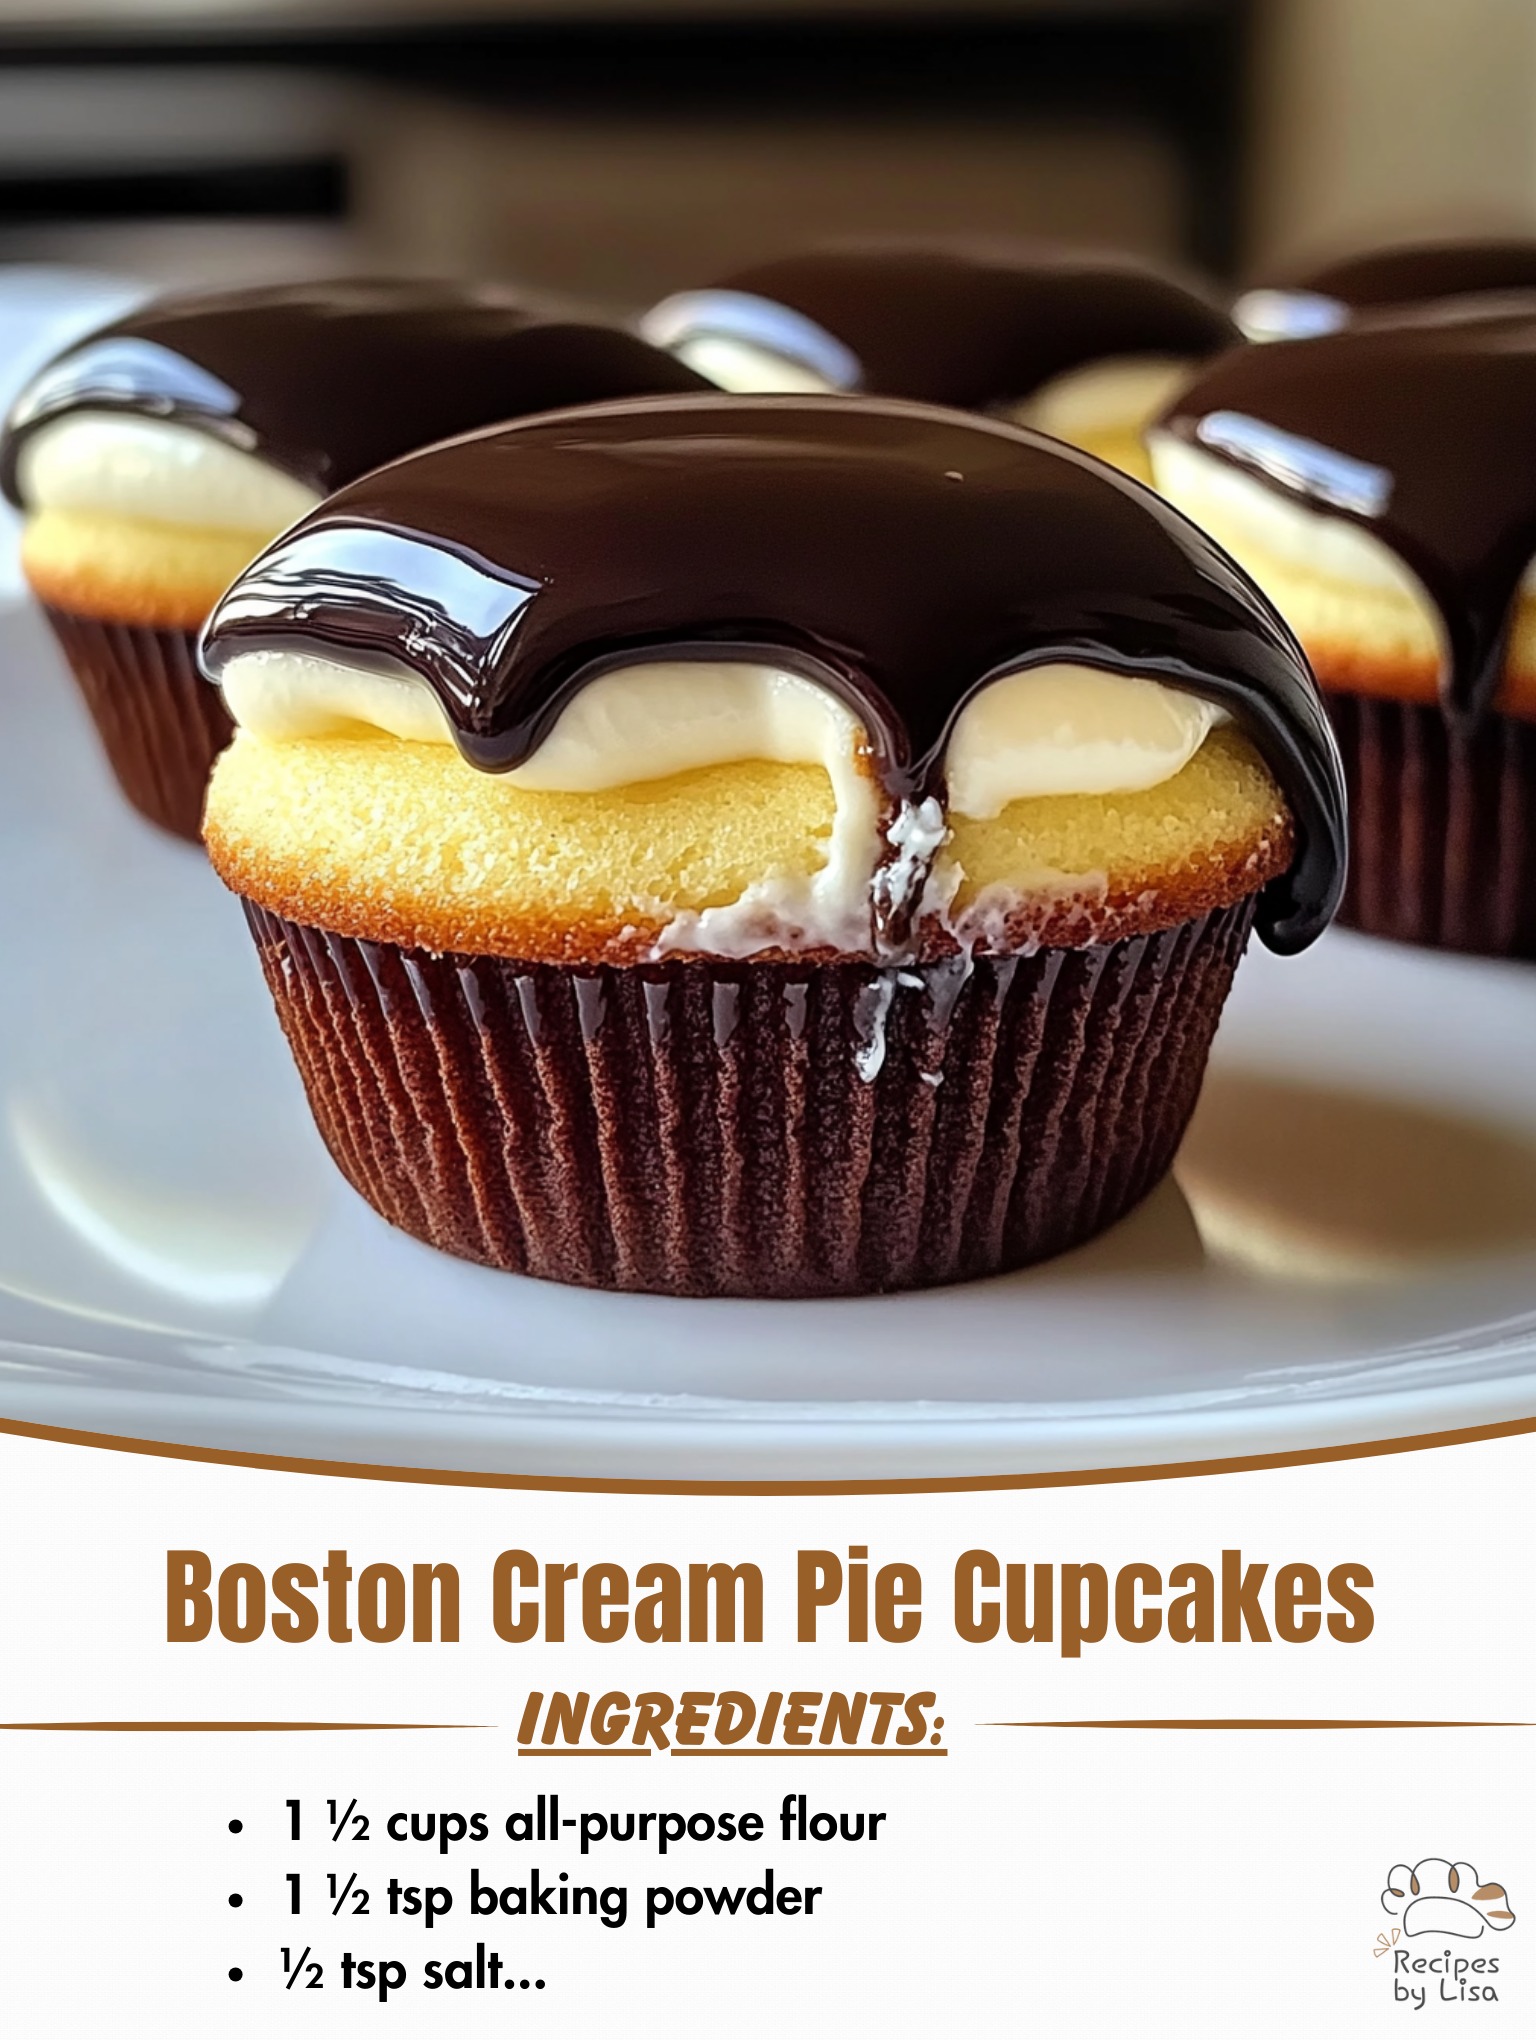
1. **Create a Hole in Each Cupcake**: Once the cupcakes have cooled completely, use a small knife or a cupcake corer to cut a small hole in the center of each cupcake. Be sure to leave the bottom intact so the filling doesn’t leak out.
2. **Fill with Pastry Cream**: Use a piping bag fitted with a round tip to fill the hole in each cupcake with the prepared pastry cream. If you don’t have a piping bag, you can also use a spoon to carefully fill the center.
3. **Top with Chocolate Glaze**: Spoon or pour the chocolate glaze over the top of each cupcake, allowing it to drip down the sides slightly.
4. **Chill**: Place the cupcakes in the refrigerator for at least 30 minutes to allow the glaze to set and the flavors to meld.
##### 5. Serve and Enjoy:
Once the cupcakes have chilled and the glaze has set, they are ready to be enjoyed! These cupcakes are best served chilled or at room temperature, and they can be stored in the refrigerator for up to 3 days.
### Variations and Tips
1. **Gluten-Free Version**: You can make these cupcakes gluten-free by using a 1:1 gluten-free flour substitute. Make sure to check the labels on other ingredients to ensure they are gluten-free as well.
2. **Flavor Variations**: While the traditional Boston Cream Pie flavor is classic, you can play around with different fillings or glazes. For example, try adding a splash of liqueur (such as Grand Marnier) to the pastry cream for a unique twist, or use white chocolate for the glaze.
3. **Filling Alternative**: If you’re not a fan of pastry cream, you can substitute it with whipped cream or custard.
### Conclusion
Boston Cream Pie Cupcakes are the perfect mini version of a beloved classic, offering all the flavors and textures you know and love in a more convenient and portable format. With their light sponge cake, creamy filling, and decadent chocolate glaze, these cupcakes are sure to be a hit at your next event or simply as a sweet treat for yourself. The combination of nostalgia and innovation makes these cupcakes a must-try for any dessert lover. Enjoy baking, and more importantly, enjoy eating these delightful mini indulgences!
