ADVERTISEMENT
Brilliant No-Knead Bread Recipe: Simple, Foolproof, and Delicious
If you’ve ever wanted to bake homemade bread but were intimidated by the process, then the No-Knead Bread recipe is exactly what you need. This incredibly easy method allows you to bake a perfect, crusty loaf without all the time and effort typically required. With just a handful of simple ingredients and minimal hands-on time, you’ll be able to enjoy fresh, homemade bread that tastes just as good (if not better!) than anything you’d buy at the bakery.
This No-Knead Bread is perfect for beginners, busy individuals, or anyone who loves the smell of freshly baked bread wafting through the house without the hassle of traditional bread-making methods. With only a few hours of resting time and a few minutes of active preparation, you can enjoy a beautifully golden and crispy loaf that’s ready to serve with soups, salads, or your favorite spreads.
Why You’ll Love This Brilliant No-Knead Bread Recipe
- Simple and Foolproof: No kneading, no special skills needed, and no fancy equipment required. This recipe takes the mystery out of bread-making and makes it accessible for everyone.
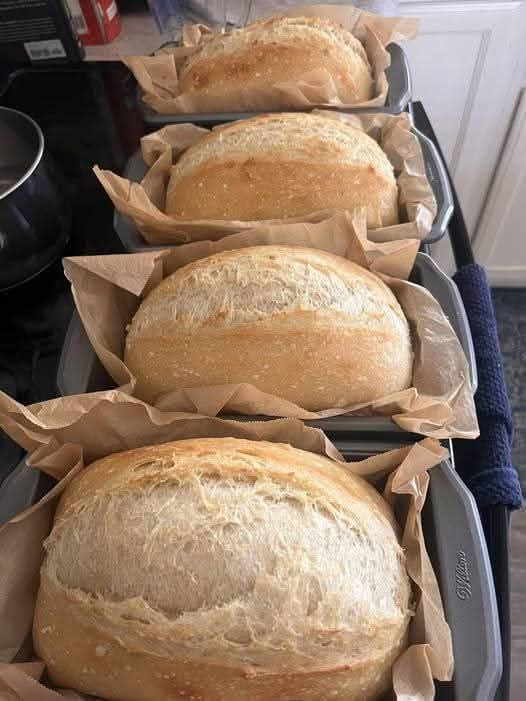
- Crusty and Soft: The result is a perfect loaf with a golden, crunchy crust and a soft, airy inside. It’s exactly what you want from homemade bread!
- Minimal Effort: The bulk of the work happens while the dough rests, so you’re free to get on with your day while it rises.
- Versatile: This no-knead bread can be customized with various herbs, seeds, or even cheese for a unique twist.
- Budget-Friendly: Making bread at home is not only rewarding but also cost-effective. Plus, you can avoid preservatives and unnecessary additives that are often found in store-bought loaves.
Ingredients for Brilliant No-Knead Bread
- 3 cups all-purpose flour (plus extra for dusting)
- 1 ½ teaspoons salt
- ½ teaspoon active dry yeast
- 1 ¼ cups water (lukewarm)
- 1 tablespoon olive oil (optional, for extra flavor)
How to Make Brilliant No-Knead Bread
Step 1: Combine the Dry Ingredients
- In a large mixing bowl, whisk together the flour, salt, and yeast. This step is simple but important, as it ensures that the yeast is evenly distributed throughout the dough.
Step 2: Add the Water
- Pour in the lukewarm water and olive oil (if using). Use a wooden spoon or your hands to stir the mixture until it forms a sticky dough. Don’t worry about getting it perfectly smooth—just make sure everything is combined. It will look a bit shaggy, and that’s perfectly fine!
Step 3: Let the Dough Rest
- Cover the bowl with a clean kitchen towel or plastic wrap, and let the dough rest at room temperature for about 12 to 18 hours. Yes, you read that right—this long resting time allows the dough to rise and develop flavor. The dough will become bubbly and slightly domed, which is a good sign!
Step 4: Preheat Your Oven and Prepare the Pot
- About 30 minutes before you’re ready to bake, preheat your oven to 450°F (230°C). Place a Dutch oven or oven-safe pot with a lid in the oven while it preheats. The heavy pot will help create steam, which is key for achieving that beautiful, crispy crust.
Step 5: Shape the Dough
- Once the dough has risen, carefully turn it out onto a floured surface. Using your hands, gently shape the dough into a rough ball. Don’t worry about being perfect; it doesn’t need to be perfectly smooth.
- If you want, you can sprinkle some flour on top of the dough and fold it into itself a couple of times for a bit of structure, but t
