ADVERTISEMENT
Brilliant No-Knead Bread Recipe: Perfectly Simple and Delicious! 🍞
If you’ve ever wanted to make homemade bread but were intimidated by the thought of kneading, you’re in for a treat! The no-knead bread recipe is a game-changer for beginner bakers and seasoned pros alike. It’s simple, requires minimal ingredients, and delivers a wonderfully soft and crusty loaf every time. The best part? No kneading required!
This brilliant no-knead bread is a perfect way to impress your family and friends with freshly baked bread without the hassle. Here’s everything you need to know to make this delicious, artisan-style bread with ease.
Why No-Knead Bread?
You might wonder, why choose no-knead bread? Here’s why it’s so amazing:
- Minimal Effort: No kneading means no mess or muscle work! The dough comes together easily, and you just need to let it rest and rise on its own. The long resting period gives the bread a fantastic texture.
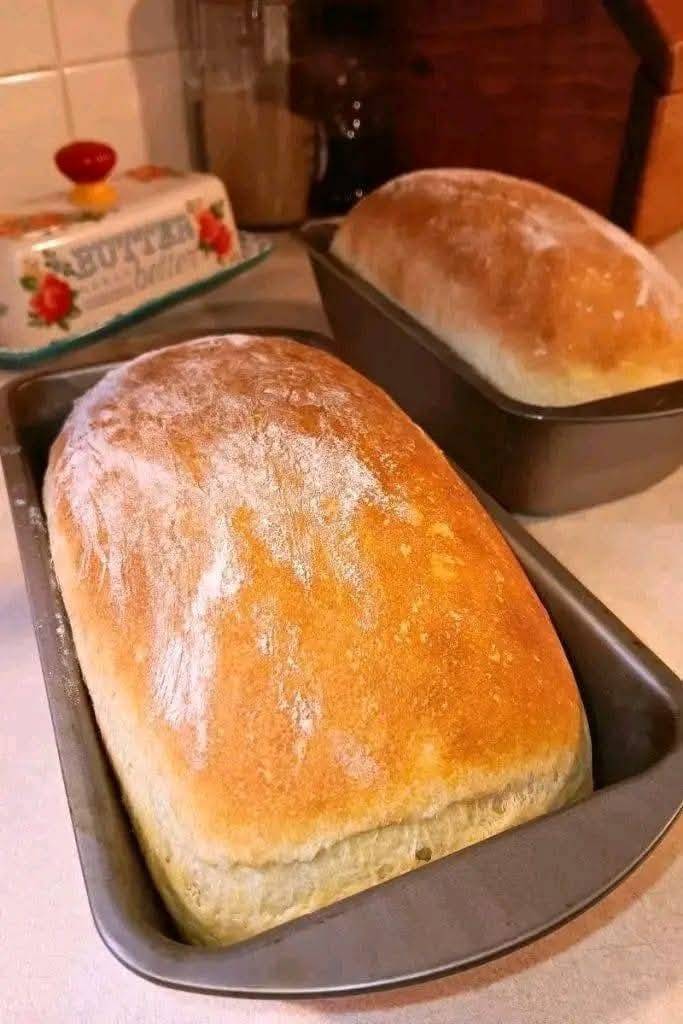
- Soft and Crusty: No-knead bread results in a loaf with a wonderfully chewy, soft interior and a crisp, golden-brown crust. It’s the kind of bread that you can easily slice and serve with your favorite spreads or use for sandwiches.
- Perfect for Beginners: If you’ve never baked bread before, this is the perfect starter recipe. There’s no need for fancy equipment or complicated techniques—just mix, wait, and bake!
- Fewer Ingredients: With just a handful of ingredients, you can make delicious bread from scratch. You don’t need any special bread flour or equipment—basic pantry staples are all you need.
What You’ll Need
- 3 cups all-purpose flour (unbleached for the best texture)
- 1 ½ teaspoons salt
- 1 teaspoon active dry yeast
- 1 ½ cups lukewarm water (not too hot or it will kill the yeast)
- 1 tablespoon honey or sugar (optional, for a touch of sweetness)
Instructions: The Brilliant No-Knead Bread Recipe
1. Mix the Ingredients
- In a large bowl, combine the flour, salt, and yeast. Stir the dry ingredients together using a spoon or a whisk.
- Add the lukewarm water and honey (if using) to the dry ingredients. Stir until the dough starts to come together. It should be sticky and shaggy—don’t worry, that’s exactly how it should look at this stage.
2. Let the Dough Rest
- Cover the bowl with a clean kitchen towel or plastic wrap. Let the dough sit in a warm place for 12 to 18 hours (overnight works perfectly). During this time, the dough will rise, bubble up, and develop fantastic flavor. No need to punch it down or do anything at all—just let it rest.
3. Shape the Dough
- After the long rise, the dough will be bubbly and soft. Turn it out onto a well-floured surface, and fold the dough over itself a couple of times to form a rough ball. Don’t worry about making it perfect—this is a rustic bread, so the messier, the better!
4. Prepare the Dutch Oven (or Baking Pot)
- Preheat your oven to 450°F (230°C) with a Dutch oven or any oven-safe pot with a lid inside. Preheating the pot is essential to get that crispy, golden crust.
- Once the pot is heated, carefully remove it from the oven and place your dough inside. If you like, you can score the top of the dough with a sharp knife to make an attractive pattern. This step is optional, but it adds a professional touch.
5. Bake the Bread
- Cover the pot with the lid and place it back into the oven. Bake for 30 minutes with the lid on. Then, remove the lid and bake for an additional 15 to 20 minutes to get a deep golden-brown color on the crust.
- For Complete Cooking STEPS Please Head On Over To Next Page Or Open button (>) and don’t forget to SHARE with your Facebook friends
- The bread should sound hollow when tapped on the bottom, which means it’s perfectly baked!
