ADVERTISEMENT
### **Techniques**
Achieving the perfect Castella sponge cake requires precision and technique, especially when it comes to the preparation of the egg mixture. Here are the key techniques involved in making Castella cake:
1. **Whipping the Eggs**: The eggs need to be whipped until they reach the soft peak stage. This means that the eggs should be light and fluffy, but still able to hold their shape when the whisk is lifted. Over-whipping the eggs can lead to a dry, crumbly cake, so it’s essential to stop whipping at the right time.
2. **Folding in the Dry Ingredients**: Once the egg mixture is prepared, the dry ingredients (flour and sugar) are folded in gently. This step should be done carefully to avoid deflating the eggs. The goal is to maintain the lightness and airiness of the meringue while incorporating the flour for structure.
3. **Baking in a Water Bath**: Castella cake is traditionally baked in a water bath (also known as a bain-marie). This technique helps regulate the temperature around the cake and prevents it from drying out or cracking during baking. The water bath creates a gentle, even heat that allows the cake to rise slowly and evenly.
4. **Cooling and Aging**: Once the cake is baked, it’s important to allow it to cool completely in the pan. In fact, Castella is often left to sit for a few hours or even overnight to allow the flavors to develop and the texture to become even more moist and tender. This resting period also helps the cake to firm up slightly, making it easier to slice.
—
## **Castella Sponge Cake Recipe: Step-by-Step**
Now that we’ve covered the history, ingredients, and techniques, let’s dive into the recipe. Here’s how to make the perfect Castella sponge cake from scratch.
### **Ingredients:**
– 4 large eggs (at room temperature)
– 1 cup (200g) granulated sugar
– 1/4 cup (60ml) honey
– 1/4 cup (60ml) whole milk
– 1 cup (120g) cake flour (sifted)
– 1/2 teaspoon vanilla extract
– 1/4 teaspoon salt
– 1 tablespoon cornstarch (optional, for a finer texture)
– 1 tablespoon unsalted butter (for greasing the pan)
– 1/4 cup warm water (for the water bath)
### **Instructions:**
#### **Step 1: Prepare the Pan**
1. Preheat the oven to 325°F (160°C). Grease an 8-inch square or rectangular baking pan with butter and line the bottom with parchment paper for easy removal of the cake.
#### **Step 2: Prepare the Egg Mixture**
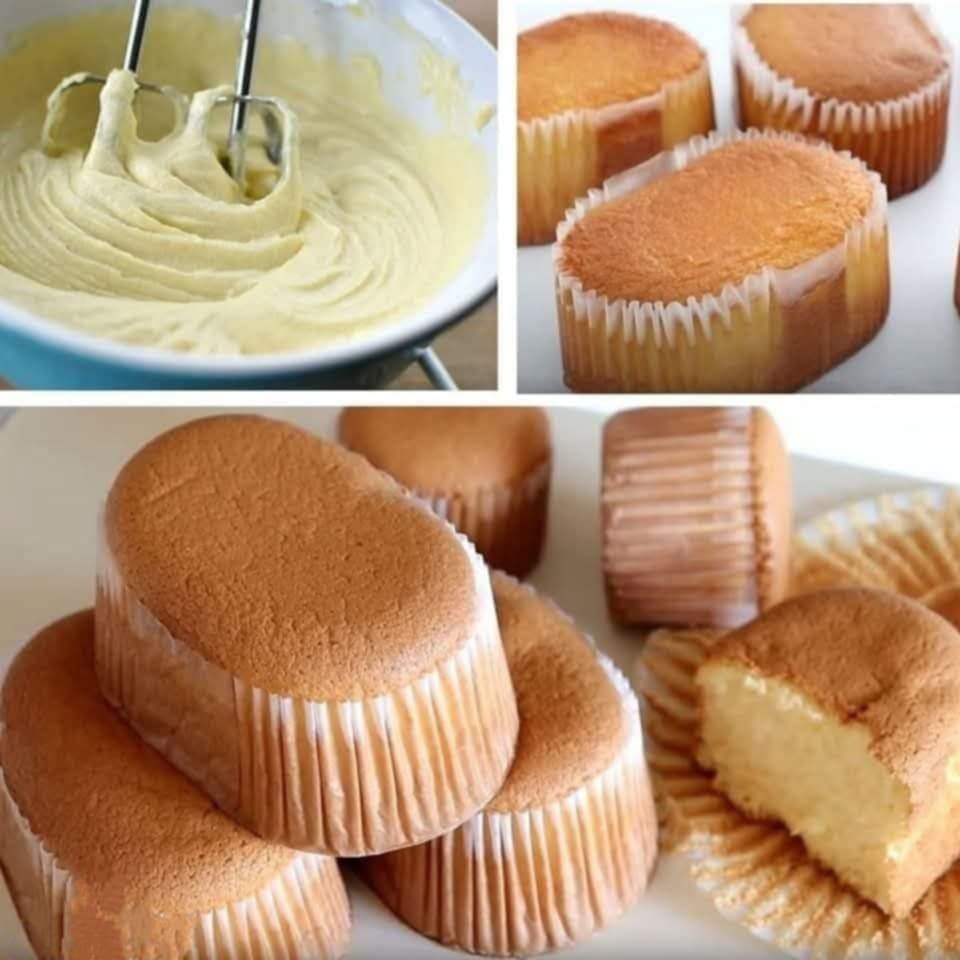
1. In a large mixing bowl, beat the eggs with an electric mixer on high speed for about 5-7 minutes, or until the eggs become thick and pale yellow and have increased in volume.
2. Gradually add the sugar to the eggs, a little at a time, while continuing to beat. This will help create a stable meringue. Continue to beat until the mixture forms soft peaks.
3. In a separate small bowl, combine the honey and milk, then heat the mixture in the microwave or on the stovetop until it’s just warm (but not hot). Add the honey and milk mixture to the egg mixture, along with the vanilla extract and salt. Stir gently to combine.
#### **Step 3: Fold in the Flour**
1. Sift the cake flour (and cornstarch, if using) over the egg mixture. Gently fold the flour into the egg mixture using a spatula. Be careful not to deflate the eggs, and stop folding as soon as the flour is incorporated.
#### **Step 4: Prepare the Water Bath**
1. Place the prepared baking pan in a larger roasting pan. Pour warm water into the larger pan until it reaches halfway up the sides of the smaller pan. This will help ensure even baking in a gentle, controlled environment.
#### **Step 5: Bake the Cake**
1. Pour the batter into the prepared baking pan and smooth the top. Bake the cake for 30-40 minutes, or until a toothpick inserted into the center of the cake comes out clean. The top should be golden brown and slightly firm to the touch.
#### **Step 6: Cool and Rest**
1. Once the cake is done baking, remove it from the oven and let it cool in the pan for about 10 minutes. Then, remove the cake from the pan and allow it to cool completely on a wire rack.
2. Once the cake has cooled, wrap it in plastic wrap and let it rest at room temperature for several hours or overnight. This resting period helps to enhance the cake’s flavor and texture.
#### **Step 7: Slice and Serve**
1. After resting, slice the Castella cake into even pieces. Serve it as a snack or dessert with tea or coffee.
—
## **Variations of Castella Sponge Cake**
While the traditional Castella sponge cake is a beloved classic, there are several variations that you can try to add your own twist to the recipe:
1. **Matcha Castella**: Add 1-2 tablespoons of matcha powder to the dry ingredients to create a green tea-flavored version of Castella.
2. **Chocolate Castella**: Incorporate cocoa powder into the flour mixture for a rich chocolate-flavored cake.
3. **Fruit Flavored Castella**: Experiment with fruit purees or extracts to infuse different fruity flavors into the cake.
—
## **Conclusion**
Castella sponge cake is a delightful dessert that blends simplicity with sophistication. Its delicate texture, subtle sweetness, and soft crumb make it a perfect treat for any occasion. Whether you’re enjoying it with a cup of tea, serving it at a gathering, or gifting it to a friend, Castella sponge cake will impress with its elegance and delicious flavor.
By following the steps outlined in this article and understanding the importance of key ingredients and techniques, you can easily create this classic Japanese dessert at home. So gather your ingredients, embrace the art of baking, and enjoy the wonders of Castella sponge cake!
