ADVERTISEMENT
Cherry Garcia Ice Cream: A Sweet and Creamy Indulgence
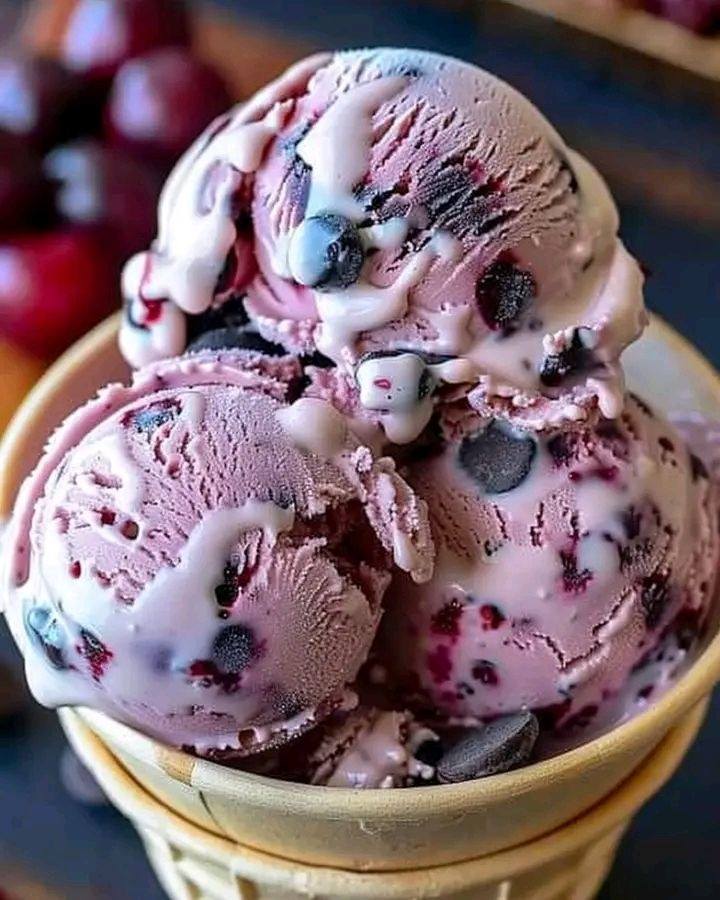
If you’re a fan of fruity, creamy ice cream with a little bit of a twist, Cherry Garcia Ice Cream is a classic that checks all the boxes. Named after the legendary Grateful Dead guitarist Jerry Garcia, this delightful dessert is a rich combination of sweet, tart cherries, creamy vanilla ice cream, and delicious chocolate chunks. It’s a crowd-pleaser that’s as fun to make as it is to eat—and the best part is, you can make it at home!
This homemade version of Cherry Garcia Ice Cream gives you full control over the quality of ingredients, allowing you to enjoy the flavors just as you like them. Whether you’re celebrating a special occasion, cooling off on a warm day, or simply craving a sweet treat, this ice cream recipe will never disappoint.
Why You’ll Love Cherry Garcia Ice Cream
- Perfect Flavor Balance: The combination of tart cherries, sweet vanilla ice cream, and rich chocolate chunks makes for the perfect mix of flavors and textures. Each bite brings something new—smooth creaminess, juicy fruit, and a chocolatey crunch.
- Customizable Ingredients: Whether you want to use fresh cherries, frozen cherries, or even a mix of chocolate types, this recipe is highly adaptable. You can make it your own by adjusting sweetness levels, or by adding extra ingredients like almonds, caramel, or swirls of fudge.
- No Ice Cream Maker? No Problem!: While you can make this recipe using an ice cream maker, it’s also possible to make it without one, which makes this recipe accessible to everyone.
- Homemade Quality: Making your own Cherry Garcia ice cream means you can skip the artificial additives and preservatives found in store-bought versions. You’re also free to use fresh, high-quality ingredients for the best flavor possible.
Ingredients for Homemade Cherry Garcia Ice Cream
To make your own Cherry Garcia Ice Cream at home, you’ll need:
- 2 cups heavy cream
- 1 cup whole milk
- 3/4 cup granulated sugar
- 1 tablespoon vanilla extract
- 1 1/2 cups fresh or frozen cherries, pitted and chopped (or use maraschino cherries for a more traditional approach)
- 3/4 cup dark chocolate chunks or chips (you can also use semi-sweet or milk chocolate if preferred)
- Optional: 1/4 teaspoon almond extract (for an extra layer of flavor)
Instructions
Step 1: Make the Ice Cream Base
In a medium mixing bowl, whisk together the heavy cream, whole milk, and granulated sugar. Stir until the sugar is fully dissolved and the mixture is smooth. If you’re using almond extract, add it to the mixture now, along with the vanilla extract. This will add a subtle layer of flavor to the cream base, but it’s entirely optional.
Step 2: Chill the Base
Once the base is mixed together, cover the bowl with plastic wrap and refrigerate for at least 2 hours to chill. If you have time, letting the base chill overnight will help develop the flavors.
Step 3: Add the Cherries
Once the ice cream base is chilled, fold in the chopped cherries. Be sure to gently mix so that the cherries are evenly distributed throughout the mixture. If you like, you can reserve a few extra cherry pieces to fold in at the end for added texture.
Step 4: Churn the Ice Cream (if using an Ice Cream Maker)
If you’re using an ice cream maker, pour the chilled ice cream base into the machine and churn according to the manufacturer’s instructions. This usually takes about 20–25 minutes. The mixture should thicken and resemble soft-serve ice cream.
Step 5: Fold in the Chocolate
Once the ice cream has reached the right consistency, remove it from the machine and gently fold in the dark chocolate chunks or chips. This will give your Cherry Garcia ice cream that signature burst of chocolate goodness.
For Complete Cooking STEPS Please Head On Ove
