ADVERTISEMENT
In a small bowl, combine the cocoa powder and hot water, stirring until smooth. If you want a richer chocolate flavor, you can melt some chocolate chips or chopped chocolate with a tablespoon of milk and add it to this mixture. Stir until the chocolate is fully melted and the mixture is smooth.
Step 4: Create the Marble Effect
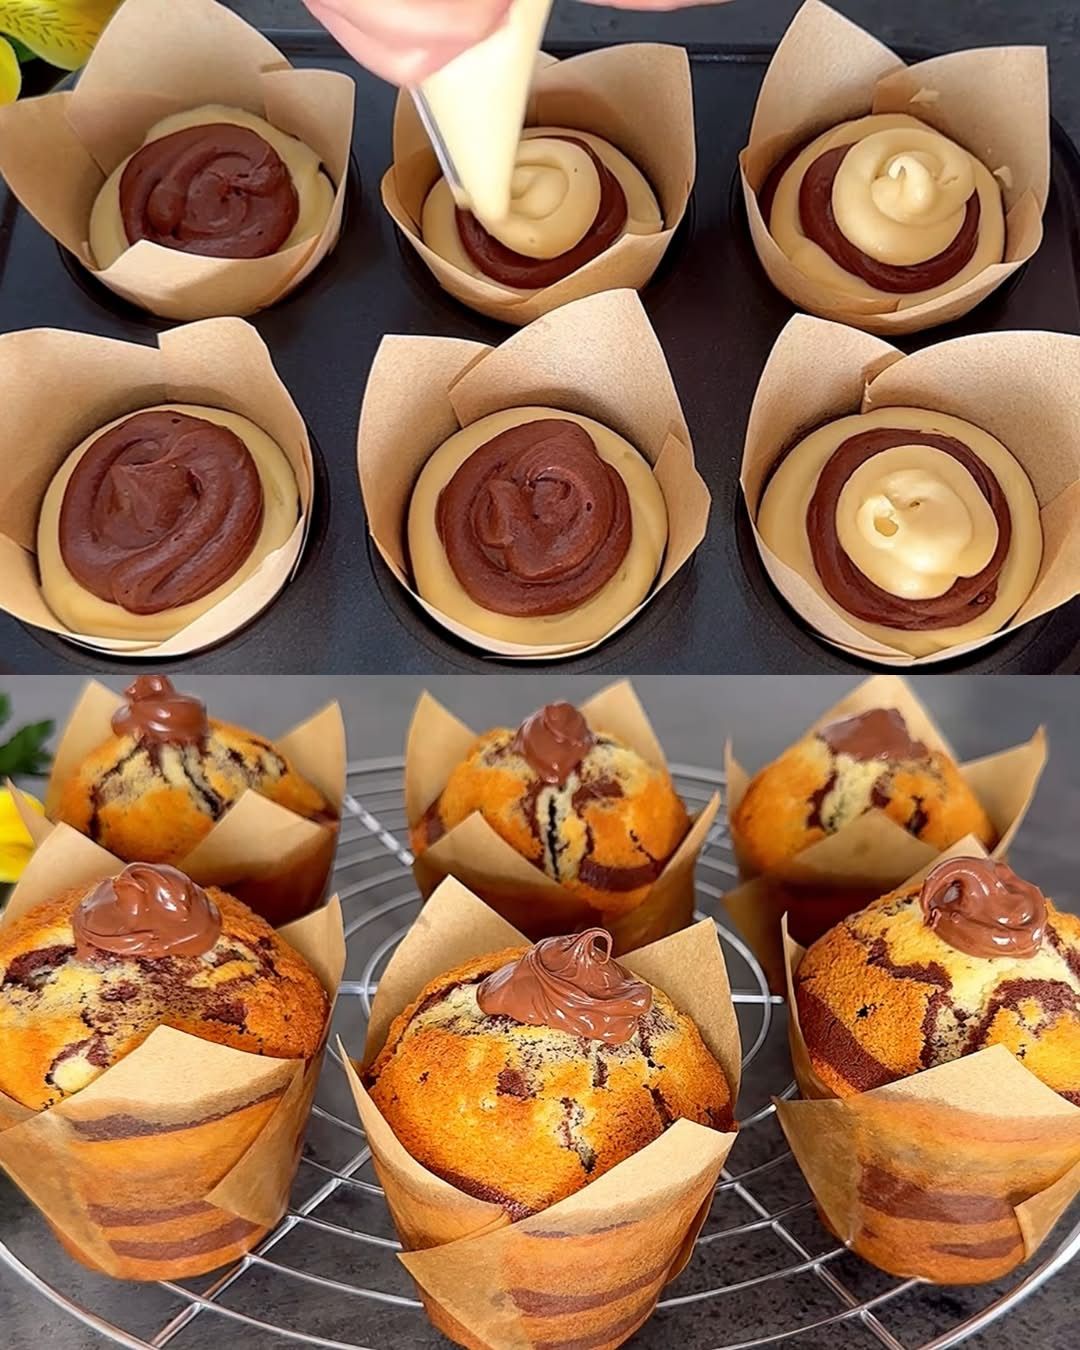
Divide the prepared cake batter into two portions: one for the vanilla layer and one for the chocolate swirl. To do this, simply scoop out half of the vanilla batter and place it in a separate bowl.
Now, stir the chocolate mixture into the bowl with half of the vanilla batter, creating a thick, chocolatey batter.
Step 5: Assemble the Cake
Spoon alternating dollops of the vanilla and chocolate batters into the prepared cake pan. Once you’ve added all the batter, use a butter knife or skewer to swirl the batters together. Be sure not to overmix; you want distinct swirls of chocolate and vanilla, not a completely uniform mixture.
Step 6: Bake the Cake
Place the cake in the preheated oven and bake for about 35-40 minutes, or until a toothpick inserted into the center of the cake comes out clean. Keep an eye on the cake as it bakes, as oven times can vary.
Step 7: Cool and Serve
Allow the cake to cool in the pan for 10 minutes before transferring it to a wire rack to cool completely. Once the cake is fully cooled, slice it and serve. You can serve it as is, or dust it with powdered sugar for an elegant touch.
Tips for the Perfect Chocolate Marble Cake
- Don’t Overmix the Batter: When combining the vanilla and chocolate batters, be careful not to overmix them. The key to a beautiful marble effect is to create distinct swirls, so a light hand is essential.
- Use Room Temperature Ingredients: For the best texture, ensure that your butter, eggs, and milk are at room temperature before mixing. This will help the ingredients blend together smoothly and create a light, fluffy cake.
- Experiment with Fillings: While the classic vanilla and chocolate combo is delicious, feel free to experiment with other flavors. Try adding a swirl of fruit jam, peanut butter, or even a bit of espresso powder to create new variations of the marble effect.
- Frost or Serve with Toppings: If you prefer a frosted cake, you can top your chocolate marble cake with whipped cream, chocolate ganache, or a simple glaze. You could also serve it with a scoop of ice cream or drizzle it with caramel sauce for added indulgence.
- Check for Doneness: Cake baking times can vary slightly depending on the oven, so start checking for doneness at around 30 minutes. A toothpick inserted into the center should come out clean or with just a few moist crumbs.
Why This Cake Is a Favorite
Chocolate Marble Cake is loved for its versatility, rich flavor, and stunning appearance. The swirling effect makes it a showstopper at any gathering, while the balance between chocolate and vanilla ensures that it appeals to a wide range of tastes. Whether you’re a chocolate lover or someone who prefers a lighter, vanilla-based cake, this dessert offers the best of both worlds.
Its simplicity in ingredients and preparation also makes it an accessible recipe for both beginner and experienced bakers. With a few basic steps, you can create a bakery-worthy cake in your own kitchen. And because it doesn’t require a lot of special equipment or techniques, you can focus on the fun part: enjoying the delicious results!
Conclusion
Chocolate Marble Cake is a timeless dessert that blends two classic flavors into one irresistible treat. The light, fluffy texture of the vanilla cake combined with the rich, chocolaty swirls creates a beautiful, delicious dessert that will leave everyone asking for seconds. Perfect for any occasion, whether a casual family dinner or a special celebration, this cake will quickly become a favorite in your baking repertoire. Give it a try today, and enjoy the satisfying joy of homemade chocolate marble cake!
