ADVERTISEMENT
Step 2: Make the Cheesecake Filling
- In a large bowl, beat the softened cream cheese with an electric mixer until smooth and creamy.
- Add the granulated sugar and vanilla extract, and continue to beat until fully incorporated.
- In a separate bowl, whip the heavy cream until stiff peaks form, then fold it into the cream cheese mixture.
- Stir in the sour cream and melted semi-sweet chocolate chips, mixing well.
- Gently fold in the crushed Oreo pieces, ensuring they are evenly distributed throughout the filling.
- Once everything is mixed, pour the cheesecake filling over the chilled Oreo crust in the springform pan, smoothing it out with a spatula.
Step 3: Chill the Cheesecake
- Place the cheesecake in the refrigerator and let it chill for at least 4 hours or overnight. The cheesecake needs time to set and firm up.
Step 4: Make the Chocolate Ganache Topping
- In a small saucepan, heat the heavy whipping cream over medium heat until it begins to simmer.
- Remove the saucepan from the heat and add the chocolate chips. Stir until the chocolate has melted completely and the ganache is smooth.
- Let the ganache cool slightly before drizzling it over the chilled cheesecake.
Step 5: Add the Finishing Touches
- Once the ganache has been poured over the cheesecake, garnish with additional crushed Oreo cookies for an extra layer of texture and flavor.
- Place the cheesecake back in the refrigerator for another 30 minutes to allow the ganache to set.
Step 6: Serve and Enjoy
- Before serving, carefully run a knife around the edges of the springform pan to loosen the cheesecake.
- Release the sides of the pan and transfer the cheesecake to a serving platter.
- Slice into wedges, serve, and enjoy the chocolatey, creamy, Oreo goodness!
Tips for Success:
- Chill the Cheesecake: Don’t rush the chilling process. Letting the cheesecake set in the fridge for several hours (or even overnight) ensures that it will slice cleanly and hold its shape.
- Use Room Temperature Cream Cheese: Softened cream cheese is key to achieving a smooth filling. Make sure it’s at room temperature before mixing to avoid lumps.
- Make It a No-Bake Version: If you want to skip the baking process entirely, simply follow the instructions for the crust and filling, and skip the baking step. The cheesecake will still set beautifully after chilling.
- Flavor Variations: Feel free to experiment with the flavor of the cheesecake. You could add melted white chocolate to the filling or layer some raspberry or strawberry puree for a fruity twist.
Healthier Tweaks (Optional):
- Lower the Sugar: You can reduce the amount of sugar in the filling or use a sugar substitute like Stevia or erythritol for a lighter version.
- Gluten-Free Option: Use gluten-free Oreos or another gluten-free cookie for the crust to make this dessert safe for those with gluten sensitivities.
Conclusion:
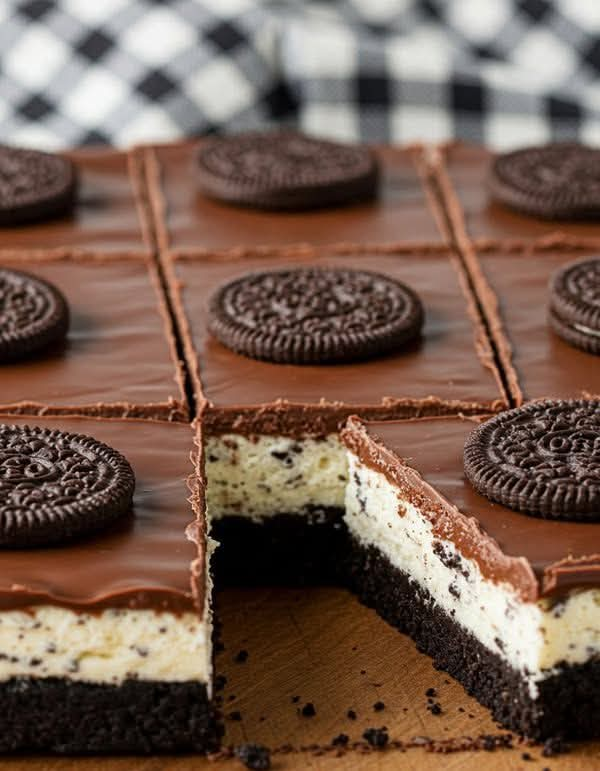
This Chocolate Oreo Cheesecake is a dessert that combines the best of both worlds: a rich, creamy cheesecake with the beloved crunch and flavor of Oreo cookies. The result is a decadent treat that’s perfect for any occasion. Whether you’re entertaining guests, celebrating a special event, or just treating yourself to something sweet, this cheesecake will be a hit!
Its combination of smooth, chocolatey filling and Oreo crust, topped with a luscious ganache and more crushed cookies, ensures that every bite is pure bliss. So grab your ingredients and prepare for a dessert that’s as fun to make as it is to eat. Your taste buds will thank you!
