ADVERTISEMENT
Cleaning a Mattress of Bed Bugs: A Meticulous Process That Requires Thoroughness and Persistence
If you’ve ever encountered a bed bug infestation, you know how frustrating and overwhelming the situation can be. These tiny, nocturnal pests are notoriously difficult to eliminate and can cause significant discomfort due to their bites. While professional extermination services may be necessary for severe cases, cleaning your mattress thoroughly is an important step in reducing the presence of bed bugs and preventing their spread.
Cleaning a mattress to get rid of bed bugs isn’t an easy task, but with persistence, the right tools, and a step-by-step process, you can tackle the problem effectively. In this article, we’ll walk you through a meticulous, yet effective, method for cleaning your mattress of bed bugs.
Why Are Bed Bugs So Hard to Get Rid Of?
Before we dive into the cleaning process, it’s important to understand why bed bugs are such a challenge to eradicate. These pests are:
- Small and elusive: Bed bugs are tiny (about the size of an apple seed), and they can hide in cracks, seams, and crevices of your mattress, making them hard to detect.
- Resilient: Bed bugs can survive for months without feeding, which makes them difficult to starve out.
- Nocturnal: They only come out to feed at night, so you may not always see them, even though you may be waking up with bites.
Due to these factors, simply vacuuming the mattress or changing the sheets may not be enough. A more comprehensive approach is needed.
Step-by-Step Guide to Cleaning a Mattress of Bed Bugs
Step 1: Remove Bedding and Inspect the Mattress
The first step in the cleaning process is to remove all bedding, including sheets, blankets, and pillowcases. Bed bugs can hide in any of these, so be sure to check them for any signs of infestation.
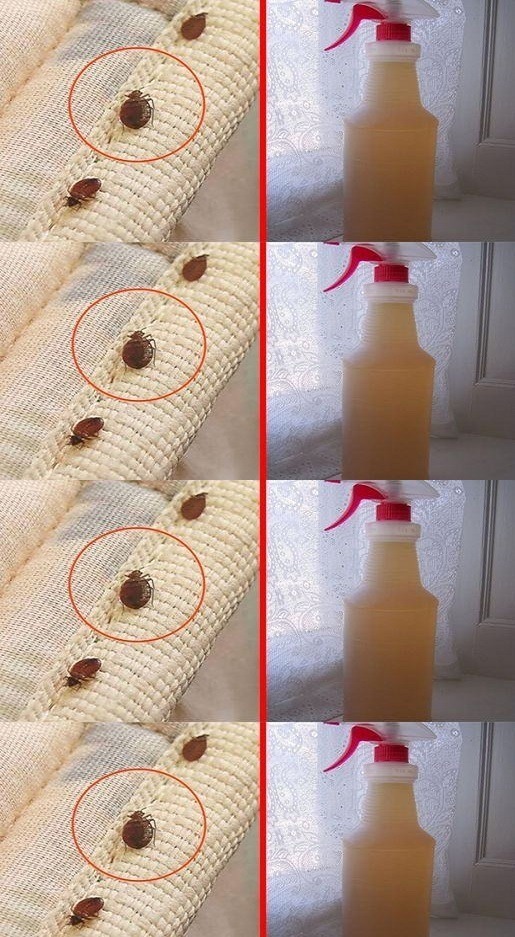
- Check for signs of bed bugs: Look for small brown or reddish spots (dried blood from bites), dark fecal spots, and shed exoskeletons along the seams, edges, and corners of the mattress. These signs can indicate the presence of bed bugs.
Step 2: Vacuum the Mattress Thoroughly
A vacuum cleaner with a hose attachment is an essential tool in your battle against bed bugs. Vacuuming is one of the most effective ways to physically remove bed bugs, their eggs, and their waste from the surface of the mattress.
- Vacuum every surface: Start by vacuuming the entire surface of the mattress, including seams, edges, and any cracks or crevices. Be sure to vacuum all areas where bed bugs might hide, paying special attention to the underside of the mattress as well.
- Use a crevice tool: For hard-to-reach places, use a crevice tool attachment to get into small spaces between the mattress seams.
- Dispose of the vacuum bag: If you’re using a vacuum with a bag, seal it up tightly and dispose of it immediately. Bed bugs can survive in the bag, so don’t leave it lying around.
Step 3: Apply Heat to the Mattress
Bed bugs are extremely sensitive to heat, and temperatures above 118°F (48°C) will kill them, including their eggs. One of the most effective ways to ensure you’ve eliminated any remaining pests is by applying high heat.
- Use a steamer: A steam cleaner is a great tool for sanitizing your mattress. Run the steamer over the entire surface, especially along seams and edges, where bed bugs are most likely to hide. The heat and moisture will kill bed bugs on contact.
- Ironing: If you don’t have a steamer, a steam iron can also be used to direct heat into the mattress. Run the steam iron along seams and edges for a few seconds at a time, being careful not to burn the fabric.
Step 4: Use Bed Bug Spray (Optional)
While heat is a very effective method for killing bed bugs, you may want to use a bed bug spray to further treat your mattress. Make sure to choose a product that is specifically designed for bed bugs and follow the manufacturer’s instructions carefully.
- Target the seams and cracks: Focus the spray on areas where bed bugs like to hide, including the seams, edges, and any cracks in the fabric. Don’t oversaturate the mattress—lightly misting these areas should be sufficient.
- Be cautious with chemicals: If you choose to use a chemical spray, make sure it’s safe for your mattress material and ensure that the area is well-ventilated during application. Allow time for the spray to dry completely before reassembling the bed.
Step 5: Encasing the Mattress
After you’ve thoroughly cleaned the mattress, it’s essential to encase it in a bed bug-proof mattress protector. These protectors are designed to trap any remaining bed bugs inside, preventing them from escaping and reproducing.
- Choose a high-quality encasement: Look for a mattress encasement that is specifically designed to trap bed bugs. The protector should have a zipper and be made of a material that’s difficult for bed bugs to chew through. Make sure the encasement fits snugly and covers the entire mattress.
