ADVERTISEMENT
Cleaning Your Oven with Dishwasher Tablets: A Simple Guide
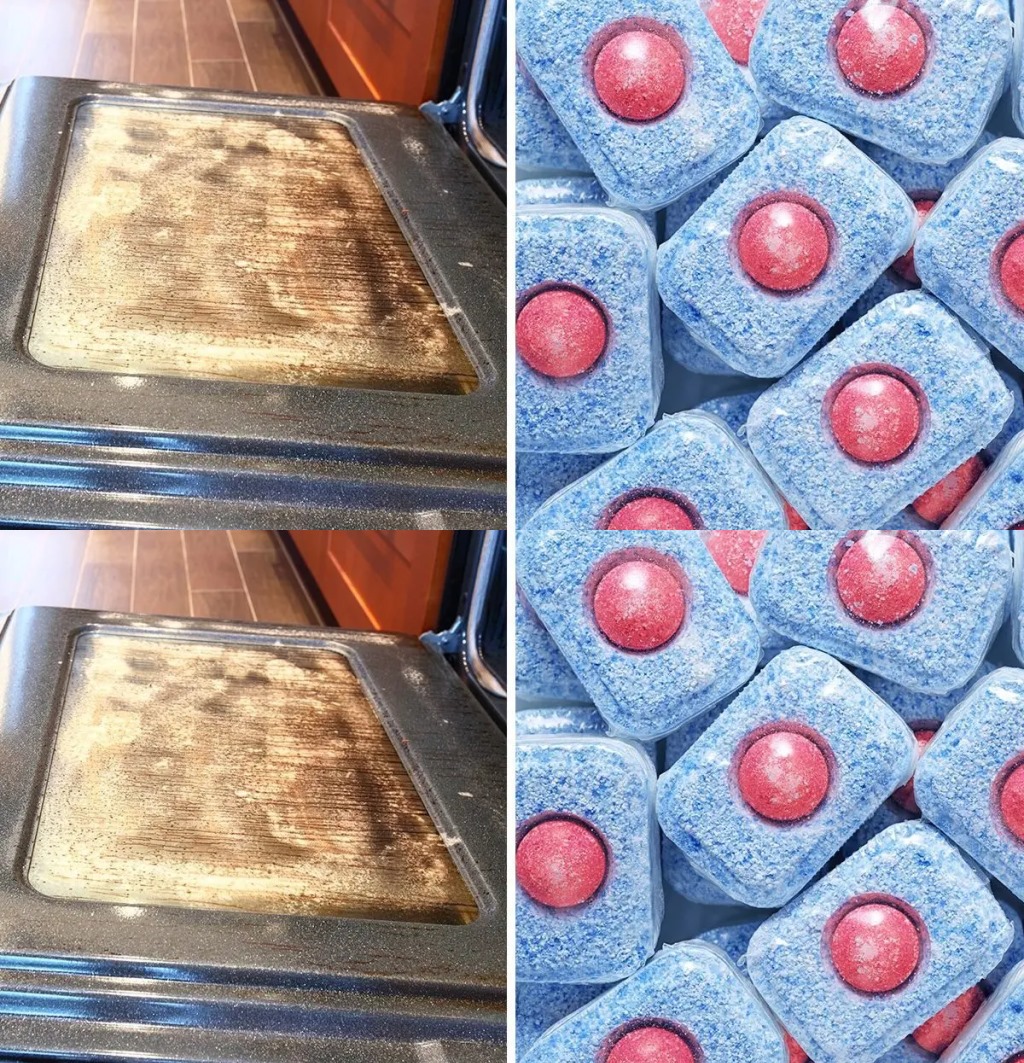
Oven cleaning can feel like a daunting and messy task. But what if there was a simple, effective, and budget-friendly way to get your oven sparkling clean without scrubbing for hours? The secret to an easier and more efficient oven cleaning process lies in something you already have in your kitchen: dishwasher tablets!
Dishwasher tablets are packed with powerful cleaning agents that break down grease and grime, making them an ideal solution for tackling tough oven stains. Read on to discover how to use dishwasher tablets to clean your oven effectively and quickly.
Why Dishwasher Tablets Work So Well
Dishwasher tablets contain enzymes and surfactants designed to break down grease, food particles, and other stubborn residues. These ingredients are not just effective in cleaning dishes, but also work wonders on the greasy surfaces of your oven. The combination of these ingredients helps to dissolve grime without the need for harsh chemicals, which means it’s both effective and safer for your home.
What You’ll Need
- 1–2 dishwasher tablets (depending on the size of your oven)
- Warm water
- A soft cloth or sponge
- A scrubbing brush (optional)
- Rubber gloves (optional, to protect your hands)
Step-by-Step Guide to Cleaning Your Oven with Dishwasher Tablets
Step 1: Remove Racks and Loose Items
Before you start, take out any oven racks, trays, or other items inside the oven. This will allow you to focus on cleaning the interior surfaces without obstruction. If your racks are also dirty, you can clean them using the same method, or soak them in warm water with one or two dishwasher tablets.
Step 2: Dissolve the Tablet in Warm Water
Fill a large container or bowl with warm water. Drop one or two dishwasher tablets into the water, depending on the level of grime. Stir the water to help the tablets dissolve fully. The warm water will activate the enzymes in the tablet, making the solution ready for cleaning.
Step 3: Apply the Solution to Oven Surfaces
Take a soft cloth or sponge and dip it into the soapy solution. Gently apply the solution to the inside surfaces of your oven, focusing on areas with grease buildup and stubborn stains. Be sure to cover the walls, floor, and ceiling of the oven, but avoid the heating elements as they may get damaged if exposed to too much moisture.
Step 4: Let the Solution Sit
Allow the soapy solution to sit on the surfaces for about 15–20 minutes. This will give the enzymes and cleaning agents time to break down the grease and food residues. For particularly greasy areas, you may want to let it sit a bit longer to loosen the grime.
Step 5: Scrub Away the Grime
After letting the solution sit, grab a scrubbing brush or sponge and gently scrub the oven’s surfaces. You’ll notice that the grease and grime should come off much more easily now. If stubborn spots remain, dip your brush or sponge into the solution again and give those areas a little more attention.
Step 6: Wipe Down the Oven
Once you’ve scrubbed away the grease and grime, use a clean cloth or sponge to wipe down all the surfaces, removing any remaining residue and moisture. This will leave your oven clean and shiny.
Step 7: Clean the Oven Racks
If you removed the racks earlier, now’s the time to clean them. Soak them in the same solution you made for the oven for about 30 minutes. After soaking, use a scrubbing brush to remove any buildup and rinse them clean.
For Complete Cooking STEPS Please Head On Over To Ne
