ADVERTISEMENT
your oven to 350°F (175°C). Line a baking sheet with parchment paper or a silicone baking mat to ensure that your biscuits bake evenly and don’t stick.
Step 2: Mix Dry Ingredients In a medium-sized bowl, sift together the flour, cocoa powder, baking powder, baking soda, and salt. This helps remove any lumps in the cocoa powder and ensures the dry ingredients are evenly distributed throughout the dough.
Step 3: Cream the Butter and Sugar In a separate large mixing bowl, cream together the softened butter and granulated sugar. Use a hand mixer or stand mixer on medium speed for about 2-3 minutes until the mixture becomes light and fluffy. This step is key to getting that soft interior texture in your biscuits.
Step 4: Add the Egg and Vanilla Once the butter and sugar are creamed, add in the egg and vanilla extract. Mix until well incorporated. The egg helps bind the ingredients together and adds to the softness of the biscuits.
Step 5: Combine Dry and Wet Ingredients Gradually add the dry ingredients to the wet mixture, stirring just until combined. Be careful not to overmix the dough, as this can make the biscuits too tough. If the dough feels too dry, add a tablespoon or two of milk to bring it together. The dough should be soft but not overly sticky.
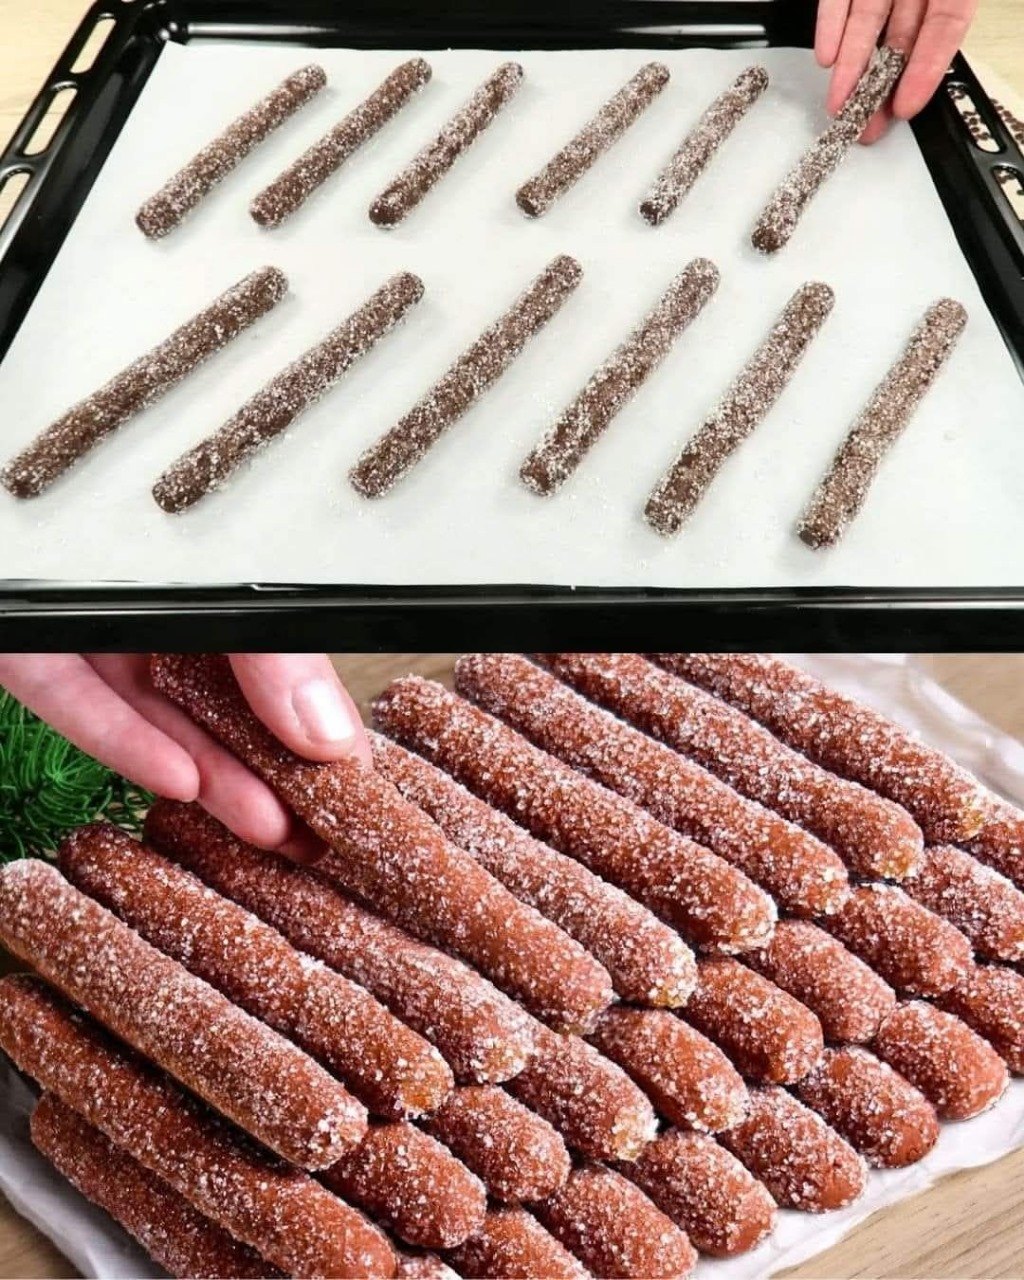
Step 6: Shape the Biscuits Using a spoon or cookie scoop, form small balls of dough and place them onto the prepared baking sheet. For a more uniform shape, you can gently flatten each ball with your fingers or the back of a spoon. Make sure to leave about 2 inches of space between each biscuit to allow them to spread slightly as they bake.
Step 7: Add Chocolate Chips (Optional) If you want to take these biscuits to the next level, sprinkle some chocolate chips or chopped chocolate on top of each biscuit before baking. This will give your cocoa biscuits extra richness and a burst of melty chocolate in every bite.
Step 8: Bake the Biscuits Bake the biscuits in the preheated oven for 12-15 minutes, or until they are slightly firm to the touch and the edges are golden brown. Keep an eye on them to avoid overbaking, as the biscuits should remain soft in the center.
Step 9: Let Cool Once baked, remove the biscuits from the oven and let them cool on the baking sheet for a few minutes before transferring them to a wire rack to cool completely. This helps maintain their crisp texture.
Tips for Perfect Cocoa Biscuits:
- Use Room Temperature Butter: It’s important that the butter is softened, not melted, so it blends smoothly with the sugar and gives the biscuits their light, airy texture.
- Don’t Overmix: Mix the dough just until the ingredients are combined. Overmixing can lead to dense biscuits that lack the delicate texture you’re aiming for.
- Adjust Sweetness: If you prefer a sweeter biscuit, feel free to add an extra tablespoon of sugar to the dough. The cocoa powder can be slightly bitter, so adjusting the sweetness to your liking is always a good idea.
- Store Properly: To keep your cocoa biscuits fresh and crispy, store them in an airtight container. They will stay good for about 4-5 days, though they rarely last that long!
Conclusion
Cocoa biscuits with a soft, crispy texture are the perfect treat to enjoy at any time of day. The blend of rich cocoa flavor with the ideal balance of softness and crunch makes them irresistible. Whether you’re baking for yourself or sharing with friends and family, these biscuits are sure to impress. With this simple recipe and a few easy steps, you can enjoy freshly baked cocoa biscuits in no time. So, grab your ingredients and start baking—your taste buds will thank you!
