ADVERTISEMENT
## **How to Make the Best Creamy Macaroni Salad: Step-by-Step Recipe**
### **Step 1: Cook the Pasta**
The first step in making creamy macaroni salad is to cook the pasta. Start by bringing a large pot of salted water to a boil. Add the elbow macaroni (or pasta of your choice) and cook according to the package directions, typically around 8-10 minutes. Be sure to cook the pasta until it is **al dente** (firm to the bite) to avoid it becoming mushy in the salad.
Once the pasta is cooked, drain it well and immediately rinse it under cold water to stop the cooking process. This step helps cool the pasta down quickly and prevents it from becoming overcooked. Drain the pasta again, and set it aside to cool completely.
### **Step 2: Prepare the Vegetables**
While the pasta is cooling, it’s time to prep the vegetables. Chop the celery, red onion, bell pepper, and carrots into small, bite-sized pieces. You can use a food processor to speed up the chopping process or do it by hand for a more rustic texture.
If you are using boiled eggs, peel and chop them into small pieces as well. Don’t forget to drain the peas if you’re using canned peas.
### **Step 3: Make the Dressing**
In a separate bowl, whisk together the mayonnaise, mustard, vinegar, sugar, salt, and pepper. Taste the dressing and adjust the seasoning if needed. If you prefer a tangier dressing, you can add more vinegar or mustard, depending on your taste preferences.
For extra flavor, you can also mix in some paprika or garlic powder, though these are optional. If you like a creamier dressing, you can add a little sour cream or Greek yogurt.
### **Step 4: Combine the Salad**
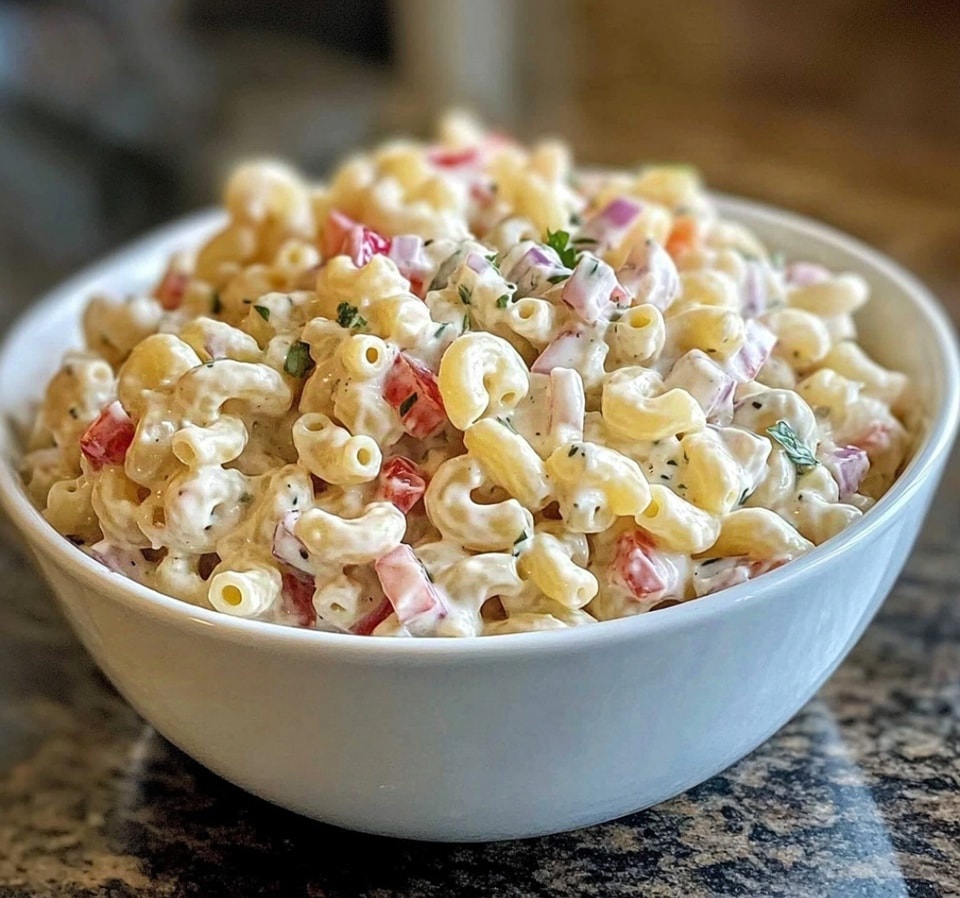
Once all your components are ready, it’s time to combine the macaroni salad. In a large mixing bowl, add the cooled pasta, chopped vegetables, boiled eggs (if using), and peas. Pour the dressing over the mixture and stir gently until all the ingredients are evenly coated with the creamy dressing.
Make sure that the dressing reaches every bit of pasta and vegetable. If the salad seems too dry, you can add a little more mayo or a splash of pickle juice for extra flavor.
### **Step 5: Chill and Serve**
Cover the macaroni salad and refrigerate it for at least **1 hour** (or up to overnight). Chilling the salad allows the flavors to meld and develop, making the dish even more delicious. Before serving, give it a final stir, taste for seasoning, and adjust if necessary.
Garnish with a sprinkle of paprika or extra parsley just before serving, and enjoy your perfect creamy macaroni salad!
—
## **Tips for Perfect Creamy Macaroni Salad**
### **1. Don’t Overcook the Pasta**
The key to a great macaroni salad is to cook the pasta just right. Overcooked pasta can become mushy and absorb too much of the dressing, resulting in a soggy salad. Be sure to cook the pasta al dente and rinse it under cold water immediately after draining.
### **2. Customize the Vegetables**
While the classic macaroni salad uses celery, onions, and carrots, feel free to customize the vegetable mix to your liking. You can add diced cucumbers, cherry tomatoes, or even fresh herbs like parsley or dill. Just be mindful of the texture—some vegetables, like cucumbers, release water and may make the salad soggy if added too early.
### **3. Make It Ahead of Time**
Macaroni salad tastes even better after it’s had time to chill in the fridge. Prepare it a few hours or even the day before your event to allow the flavors to develop. This also gives the pasta time to soak up the dressing.
### **4. Add Protein**
For a more filling version of the dish, consider adding cooked chicken, ham, or bacon bits. This transforms the salad into a complete meal or hearty side dish.
### **5. Adjust the Creaminess**
If you prefer a lighter dressing, consider swapping half of the mayo with plain Greek yogurt or sour cream. These options provide a tangy note while still maintaining the creamy texture.
For Complete Cooking STEPS Please Head On Over To Next Page Or Open button (>) and don’t forget to SHARE with your Facebook friends
