ADVERTISEMENT
### **Why Are Crunch Bars So Irresistible?**
Crunch Bars appeal to the senses in multiple ways, making them irresistible to many:
#### **1. Textural Contrast:**
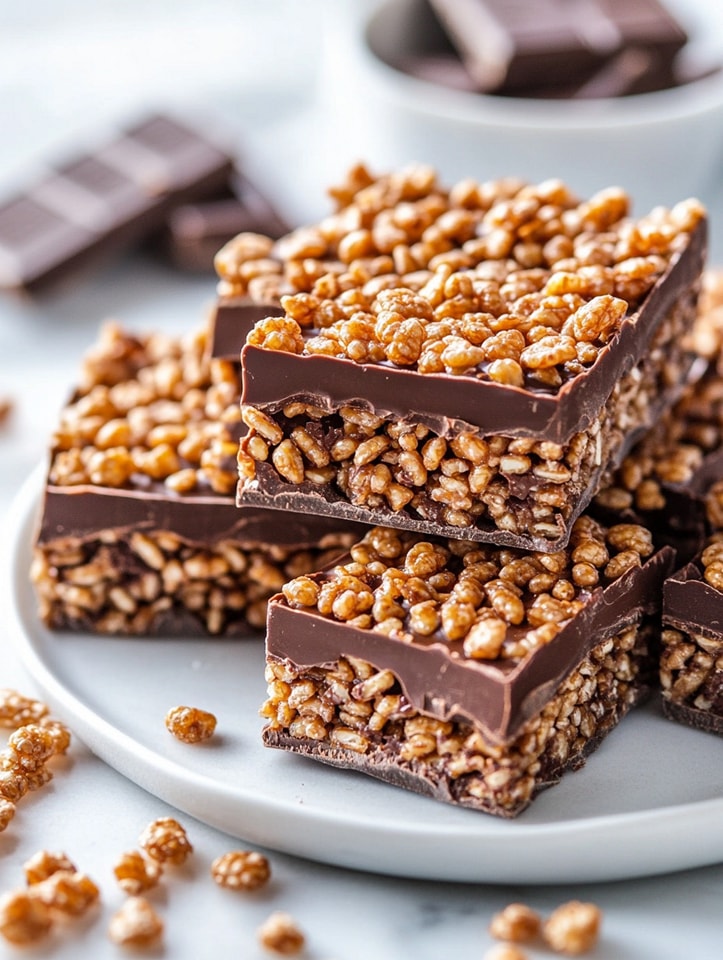
The perfect Crunch Bar offers a delightful contrast between a smooth, creamy exterior (usually chocolate) and a crispy, airy interior (often achieved through puffed rice, cereals, or wafer biscuits). This dynamic texture keeps your taste buds intrigued and engaged with each bite.
#### **2. Sweet and Salty Balance:**
Many Crunch Bars feature a combination of sweet and savory ingredients, such as milk or dark chocolate with a touch of salt or peanut butter. This balance creates a satisfying flavor profile that keeps you coming back for more.
#### **3. Nostalgic Appeal:**
For many, Crunch Bars bring a sense of nostalgia. Whether you remember eating your first Crunch Bar as a child or making your own treats at home, they have a special place in our memories. Their simplicity and familiar flavors evoke a comforting feeling that brings joy with every bite.
#### **4. Easy to Make and Customize:**
What makes Crunch Bars so appealing is that they can be easily made at home with a few simple ingredients. You can customize the bars to your liking, experimenting with different coatings, fillings, and toppings. They are also an excellent treat to make with kids, as the process is both fun and simple.
—
### **Crunch Bars Recipe – A Step-by-Step Guide**
Ready to make your own batch of Crunch Bars? Here’s a basic recipe that you can follow. Feel free to customize it with your favorite ingredients or add your personal twist to suit your taste!
#### **Ingredients:**
For the base:
– **4 cups puffed rice cereal** (or cornflakes, for a different texture)
– **2 cups mini marshmallows**
– **2 tablespoons unsalted butter**
– **1/2 teaspoon vanilla extract**
– **1/4 teaspoon salt** (optional, but enhances the flavor)
For the coating:
– **2 cups milk chocolate chips** (or dark chocolate for a richer flavor)
– **1/2 cup peanut butter** (optional, for a creamy addition)
– **1/4 teaspoon vanilla extract** (optional, for extra flavor)
– **A pinch of sea salt** (optional, for a sweet and salty combo)
#### **Instructions:**
1. **Prepare the Puffed Rice Base:**
In a large bowl, place the **puffed rice cereal**. You can use puffed rice, cornflakes, or any cereal of your choice, depending on your texture preferences. If you’re using cornflakes, crush them slightly to get a more uniform texture.
2. **Melt the Butter and Marshmallows:**
In a medium saucepan, melt the **butter** over medium heat. Once the butter has melted, add the **mini marshmallows** to the saucepan. Stir continuously until the marshmallows melt and form a smooth, gooey mixture. This should take about 2-3 minutes. Add the **vanilla extract** and **salt** (if using) and stir to combine.
3. **Combine the Cereal and Marshmallow Mixture:**
Pour the melted marshmallow mixture over the puffed rice cereal in the large bowl. Stir gently until the cereal is evenly coated with the marshmallow mixture. Be sure to coat each piece of cereal, so the crunch bars will hold together when cooled.
4. **Press the Mixture into a Pan:**
Line an 8×8-inch square baking dish with parchment paper, ensuring that the paper covers the sides of the dish for easy removal. Transfer the coated cereal mixture into the pan and use a spoon or spatula to press it down firmly. Make sure it’s even and compacted, as this will ensure the bars hold their shape when cut.
5. **Prepare the Chocolate Coating:**
In a microwave-safe bowl, melt the **chocolate chips** (and **peanut butter**, if using) in the microwave in 30-second intervals, stirring in between. This should take 1-2 minutes, depending on your microwave. Once melted, stir in the **vanilla extract** for extra flavor.
6. **Top the Bars with Chocolate:**
Pour the melted chocolate mixture evenly over the cereal base, spreading it out with a spatula to cover the top completely. If you prefer a thicker chocolate layer, you can double the amount of chocolate and peanut butter.
7. **Chill the Bars:**
Allow the bars to set by refrigerating them for at least 1 hour or until the chocolate has fully hardened. If you’re in a hurry, you can freeze them for 15-20 minutes.
8. **Cut and Serve:**
Once the chocolate has set, remove the bars from the pan by lifting the parchment paper. Cut into squares or rectangles and serve. Enjoy the sweet, crispy, and chocolatey goodness of your homemade Crunch Bars!
For Complete Cooking STEPS Please Head On Over To Next Page Or Open button (>) and don’t forget to SHARE with your Facebook friends
