ADVERTISEMENT
Instructions:
1. Whip the Cream:
In a mixing bowl, pour the heavy cream and use a hand mixer or whisk to whip it until soft peaks form. This usually takes about 1-2 minutes with a hand mixer. Be careful not to overwhip it; you want a light and airy texture, not butter!
2. Mix in Yogurt and Sweeteners:
Add the plain yogurt to the whipped cream and gently fold it in until well combined. Stir in the powdered sugar and vanilla extract. If you like your dessert a little sweeter, add honey or maple syrup to taste. Continue mixing until the texture is smooth and creamy.
3. Prepare the Fruit:
While mixing the cream, wash and chop your choice of fruit into bite-sized pieces. You can use any fresh fruit you like—berries, banana slices, kiwi, mango, or even a mix of tropical fruits. Fresh fruit gives the dessert a nice natural sweetness and a pop of color.
4. Assemble the Dessert:
Now, it’s time to layer your dessert. In serving glasses or bowls, layer a spoonful of the creamy mixture at the bottom, followed by a layer of chopped fruit. Repeat the layers, making sure you end with a generous topping of cream and fruit.
5. Add the Finishing Touches:
For a little crunch, sprinkle crushed nuts, granola, or even crushed biscuits on top of your dessert. You can also dust with a bit of cocoa powder, cinnamon, or even a few chocolate shavings for a decadent touch.
6. Serve and Enjoy:
Serve immediately or chill in the fridge for 10-15 minutes for a slightly firmer texture. The dessert will be delicious either way, so you can enjoy it instantly or after a short wait.
Tips and Variations:
- Non-Dairy Options: If you’re looking for a dairy-free version, you can swap the heavy cream with coconut cream and use dairy-free yogurt. Maple syrup works as a sweetener to keep it vegan.
- Add Flavors: For an extra kick of flavor, try adding a teaspoon of lemon zest, orange zest, or a splash of almond extract to the cream mixture. You can also fold in a spoonful of peanut butter or Nutella for a twist.
- Frozen Fruit: In a pinch, frozen fruit works too. Let it thaw slightly for a few minutes before adding it to the dessert, or you can use it as an icy layer to cool down the creamy mixture.
- Chill for Texture: If you want the dessert to be firmer and more mousse-like, you can refrigerate the dessert for 10-15 minutes before serving.
Why You’ll Love This Dessert:
- No Baking Required: No oven means less heat in the kitchen, and less time spent cleaning up afterward!
- Super Quick: It literally takes just 5 minutes of prep, so you can whip this up when you’re craving something sweet or when surprise guests arrive.
- Customizable: Feel free to swap ingredients based on what you have at home. Use different fruits, add chocolate chips, or layer in crushed cookies for extra texture. The possibilities are endless!
- No Condensed Milk Needed: This dessert skips the usual condensed milk, making it a lighter and less sugary option, while still being incredibly creamy and indulgent.
Conclusion:
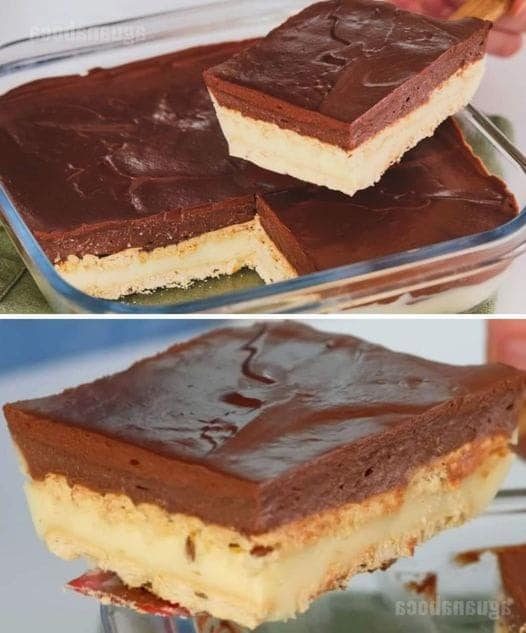
This 5-minute no-bake dessert is perfect for anyone who loves sweet treats but doesn’t have the time or ingredients for a complicated recipe. With minimal effort and simple ingredients, you can create a dessert that’s both satisfying and customizable to your taste. So next time you need a quick and delicious fix, give this recipe a try—you’ll be amazed at how easy and tasty it can be!
