ADVERTISEMENT
th a small knife or strawberry huller.
Step 2: Cook the Jam
- Combine ingredients: In a large pot, combine the mashed strawberries, sugar, lemon juice, and vanilla extract (if using). Stir well to dissolve the sugar, and let the mixture sit for 10 minutes. The sugar will help draw out the juice from the strawberries.
- Cook the jam: Place the pot over medium heat and bring the strawberry mixture to a boil. Stir frequently to prevent the sugar from burning. Once it starts to boil, reduce the heat and let it simmer for about 20-25 minutes, stirring occasionally. The jam should start to thicken as it cooks.
Step 3: Test the Jam’s Consistency
- Test for doneness: To check if your jam is ready, take a spoonful of the mixture and place it on a cold plate. Let it cool for a few seconds, then run your finger through the jam. If it wrinkles and holds its shape, it’s done. If it’s still runny, cook it for a few more minutes and test again.
- Optional pectin: If you prefer a firmer texture, you can add pectin to help the jam set. Stir the pectin into the mixture and cook for another 2-3 minutes, following the instructions on the pectin package for the best results.
Step 4: Cool and Store
- Cool the jam: Once the jam reaches the desired consistency, remove it from the heat. Let it cool slightly before transferring it to sterilized jars.
- Store the jam: Pour the jam into clean, sterilized jars and let it cool completely. Once cooled, cover with a lid and store the jam in the refrigerator. The jam will keep for up to 3-4 weeks in the fridge. For longer storage, you can preserve it by canning it using a water bath method (be sure to follow proper canning instructions for safety).
Tips for Perfect Strawberry Jam
- Choose ripe strawberries: For the best flavor, use ripe, sweet strawberries. Overripe or underripe strawberries can affect the texture and taste of the jam.
- Add a touch of spice: For a unique twist, you can add a pinch of cinnamon or nutmeg to the jam for a subtle warming flavor.
- Use fresh lemon juice: Fresh lemon juice helps balance the sweetness of the jam and also aids in the setting process.
- Avoid overcooking: While it’s important to cook the jam long enough to thicken, be careful not to overcook it. Overcooking can cause the jam to become too thick and sugary.
How to Enjoy Your Homemade Strawberry Jam
Once you’ve made your easy strawberry jam, the possibilities for enjoying it are endless! Here are just a few ideas:
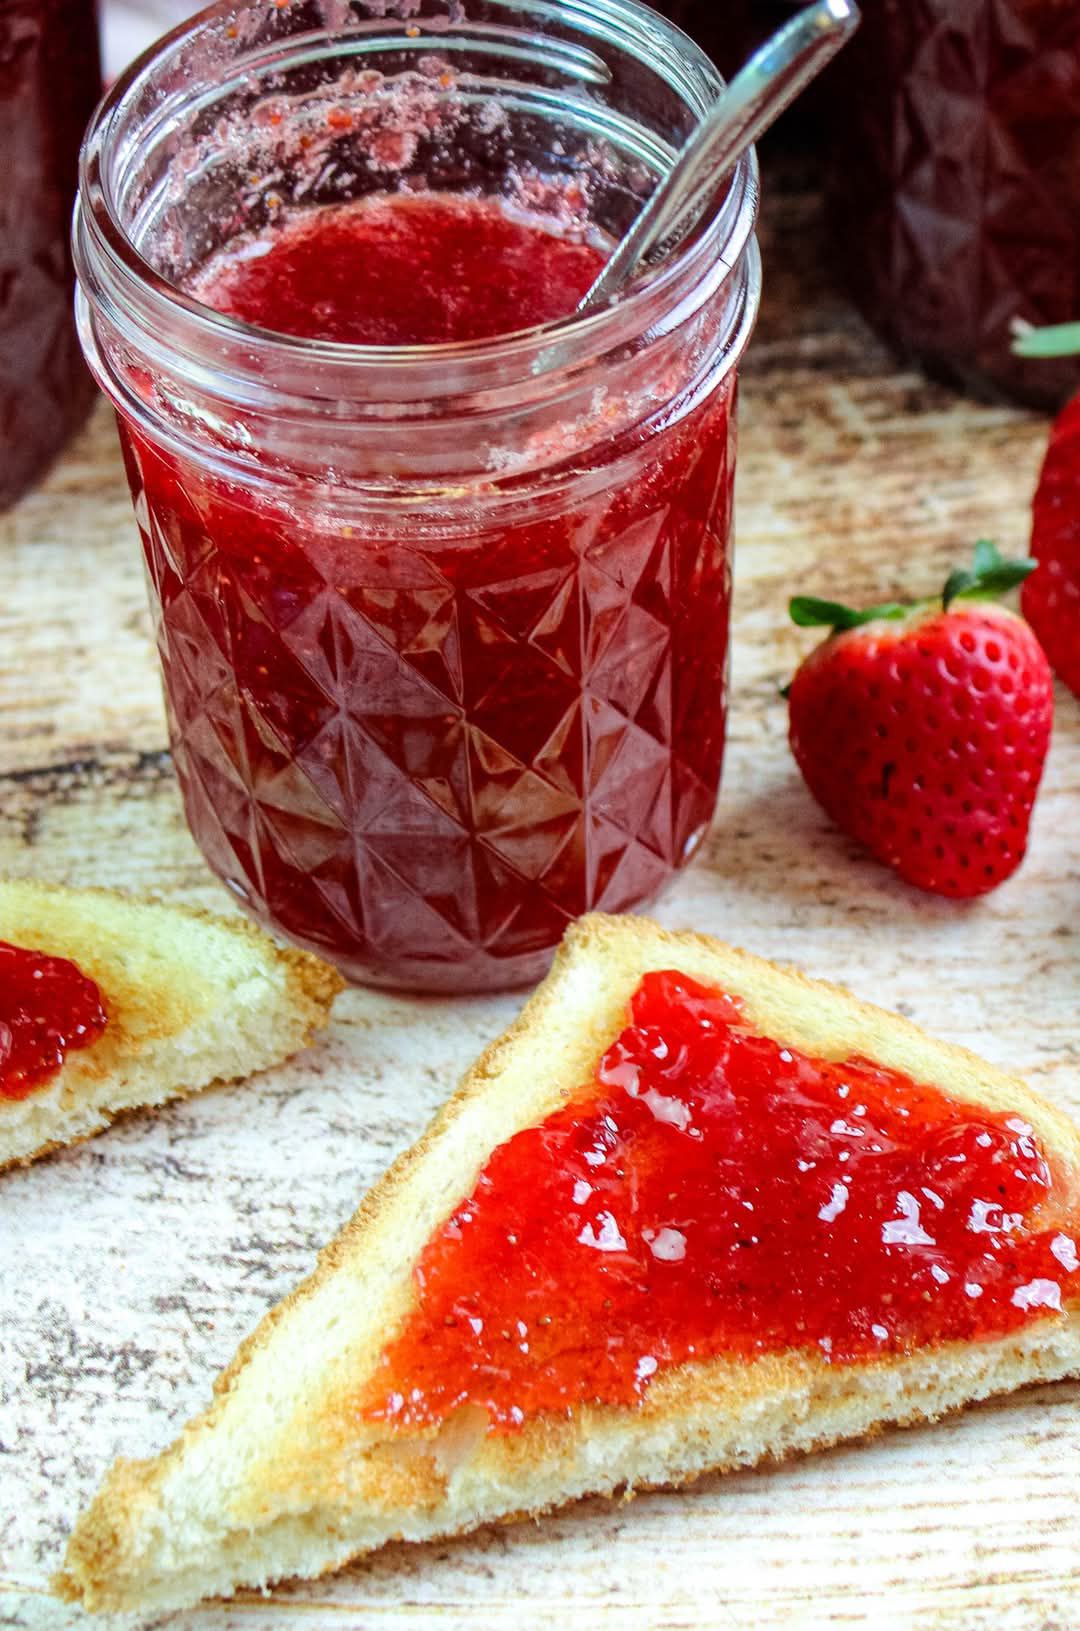
- On toast: Spread a generous layer of strawberry jam on toasted bread, a warm croissant, or an English muffin for a sweet breakfast treat.
- With yogurt: Stir a spoonful of strawberry jam into plain or Greek yogurt for a fruity, creamy snack.
- In desserts: Use strawberry jam as a filling for cakes, tarts, or pastries. It’s also great as a topping for cheesecakes or ice cream.
- With cheese: Pair strawberry jam with a block of sharp cheddar or brie for a sweet and savory snack.
- As a gift: Package your homemade jam in cute jars and gift them to friends and family. You can even decorate the jar with a ribbon or fabric for an extra personal touch.
Final Thoughts
Making homemade Easy Strawberry Jam is a simple, rewarding process that results in a delicious spread that’s perfect for any occasion. With just a few ingredients and minimal cooking time, you can enjoy the fresh, fruity taste of strawberries all year long. Whether you’re spreading it on toast, adding it to desserts, or enjoying it straight from the jar, this homemade jam is a true treat.
So, gather some fresh strawberries, roll up your sleeves, and try this easy recipe to make your own batch of strawberry jam. Once you’ve tasted homemade jam, you may never want to go back to store-bought again!
