ADVERTISEMENT
Absolutely! Here’s an informative and engaging article titled:
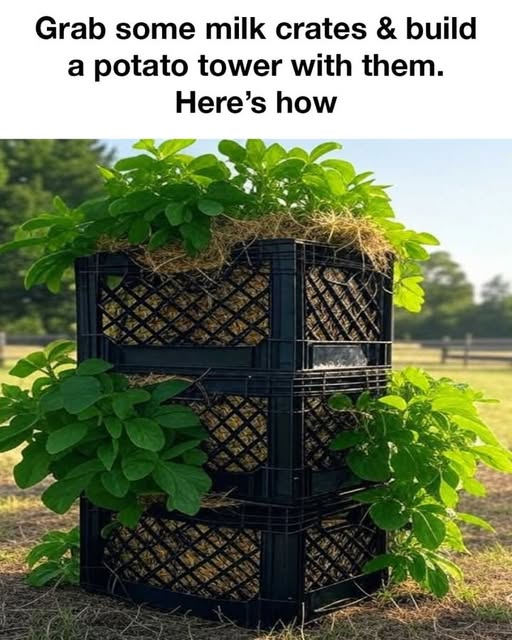
Grab Some Milk Crates & Build a Potato Tower with Them — Here’s How!
If you love growing your own food but don’t have a ton of space, this creative DIY is perfect for you. Potato towers made from milk crates are an incredibly clever, space-saving solution that allows you to grow a hearty harvest of potatoes — vertically! Whether you’re gardening on a balcony, patio, or small backyard, this project is simple, affordable, and surprisingly fun.
Let’s dig into how to build your own potato tower using nothing more than a few milk crates, some soil, and a little potato-growing magic.
🥔 Why a Potato Tower?
Potato towers are a smart way to grow lots of potatoes in a little footprint. Instead of spreading them out across the garden, you grow them upward. This works beautifully because as potatoes grow, they produce more tubers along the buried stem — which means the taller your setup, the more potatoes you can harvest!
Milk crates are perfect for this because:
- They’re sturdy and stackable.
- They have built-in drainage.
- They’re lightweight and easy to move.
- They’re often free or very inexpensive.
🧰 What You’ll Need
- 2–4 milk crates (depending on how tall you want your tower)
- Burlap sacks or landscape fabric
- Seed potatoes (choose a variety suited for containers)
- Potting soil or compost-rich garden soil
- Watering can or hose
- A sunny spot (at least 6 hours of sunlight per day)
🛠️ How to Build a Milk Crate Potato Tower
Step 1: Line the Crates
Line the inside of each milk crate with burlap or landscape fabric. This keeps soil from spilling out through the holes but still allows for air flow and drainage.
Step 2: Prepare the Base Layer
Place your first lined crate on a flat surface in a sunny location. Fill it with about 4–6 inches of soil.
Plant 2–3 seed potatoes (depending on crate size) with the eyes facing up, then cover them with another 4 inches of soil.
Step 3: Water Well
Water the soil thoroughly so it’s moist but not soggy. Potatoes like consistent moisture, especially as they start to sprout.
