ADVERTISEMENT
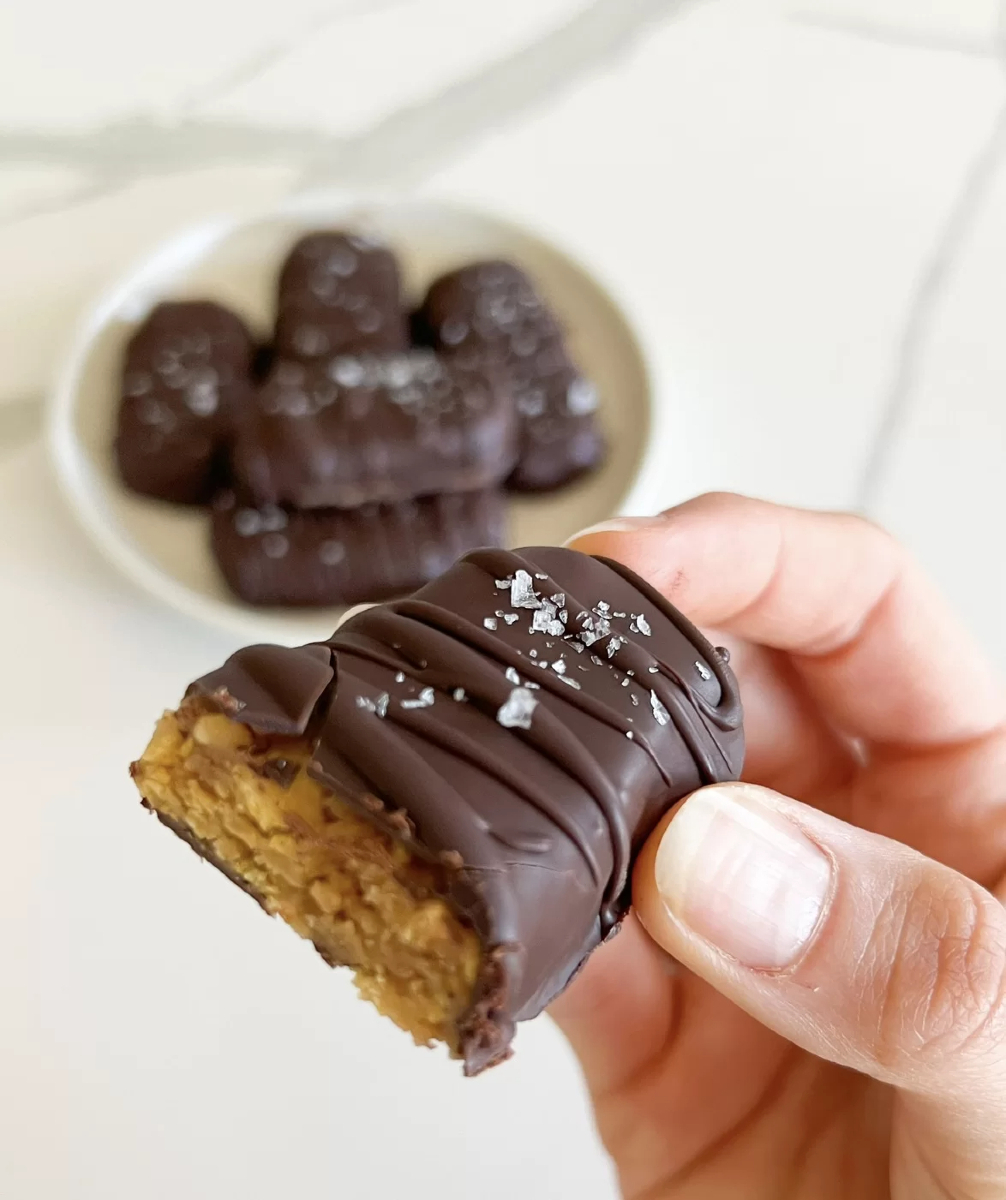
emade Butterfingers:
For Complete Cooking STEPS Please Head On Over To Next Page Or Open button (>) and don’t forget to SHARE with your Facebook friends
### **For the Peanut Butter Base**:
– 1 cup **natural peanut butter** (make sure it’s just peanuts and salt, no added sugar or oils)
– 2 tablespoons **maple syrup** or **coconut nectar** (for sweetness)
– 1 teaspoon **vanilla extract** (for flavor)
– 2 cups **gluten-free crispy brown rice cereal** (like **Rice Krispies**)
– Pinch of salt (optional, depending on your peanut butter’s saltiness)
### **For the Chocolate Coating**:
– 1/2 cup **dairy-free chocolate chips** (or any vegan-friendly chocolate)
– 1 tablespoon **coconut oil** (to help the chocolate melt smoothly)
—
## 🍽️ How to Make Healthy Homemade Butterfingers:
### **Step 1: Prepare the Peanut Butter Base**
1. **Melt the Peanut Butter**: In a small saucepan, gently warm the **peanut butter** over low heat until it’s soft and easily spreadable. Stir in the **maple syrup** (or coconut nectar) and **vanilla extract**. If your peanut butter is already liquid, just mix these ingredients directly in a large bowl.
2. **Combine with Rice Cereal**: Once your peanut butter mixture is smooth and creamy, pour it into a large mixing bowl. Add the **gluten-free rice cereal** and a pinch of salt if desired. Stir well to coat the cereal evenly with the peanut butter mixture. The goal is to make sure every little piece of rice cereal is coated in that delicious peanut butter goodness!
3. **Shape the Base**: Line a small baking pan (an 8×8-inch square pan works well) with parchment paper for easy removal later. Transfer the peanut butter-cereal mixture into the pan and press it down evenly with a spoon or your hands. Make sure it’s tightly packed to create a solid base.
### **Step 2: Chill the Peanut Butter Layer**
1. Once the peanut butter base is evenly spread, place the pan in the **freezer** for at least **30 minutes** to firm up. This step is essential, as it ensures that the base holds together when you coat it with chocolate.
### **Step 3: Make the Chocolate Coating**
1. **Melt the Chocolate**: While the peanut butter base is chilling, melt the **dairy-free chocolate chips** with **coconut oil** in a microwave-safe bowl. Heat in 20-second intervals, stirring in between, until the chocolate is smooth and melted.
2. **Coat the Peanut Butter Bars**: Once the peanut butter layer is firm, take the pan out of the freezer. Cut the peanut butter mixture into small, rectangular bars. Dip each bar into the melted chocolate, ensuring it’s fully coated, and then place it back on the parchment paper to set.
### **Step 4: Chill the Bars Again**
1. After all the bars are coated in chocolate, return the pan to the freezer for another **10-15 minutes** to let the chocolate harden. This will give you that perfect chocolate shell that makes Butterfingers so irresistible.
### **Step 5: Serve and Enjoy!**
1. Once the chocolate has fully set, your healthy homemade Butterfingers are ready to enjoy! Store them in an airtight container in the fridge or freezer to keep them firm and fresh.
—
## 🍬 Tips and Variations:
– **Make it Peanut-Free**: If you’re allergic to peanuts, you can substitute the peanut butter with **sunflower seed butter** or **almond butter** for a similar creamy texture.
– **Use Other Sweeteners**: If you’re looking for an even lower-glycemic option, try **stevia** or **monk fruit sweetener** in place of maple syrup or coconut nectar.
– **Customize the Chocolate**: For an extra boost of flavor, try mixing in a little **cinnamon** or a dash of **espresso powder** to your chocolate coating. It’ll give it a unique twist!
– **Add Toppings**: Want to add a little extra crunch or flavor? Sprinkle some chopped **nuts**, **seeds**, or even a bit of **sea salt** over the chocolate before it hardens for a gourmet touch.
—
## 💡 Why These Healthy Homemade Butterfingers Are Worth It
These **healthy homemade Butterfingers** are the perfect guilt-free treat for anyone with dietary restrictions or those who just want a cleaner, more wholesome candy bar. By swapping out traditional ingredients for natural, plant-based alternatives, you’re getting all the classic **crunchy, peanut buttery goodness**—without any of the artificial junk. Plus, they’re so easy to make, and the results are absolutely **delicious**!
Whether you’re vegan, gluten-free, or simply looking for a healthier sweet snack, these Butterfingers are an excellent choice. They’re great for satisfying your cravings, and they also make a wonderful homemade gift or party snack.
—
**Ready to try them out?** Whip up a batch of these healthy homemade Butterfingers and treat yourself to a nostalgic, yet nutritious, indulgence!
—
Let me know how it goes or if you have any other fun twists to add to this recipe! 🍫
