ADVERTISEMENT
Instructions: How to Make Homemade Cheese in Just 10 Minutes
Step 1: Heat the Milk
Start by pouring the 2 cups of whole milk into a medium-sized saucepan. Place the saucepan over medium heat and warm the milk, stirring occasionally. You want the milk to reach a temperature of about 180°F (82°C), which is just below boiling. Be sure to watch the milk closely, as it can boil over quickly. Stirring helps prevent the milk from scorching on the bottom.
Step 2: Add the Acid
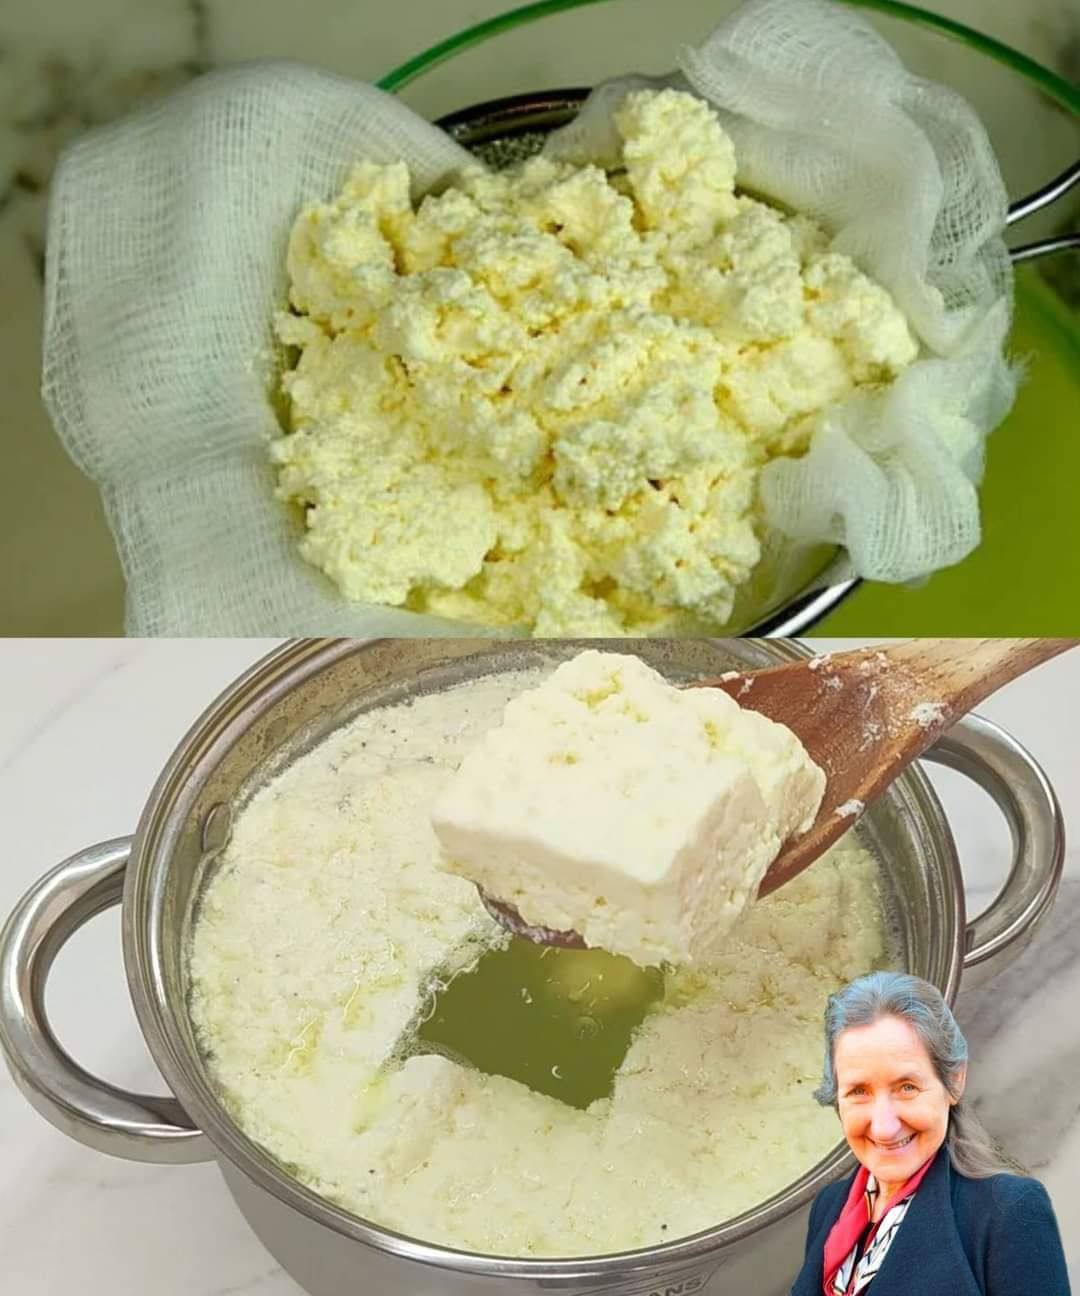
Once the milk reaches the right temperature, remove the saucepan from the heat. Now, add the lemon juice (or white vinegar) and stir gently. The acid will cause the milk to curdle, forming curds (the solid part of the cheese) and whey (the liquid part). This process should only take about 1-2 minutes.
Step 3: Let It Sit
Allow the milk mixture to sit for about 5 minutes. During this time, the curds will form and separate from the whey. You’ll start to see the curds clumping together while the whey becomes more liquid. This is a good sign that your cheese is forming!
Step 4: Strain the Cheese
After the curds have formed, it’s time to drain the whey. Set up a strainer over a large bowl and line it with a cheesecloth or a clean kitchen towel. Pour the curdled mixture into the strainer, allowing the whey to drain off. If you prefer a firmer cheese, let it sit in the strainer for a few more minutes to allow more whey to drain out. For a creamier texture, you can let it drain for a shorter time.
Step 5: Add Salt and Cream (Optional)
Once the cheese has drained to your liking, transfer the curds to a small bowl. Add 1/2 teaspoon of salt to taste, and if you want an extra creamy cheese, stir in 1/2 cup of heavy cream. This step is optional but will give your homemade cheese a smooth, rich texture.
Step 6: Serve and Enjoy!
Your homemade cheese is now ready to be enjoyed! You can serve it immediately or refrigerate it for later. It’s perfect as a spread on crackers, in salads, or as a topping for soups and pasta dishes. If you choose to refrigerate it, store it in an airtight container, and it will keep for about 3-4 days.
Tips for Perfecting Your Homemade Cheese
- Milk Temperature: Make sure the milk reaches 180°F (82°C) before adding the acid. If the milk is too cold, the curds may not form properly.
- Straining: For a smoother cheese, be sure to strain out as much of the whey as possible. If you prefer a thicker, firmer cheese, let it drain longer.
- Add Flavors: Feel free to experiment with flavorings! You can add garlic, herbs (like basil or thyme), or even chili flakes to make flavored cheese. Just add them after the straining process, while the cheese is still warm.
- Vinegar vs. Lemon Juice: Both lemon juice and vinegar work well for curdling the milk, but lemon juice may give the cheese a slightly milder flavor. Vinegar can produce a tangier taste.
Why This Recipe is a Must-Try
- Quick and Easy: In just 10 minutes, you can make your own cheese from scratch! It’s the perfect recipe for busy days when you want a homemade treat but don’t have a lot of time.
- No Special Equipment: You don’t need any fancy cheese-making tools or equipment. Just a few basic kitchen items, and you’re good to go!
- Customizable: You can adjust the level of salt and creaminess to suit your taste, and add herbs or spices to personalize your cheese.
- No Preservatives: This homemade cheese is fresh, pure, and free of any artificial additives or preservatives. You’ll know exactly what’s going into your food!
Conclusion
Making homemade cheese in just 10 minutes is easier than you ever thought possible! This quick and simple recipe yields creamy, fresh cheese that’s perfect for a variety of dishes. Whether you’re spreading it on toast, mixing it into pasta, or enjoying it by itself, you’ll be amazed at how satisfying it is to make your own cheese.
So, the next time you’re craving something cheesy, skip the store-bought versions and try making this homemade cheese instead. With just a few ingredients and minimal effort, you can enjoy a fresh, creamy delight that’s perfect for any occasion. Happy cheese-making!
