ADVERTISEMENT
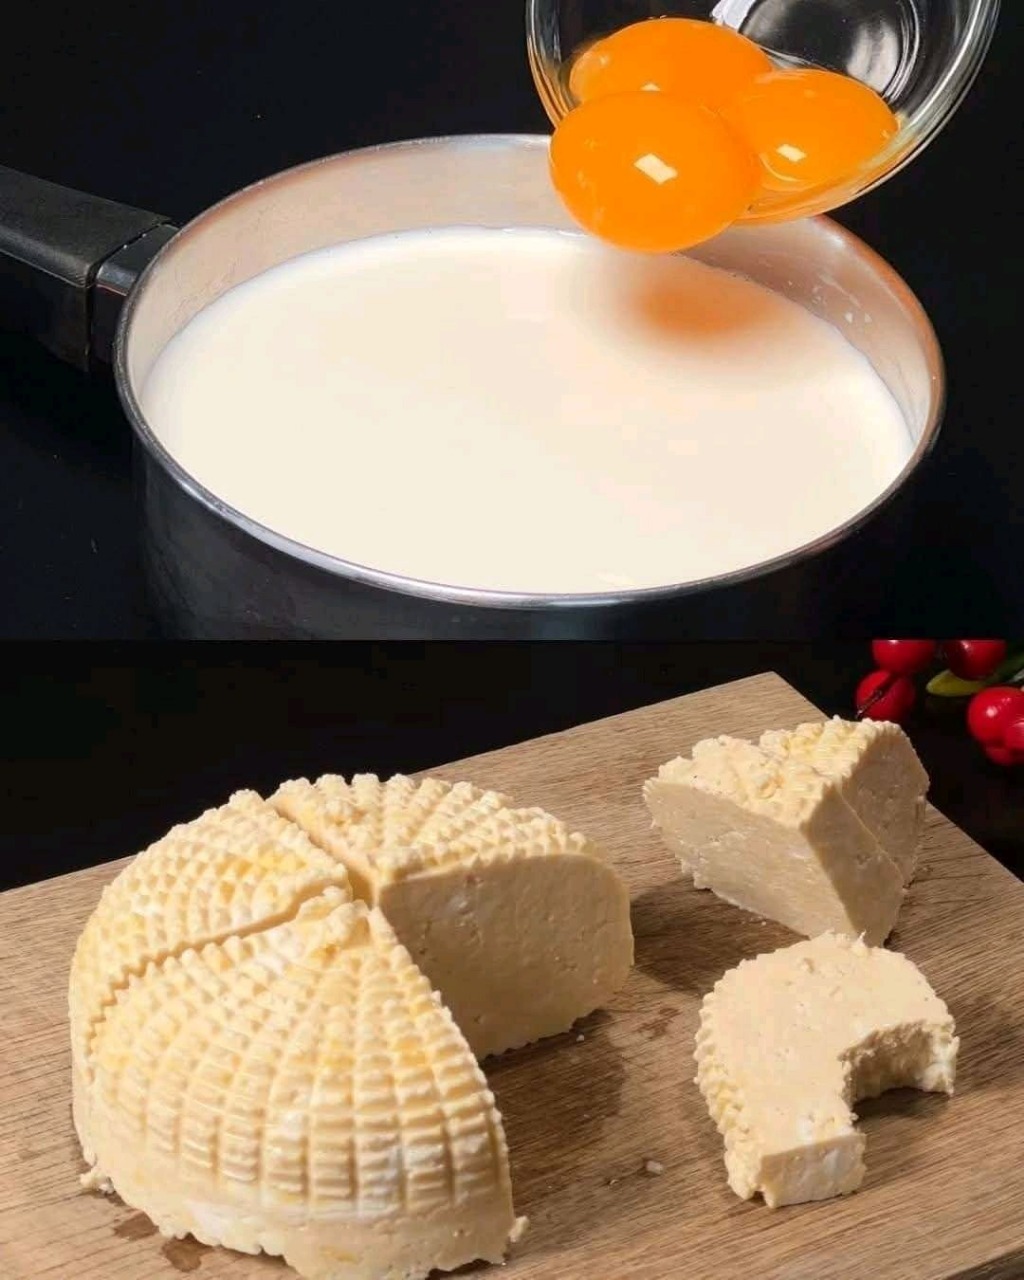
### **Homemade Cheese Recipe: Fresh Mozzarella**
Mozzarella is a classic cheese that is easy to make and perfect for beginners. This soft, mild cheese is popular in Italian dishes like pizza and caprese salad, and it’s known for its stretchy texture and delicate flavor. Homemade mozzarella can be made in just a few hours and doesn’t require aging, making it the perfect starting point for new cheesemakers.
#### **Ingredients**
To make homemade mozzarella, you will need the following ingredients:
– 1 gallon of fresh whole milk (avoid ultra-pasteurized milk)
– 1/4 tablet of rennet (vegetable or animal-based)
– 1/4 cup of water (for dissolving the rennet)
– 1/4 cup of white vinegar or fresh lemon juice
– 1 tablespoon of salt
– 1/4 cup of non-iodized salt (for brining, optional)
– 1/4 teaspoon of citric acid (optional, depending on the milk and the recipe)
#### **Equipment**
– Large pot (to heat the milk)
– Thermometer (for monitoring the temperature of the milk)
– Cheesecloth (for draining the curds)
– Cheese mold (optional)
– Slotted spoon
– Large bowl (for curdling)
– Microwave-safe bowl (for stretching the cheese)
—
#### **Step-by-Step Instructions for Making Homemade Mozzarella**
**Step 1: Preparing the Milk**
Start by pouring the milk into a large pot and slowly heating it over low to medium heat. Stir occasionally to prevent the milk from scorching. Using your thermometer, heat the milk to around 85°F (29°C). Once the milk reaches this temperature, add the citric acid (if using) dissolved in a little water, or simply add the vinegar or lemon juice. Stir the mixture gently to incorporate the acid into the milk.
**Step 2: Adding the Rennet**
In a small bowl, dissolve the rennet in about 1/4 cup of cool, non-chlorinated water. Stir gently to ensure that the rennet is fully dissolved. Once the milk reaches 85°F, slowly pour the rennet mixture into the pot of milk while stirring gently. Stop stirring and let the milk sit undisturbed for about 30 minutes. During this time, the milk should begin to curdle and form solid curds.
**Step 3: Cutting the Curds**
After the milk has set and the curds have formed, you’ll notice a solid mass (the curd) separated from the liquid (the whey). Using a knife or long spatula, cut the curds into 1-inch cubes. Let the curds rest for about 5 minutes to firm up a bit before proceeding.
**Step 4: Heating the Curds**
Slowly heat the curds to 105°F (40°C) while gently stirring occasionally. The heat helps to expel more whey from the curds. Once the curds reach this temperature, continue stirring gently for another 5-10 minutes.
**Step 5: Draining the Whey**
Using a slotted spoon or fine mesh strainer, transfer the curds into a bowl lined with cheesecloth. Let the whey drain off for several minutes, leaving behind the solid curds. Save the whey if you plan on using it for making other products (such as ricotta) or as a base for soups or smoothies.
**Step 6: Stretching the Cheese**
Once the whey has drained from the curds, it’s time to stretch the mozzarella. Transfer the curds to a microwave-safe bowl and microwave them on high for 30 seconds. After 30 seconds, remove the curds and gently stretch and fold them. If the curds are still too firm, microwave them for another 30 seconds and repeat the stretching process. Stretch the cheese until it becomes smooth and elastic, adding salt to taste. This is the fun part—watching the cheese transform into a soft, stretchy, and glossy ball of mozzarella!
**Step 7: Shaping and Storing the Cheese**
Once the mozzarella has reached the desired consistency, shape it into balls or a log shape, depending on your preference. If desired, you can place the mozzarella in a bowl of salted water or a brine solution for added flavor. You can also store the cheese in the refrigerator for up to a week.
For Complete Cooking STEPS Please Head On Over To Next Page Or Open button (>) and don’t forget to SHARE with your Facebook friends
