ADVERTISEMENT
**Instructions**:
#### Step 1: Brew the Coffee
Start by brewing your coffee. You’ll need ½ cup of strong coffee for a bold flavor, or ¾ cup for a more intense coffee taste. You can use espresso or any strong coffee you prefer. Allow the coffee to cool to room temperature.
#### Step 2: Make the Custard Base
In a medium saucepan, combine the heavy cream, whole milk, and sugar. Warm the mixture over medium heat, stirring constantly, until the sugar has dissolved and the mixture is heated through. Don’t let it boil.
In a separate bowl, whisk the egg yolks until they’re light and smooth. Slowly pour a small amount of the hot milk mixture into the egg yolks while whisking constantly to temper the eggs. Gradually add more of the hot mixture to the yolks, whisking continuously.
Once the egg yolk mixture is warm, pour it back into the saucepan with the rest of the cream and milk. Continue to cook over low heat, stirring constantly, until the mixture thickens and coats the back of a spoon. This should take about 5-7 minutes.
#### Step 3: Add the Coffee and Vanilla
Remove the custard mixture from the heat. Stir in the brewed coffee, vanilla extract, and a pinch of salt. Mix well to combine.
#### Step 4: Chill the Mixture
Transfer the custard mixture to a bowl and let it cool at room temperature for a few minutes. Then, cover the bowl with plastic wrap, ensuring the wrap touches the surface of the mixture to prevent a skin from forming. Place the bowl in the fridge for at least 4 hours, or overnight, to chill completely.
#### Step 5: Churn the Ice Cream
Once the custard has chilled, it’s time to churn it into ice cream! If you have an ice cream maker, follow the manufacturer’s instructions for your machine. Pour the chilled mixture into the ice cream maker and churn for about 20-25 minutes, or until it reaches a soft-serve consistency.
#### Step 6: Freeze the Ice Cream
Transfer the churned ice cream to an airtight container and smooth the top. Freeze the ice cream for at least 4 hours, or until it becomes firm and scoopable.
### Option 2: No-Cook Coffee Ice Cream (Egg-Free)
**What You’ll Need**:
– 2 cups heavy cream
– 1 cup whole milk
– ¾ cup granulated sugar
– ½ cup freshly brewed coffee (or 1 shot of espresso)
– 1 teaspoon vanilla extract
– A pinch of salt
**Instructions**:
#### Step 1: Brew the Coffee
As with the custard-based version, start by brewing your coffee. Let it cool to room temperature.
#### Step 2: Mix the Ingredients
In a large bowl, combine the heavy cream, whole milk, sugar, brewed coffee, vanilla extract, and a pinch of salt. Whisk until the sugar is dissolved and the mixture is smooth.
#### Step 3: Churn the Ice Cream
Pour the mixture into your ice cream maker and churn according to the manufacturer’s instructions, usually for about 20-25 minutes, until it reaches a soft-serve consistency.
#### Step 4: Freeze the Ice Cream
Transfer the ice cream to an airtight container and smooth the top. Freeze for at least 4 hours, or until the ice cream becomes firm enough to scoop.
## Customizing Your Homemade Coffee Ice Cream
One of the great things about making homemade ice cream is that you can add your personal touch. Here are some ideas for customizing your coffee ice cream:
– **Coffee Swirls**: After churning, swirl in some extra brewed coffee or espresso for an added intensity of flavor.
– **Chocolate Chips**: Add chocolate chips or chunks to the ice cream for a coffee and chocolate combination that’s nothing short of amazing.
– **Caramel Swirl**: Drizzle caramel sauce into the ice cream before freezing for a sweet and salty contrast to the coffee flavor.
– **Crunchy Add-ins**: Add crushed cookies, toffee bits, or candied nuts to the mix for extra texture and flavor.
– **Alcohol Infusion**: For a grown-up twist, add a splash of Kahlua or Baileys Irish Cream to the base before churning.
## Storing and Serving Homemade Coffee Ice Cream
To store your homemade coffee ice cream, simply transfer it
to an airtight container and place it in the freezer. It will stay fresh for up to 1-2 weeks. Be sure to let it sit at room temperature for a few minutes before scooping to make it easier to serve.
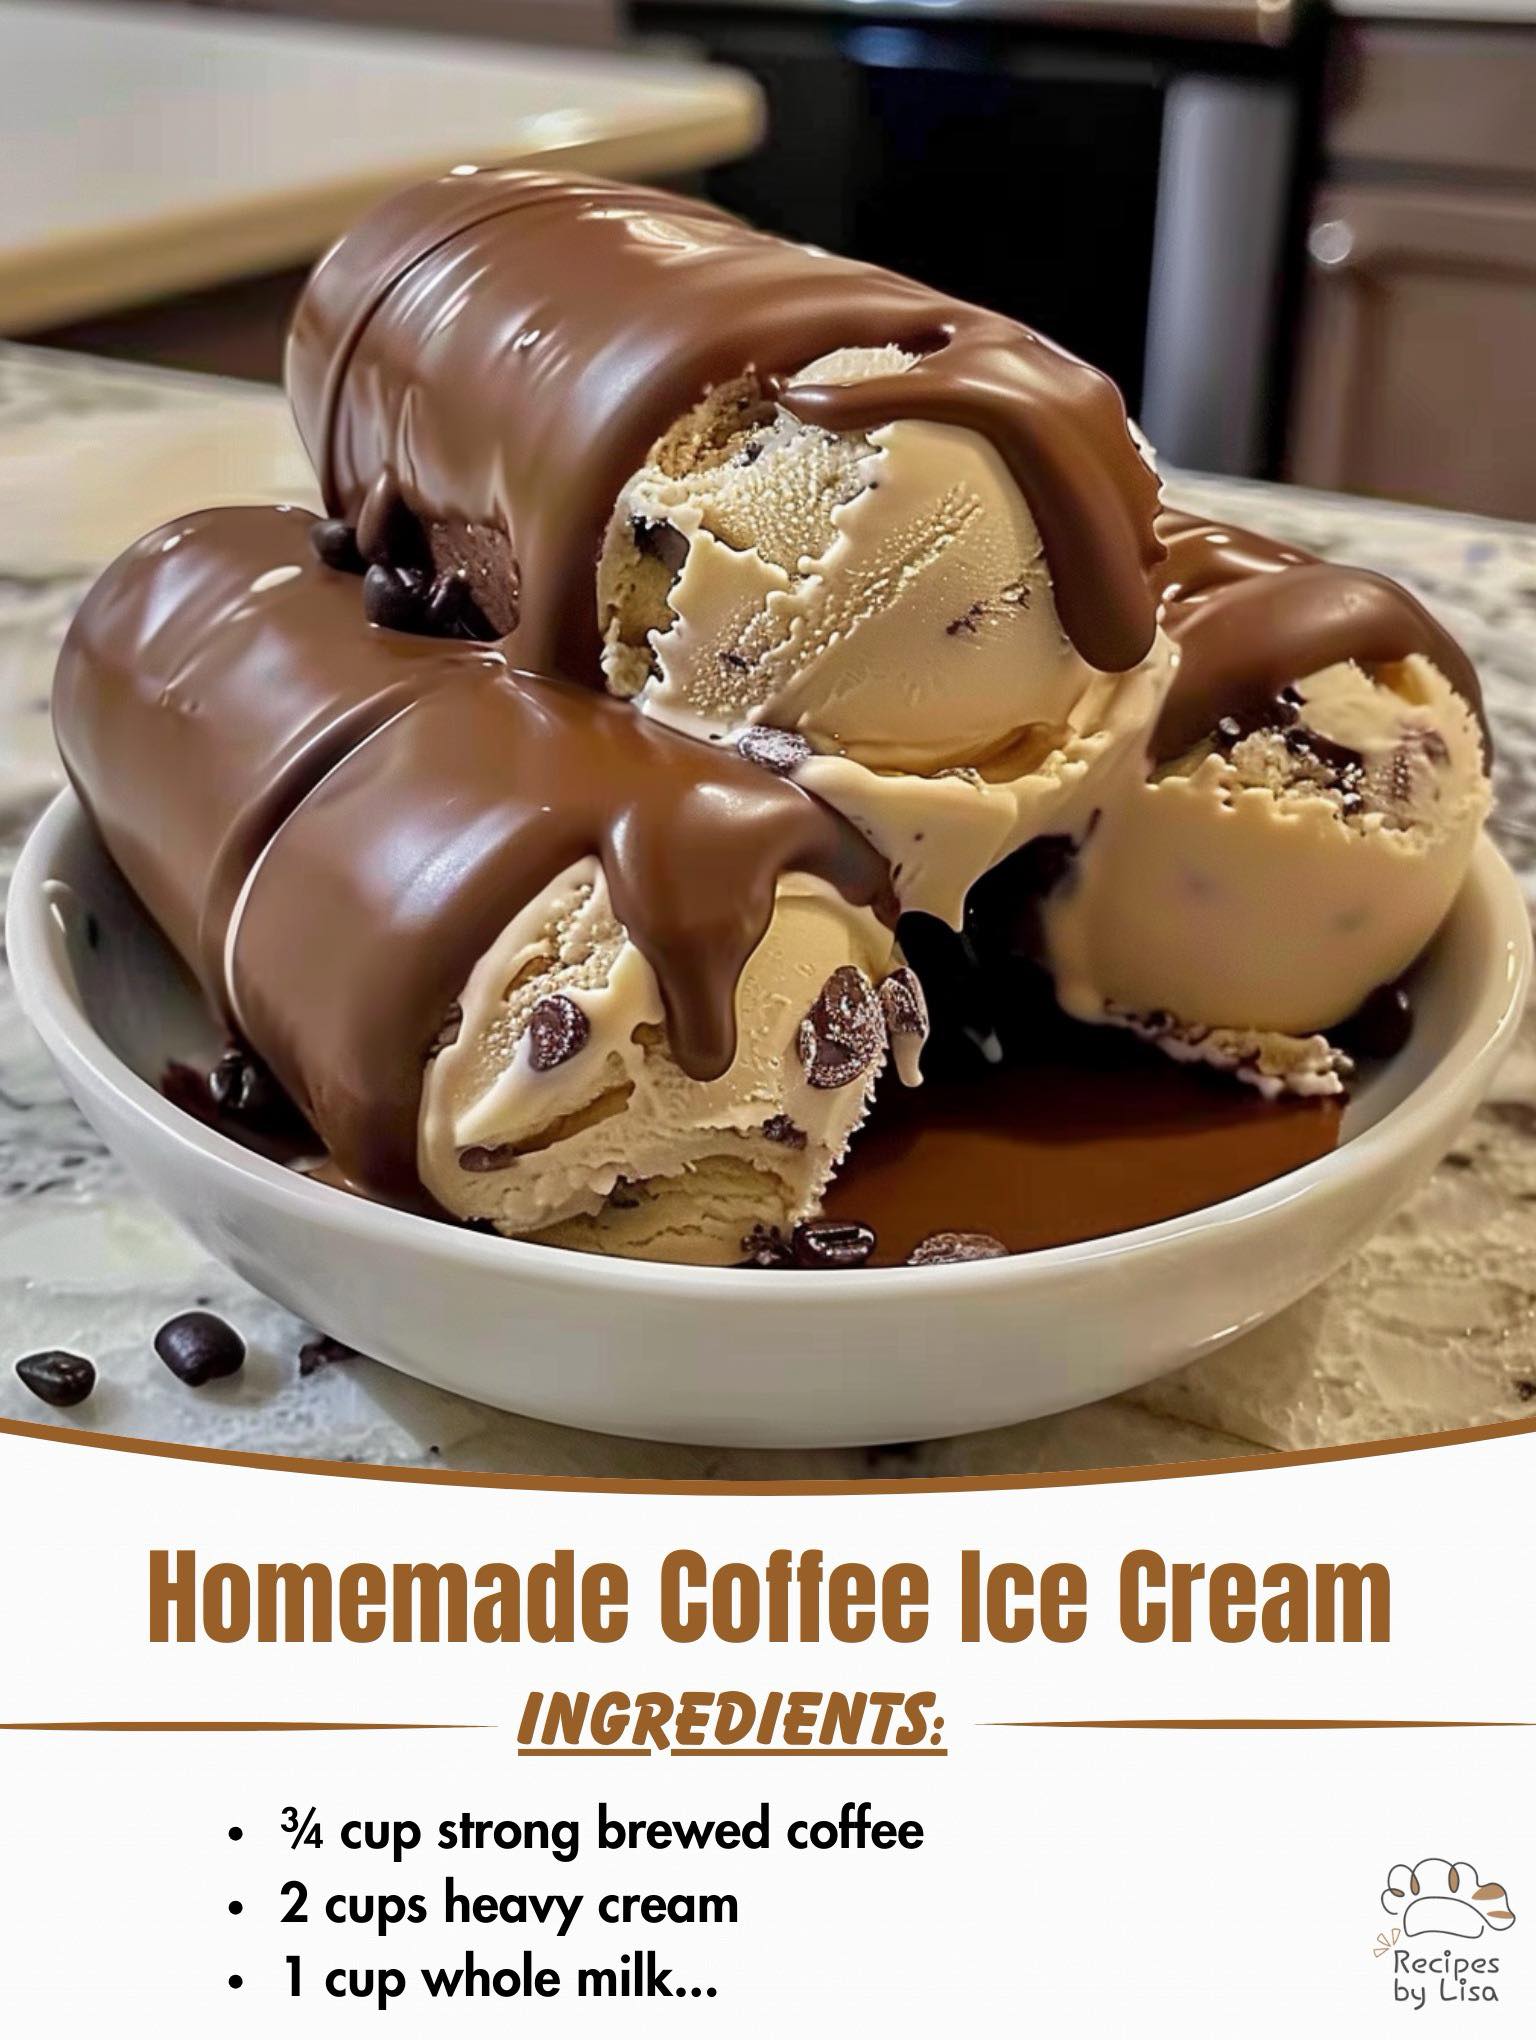
When serving, try topping your ice cream with a drizzle of chocolate or caramel sauce, or a dollop of whipped cream. For a truly decadent dessert, serve it alongside a warm piece of cake or pie for an indulgent treat.
## Final Thoughts
Homemade coffee ice cream is the ultimate indulgence for coffee lovers. With its rich, creamy texture and bold coffee flavor, it’s a dessert that’s sure to please anyone with a sweet tooth. Whether you’re following the traditional custard method or the no-cook version, both recipes will give you a delicious and satisfying treat.
So, the next time you’re craving something sweet and caffeinated, skip the store-bought ice cream and try making your own. It’s a simple yet rewarding process that results in a dessert that’s tailored to your taste. Give it a try – your taste buds will thank you!
