ADVERTISEMENT
Step-by-Step Guide for Cleaning Shutters:
1. Dust the Shutters
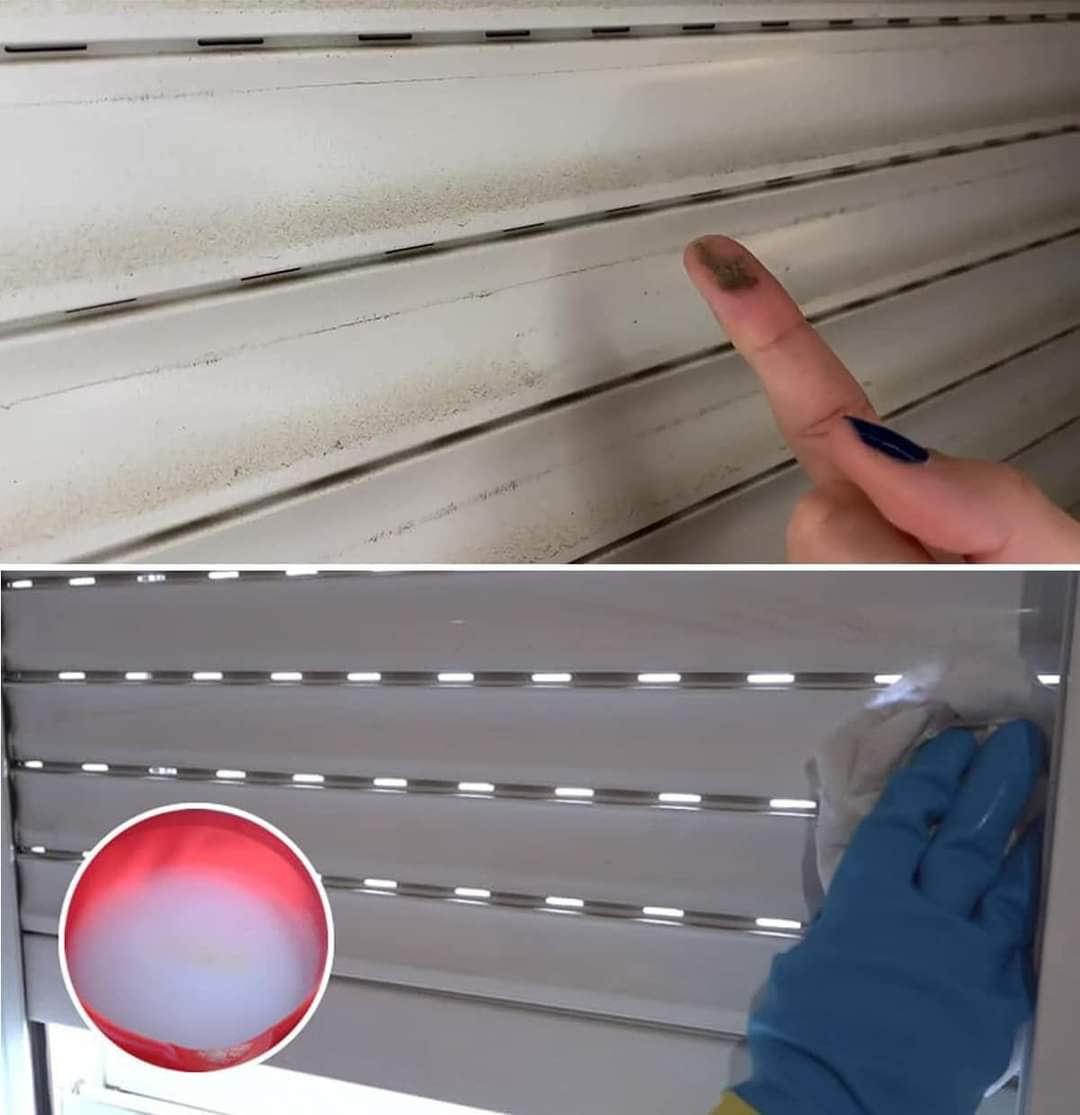
Before using any liquid, it’s essential to remove any loose dust and debris from your shutters. This will prevent dirt from smearing when you add cleaner.
- Use a microfiber cloth or duster to wipe down the slats. Start from the top and work your way down to avoid dust falling on areas you’ve already cleaned.
- Alternatively, use a vacuum cleaner with a soft brush attachment to gently vacuum the surface of the shutters, especially if there’s a significant buildup of dust or cobwebs.
2. Prepare the Cleaning Solution
Once you’ve dusted the shutters, it’s time to clean them.
- Fill a bowl or bucket with warm water. Add a few drops of mild dish soap or all-purpose cleaner. Make sure the soap is gentle so that it doesn’t damage or discolor the shutters.
- Test the solution: Before you apply it to the entire shutter, test it on a small, inconspicuous area to ensure it won’t cause damage, especially if your shutters are painted or have a delicate finish.
3. Wash the Slats
Dip a soft sponge or cloth into the soapy water and gently wring it out so it’s damp, not soaking wet. You don’t want too much moisture on the shutters, as excessive water can cause damage, especially if the shutters are made of wood.
- Start cleaning each slat one by one. Wipe each slat horizontally, following the natural direction of the shutter. Be gentle, especially on painted surfaces, to avoid scratching.
- For tougher stains, use a soft-bristled brush (like an old toothbrush) to scrub gently. Focus on areas that may have built-up grease or grime.
4. Tackle the Hinges and Hardware
Don’t forget the hardware! Hinges and rods can collect dust and grime as well.
- Use a microfiber cloth to wipe around the hinges and rods, but be careful not to get them too wet. If necessary, use a slightly dampened cloth or a cotton swab for tight spots.
- If your shutters have metal hardware, wipe them down with a dry cloth after cleaning to prevent rusting.
5. Dry the Shutters
Once you’ve cleaned the slats, it’s time to dry them. This helps prevent any watermarks from forming and keeps your shutters looking their best.
- Use a dry towel or cloth to wipe down the shutters and remove any moisture. Dry each slat individually by gently buffing them with the cloth.
- Leave the shutters open for a while to air dry completely, especially if you’ve cleaned them with a wetter cloth.
6. Optional: Shine the Shutters
If you’d like your shutters to shine, consider applying a furniture polish or a wood conditioner (for wooden shutters). This step isn’t necessary but can add a nice finish, especially for wooden or faux-wood shutters. Follow the instructions on the product you’re using and test it on a small area first.
For Complete Cooking STEPS Please Head On Over To Next Page Or Open button (>) and don’t forget to SHARE with your Facebook friends
7. Regular Maintenance
To keep your shutters looking new for as long as possible, establish a regular cleaning routine. Dust your shutters once a week and give them a deeper clean every month or so, depending on how much dust or grime they accumulate.
Extra Tips for Different Types of Shutters:
- Wooden Shutters: Be cautious with the amount of moisture you use on wood shutters. Too much water can warp or discolor wood. If your wooden shutters are particularly dusty, a soft vacuum attachment works wonders.
- Faux Wood or Vinyl Shutters: These can handle more moisture and can be cleaned in a similar fashion to the steps above. You can use a slightly stronger cleaner if needed.
- Plantation Shutters: These often have wider slats, so you may want to use a horizontal cleaning tool that allows you to clean multiple slats at once.
Conclusion:
Cleaning your shutters is an easy way to maintain their beauty and prolong their lifespan. By following these simple steps, you’ll not only make your shutters look new again but also ensure that they function properly. Whether you have wooden, vinyl, or plantation shutters, these cleaning tips will work wonders. Say goodbye to dust and grime and enjoy the fresh, clean look of your shutters for months to come!
