ADVERTISEMENT
Absolutely! Here’s a well-structured and friendly article titled:
How To Grow Lavender From Cuttings: A Step-by-Step Guide to Success
Lavender — with its calming fragrance, vibrant purple blooms, and soothing properties — is a garden favorite around the world. While you can grow it from seed, there’s a faster, easier way to get a thriving lavender plant: propagate it from cuttings.
Growing lavender from cuttings not only saves money, but also guarantees a genetic match to your favorite variety. Plus, it’s incredibly satisfying to grow a new plant from scratch. Whether you’re a seasoned gardener or a curious beginner, this guide will show you exactly how to do it.
🌿 Why Grow Lavender From Cuttings?
- Faster than seeds – Lavender seeds take a long time to germinate and grow. Cuttings root quickly and grow into mature plants faster.
- Reliable results – Cuttings are clones of the parent plant, so you know exactly what to expect in terms of fragrance, bloom color, and growth habit.
- Cost-effective – Turn one lavender plant into many, without buying new ones.
✂️ What You’ll Need
- A healthy, established lavender plant
- Sharp, clean scissors or pruning shears
- Small pots or seedling trays
- Well-draining potting mix (or a mix of sand and compost)
- Rooting hormone (optional, but helpful)
- Clear plastic bag or humidity dome
- Spray bottle with water
🌱 Step-by-Step: How to Grow Lavender from Cuttings
Step 1: Choose the Right Stem
Look for a non-flowering, softwood stem — green, flexible, and about 3–5 inches long. Avoid woody or flowering stems, as they are slower to root.
Best time to take cuttings: Late spring to early summer, when the plant is actively growing.
Step 2: Take the Cutting
Using clean scissors, snip the stem just below a leaf node (the bump where leaves grow). This is where roots will most likely develop.
Step 3: Prep the Cutting
- Strip the lower leaves off the bottom 1–2 inches of the stem.
- If you’re using rooting hormone, dip the cut end into it. This can speed up root growth, but it’s optional.
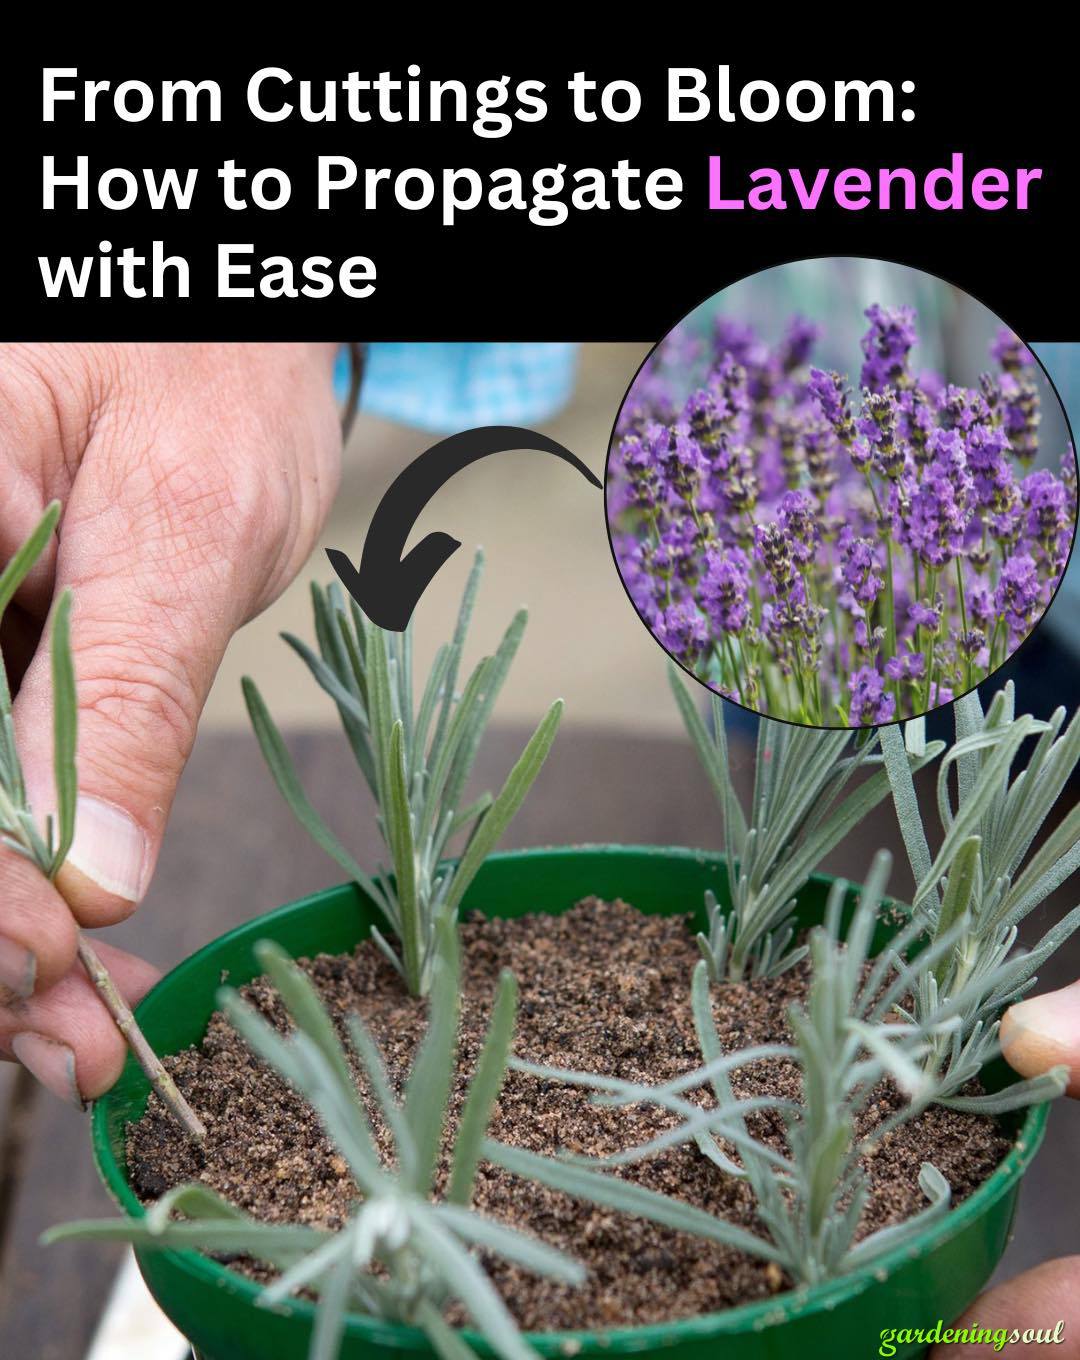
Step 4: Plant the Cutting
- Fill a small pot or tray with moist, well-draining soil.
- Insert the cutting about 1–2 inches deep, pressing the soil gently around it.
- Mist the cutting with water.
Use multiple cuttings in case a few don’t take — success rate is usually around 70–80%.
Step 5: Create a Mini Greenhouse
Cover the pot loosely with a clear plastic bag or use a humidity dome. This keeps humidity in and encourages rooting.
- Place in a warm, bright area (indirect light only — avoid direct sun).
- Vent the bag once a day to prevent mold.
Step 6: Wait and Watch
Roots usually form in 2–4 weeks. You’ll know your cutting has rooted when:
- It resists a gentle tug (indicating roots have formed)
- New growth appears at the top
Keep soil lightly moist but not soggy. Avoid overwatering, which can cause rot.
