ADVERTISEMENT
- Slowly open the water valves and check for leaks at both ends.
- If you see drips, tighten the connections slightly.
🧼 Step 3: Connect the Drain Hose
- Attach the drain hose to the washer (usually pre-installed).
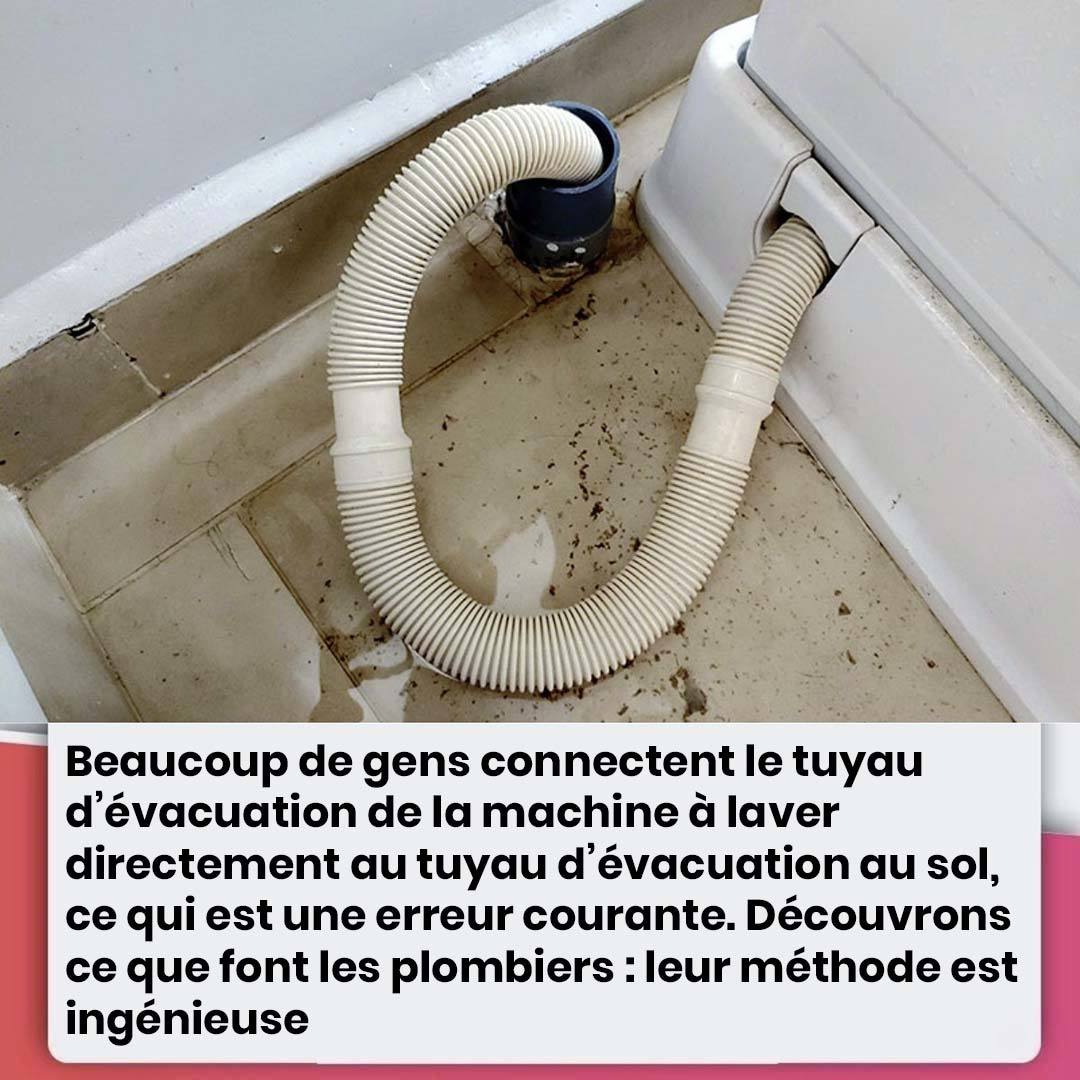
- Insert the open end into your drainage system:
- Standpipe: Insert the hose about 6–8 inches into the pipe and secure it with a clip or zip tie.
- Sink: Hook it over the edge of the sink and secure it to prevent it from falling out.
- Floor drain: Place the hose securely and ensure it drains properly.
⚠️ Important: Do not insert the hose too deeply into the pipe—it can cause siphoning or backup.
🔌 Step 4: Plug It In and Test
- Plug the machine into a grounded electrical outlet.
- Run a short test cycle to check:
- Water fills correctly
- No leaks from hoses
- Drainage works smoothly
- Machine stays stable and doesn’t shake excessively
🧠 Tips for Success
- Use new hoses if your old ones are worn or cracked.
- Replace hoses every 3–5 years to prevent unexpected leaks or bursts.
- If using a cold-only washer, cap off the hot water inlet as instructed in the user manual.
- Always refer to your specific model’s instructions for unique features or setup steps.
✅ Final Thoughts
Installing a washing machine doesn’t require professional help as long as you have the right tools, follow safety guidelines, and take your time. With this step-by-step guide, you can confidently connect your washing machine properly, ensuring a reliable, leak-free setup that’s ready for laundry day.
Would you like a printable checklist or a visual diagram to go along with this guide?
ADVERTISEMENT
ADVERTISEMENT
