ADVERTISEMENT
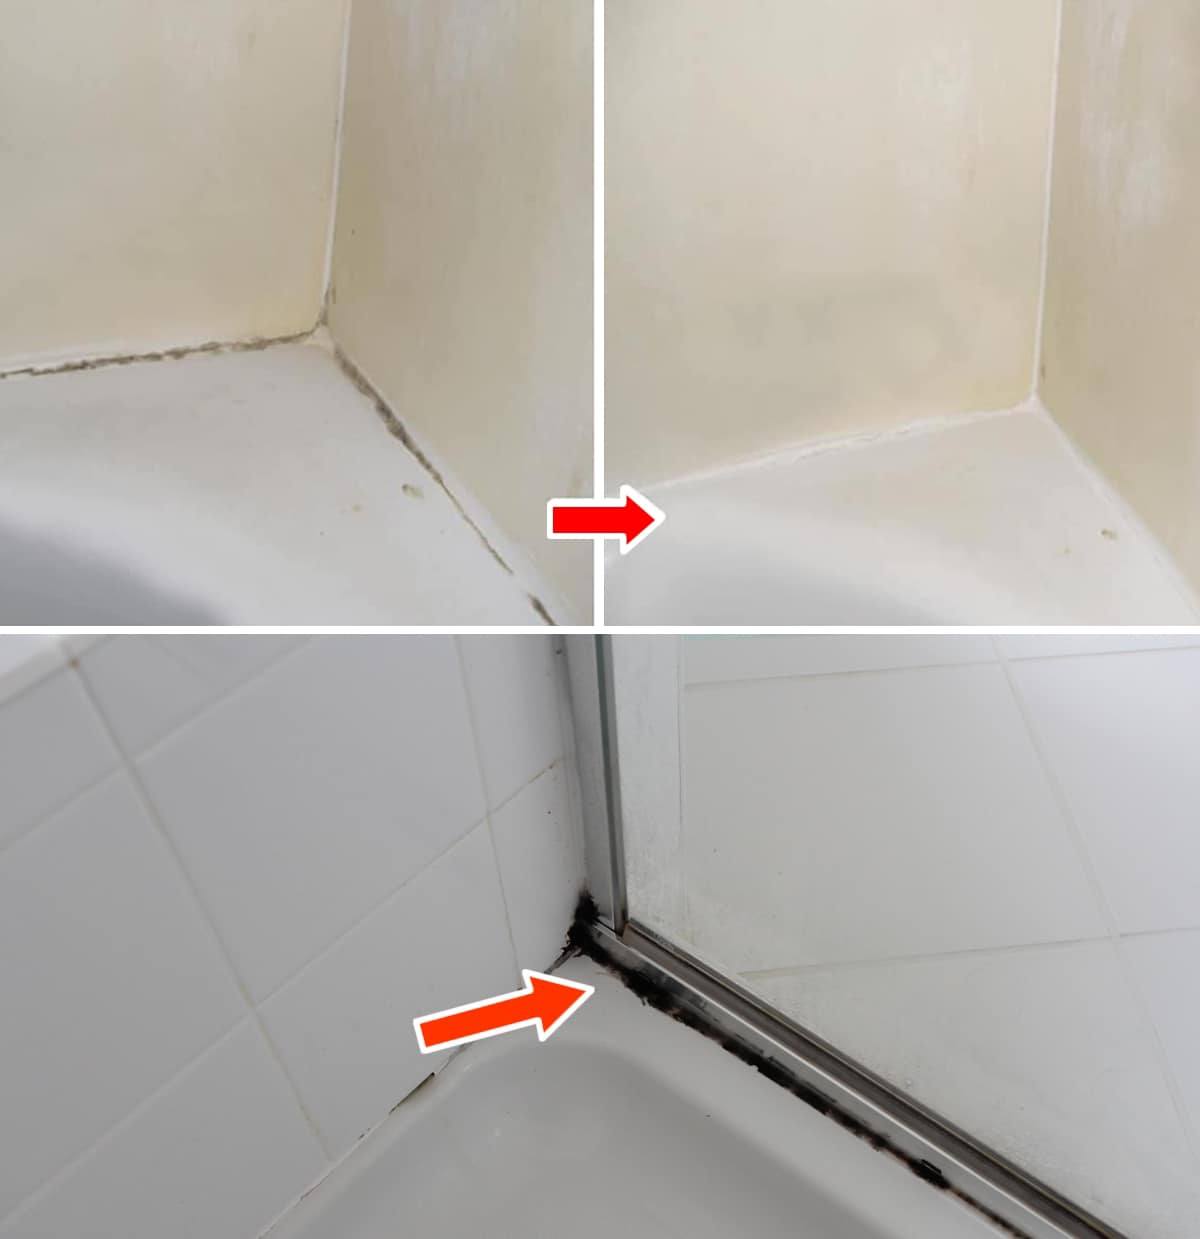
How to Remove Black Mold from Bath Silicone in 10 Minutes – A Quick and Easy Guide
Black mold in the bathroom can be a frustrating problem, especially when it appears around silicone seals and caulking. Not only is it unsightly, but it can also pose health risks if left untreated. Fortunately, removing black mold from bath silicone doesn’t have to be a long, difficult task. In this article, we’ll show you how to quickly and effectively remove black mold from silicone in just 10 minutes.
Why Does Black Mold Grow on Silicone?
Black mold, also known as Stachybotrys chartarum, thrives in warm, humid environments like bathrooms. Silicone caulking around tubs, showers, and sinks is particularly susceptible to mold growth because it retains moisture, making it the perfect breeding ground for mold spores.
The good news is, with the right tools and cleaning products, you can restore your silicone to its original clean, white appearance and ensure your bathroom is both mold-free and safe.
What You’ll Need:
- White vinegar or hydrogen peroxide (both are effective mold killers)
- Baking soda (optional, for tougher mold stains)
- Dish soap (to help break down grime)
- Scrub brush or old toothbrush (for scrubbing)
- Spray bottle
- Rubber gloves (for safety)
- Old towels or cloths (for drying)
Step-by-Step Guide to Removing Black Mold from Bath Silicone:
1. Prepare the Cleaning Solution:
Start by choosing your preferred cleaning solution. Both white vinegar and hydrogen peroxide are effective mold removers and are gentle on your silicone seals. You can use one of these:
- White Vinegar: Pour undiluted white vinegar into a spray bottle. The acidity of the vinegar helps break down the mold and disinfect the area.
- Hydrogen Peroxide: Use a 3% hydrogen peroxide solution (commonly found in stores). Pour it into a spray bottle and apply directly to the affected area.
For extra cleaning power, especially if the mold stains are particularly stubborn, you can create a paste with baking soda and water and apply it directly to the moldy areas.
2. Apply the Cleaning Solution:
Spray the moldy silicone generously with your chosen solution (vinegar or hydrogen peroxide). Ensure that the affected areas are fully saturated. For tough stains, you may want to apply the baking soda paste on top of the spray solution to give it an extra scrubbing boost.
Let the cleaning solution sit on the moldy silicone for 5-10 minutes. This gives the solution time to break down the mold and loosen any grime or buildup that might be clinging to the silicone.
3. Scrub Away the Mold:
After waiting for the solution to sit, grab your scrub brush or an old toothbrush and gently scrub the affected areas. The bristles will help lift the mold from the silicone’s surface. Use circular motions and pay extra attention to the corners and any crevices where mold might have accumulated.
Be gentle to avoid damaging the silicone. If you find any stubborn mold spots, apply a little more vinegar or hydrogen peroxide and continue scrubbing.
4. Rinse and Wipe:
Once you’ve scrubbed away the mold, rinse the area thoroughly with warm water to remove any leftover cleaning solution and debris. Use a clean towel or cloth to dry the silicone and surrounding area completely. Excess moisture can encourage mold growth, so make sure the area is dry before you finish.
5. Repeat if Necessary:
If there are still some lingering black mold stains, don’t worry! You can repeat the cleaning process. Sometimes it takes a couple of rounds of cleaning to get your silicone looking pristine again. Just be patient and persistent, and soon enough, your silicone will be mold-free.
For Complete Cooking STEPS Please Head On Over To Next Page Or Open button (>) and don’t forget to SHARE with your Facebook friends
