ADVERTISEMENT
### Step-by-Step Instructions
1. **Make the Ice Cream Base**:
– If you’re making a custard-style base, start by whisking together the egg yolks and sugar in a bowl. In a separate saucepan, heat the milk and cream over medium heat, stirring occasionally. Once it’s warmed (not boiling), slowly pour it into the egg mixture, whisking constantly. Return the mixture to the saucepan and cook until it thickens to a custard consistency.
– Remove from heat and stir in vanilla extract and a pinch of salt. Let the mixture cool completely, then refrigerate it for at least 4 hours or overnight.
2. **Churn the Ice Cream**:
– Once the ice cream base is chilled, pour it into an ice cream maker and churn according to the manufacturer’s instructions. Once churned, transfer the ice cream to molds or small paper cups, inserting sticks into the center. Freeze for several hours until fully set.
3. **Prepare the Coating**:
– While the ice cream is freezing, prepare the chocolate coating. Melt the chocolate in a heatproof bowl over a double boiler or microwave, stirring until smooth. If desired, you can mix in crushed nuts, sprinkles, or coconut to add texture to the coating.
4. **Dip the Ice Cream Sticks**:
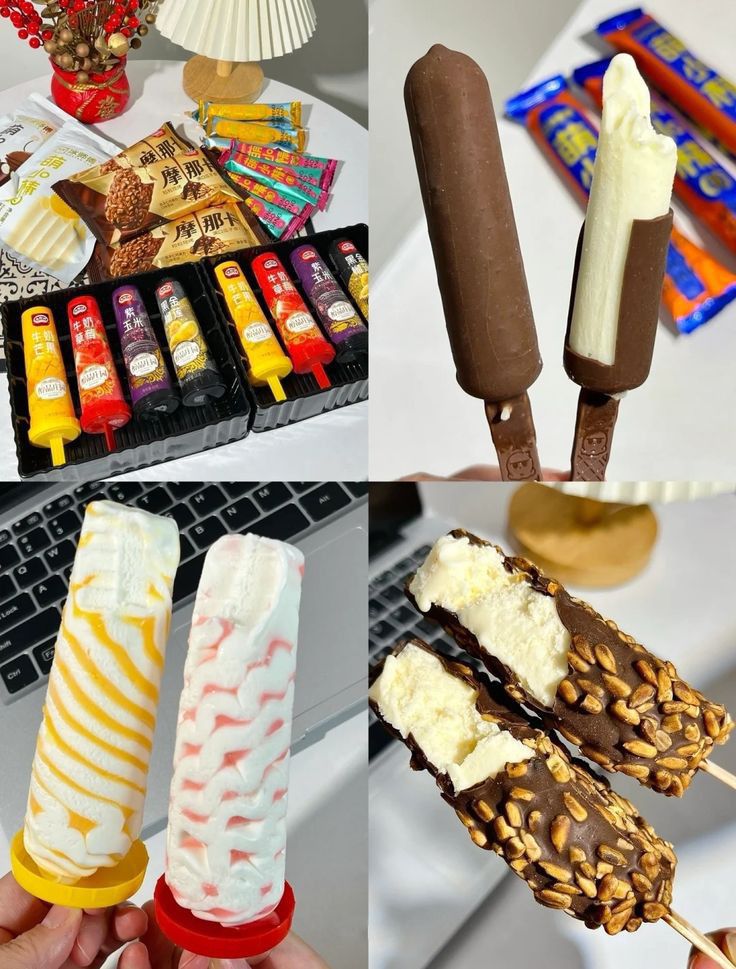
– Once the ice cream sticks are fully frozen, carefully remove them from their molds. Dip each ice cream stick into the melted chocolate, allowing any excess to drip off. For a crunchy outer layer, roll the dipped ice cream sticks in crushed nuts or sprinkles.
5. **Freeze Again**:
– After coating the ice cream sticks in chocolate and toppings, place them back in the freezer for another 30-60 minutes to set the coating.
6. **Serve and Enjoy**:
– Once the chocolate coating is firm, your homemade ice cream sticks are ready to serve! Enjoy these creamy, crunchy delights as a fun dessert or snack.
## Variations and Creative Ideas for Ice Cream Sticks
The beauty of making your own ice cream sticks is the creative freedom it allows. Here are some fun variations and ideas to help you get creative with your ice cream stick creations:
1. **Fruit-Flavored Ice Cream Sticks**: Instead of traditional vanilla or chocolate ice cream, consider making fruit-flavored ice creams using pureed strawberries, mango, or mixed berries. These fruity ice cream sticks are perfect for hot weather and provide a refreshing alternative.
2. **Chocolate-Covered Fruit Ice Cream**: Combine the richness of chocolate with the tartness of fruit by filling your ice cream sticks with a layer of fruit puree before dipping them in chocolate. Think chocolate-coated strawberry or blueberry ice cream sticks.
3. **Layered Ice Cream Sticks**: Get creative with multi-layered ice cream sticks by alternating between different ice cream flavors, such as vanilla, chocolate, and caramel. Each layer adds a new dimension to the dessert.
4. **Nutty Chocolate Coating**: For a sophisticated touch, coat your ice cream sticks in melted dark chocolate and roll them in finely chopped pistachios, almonds, or hazelnuts. This adds a rich, nutty crunch that complements the creamy ice cream.
5. **Decadent Sauces**: Instead of plain chocolate coating, drizzle or dip your ice cream sticks in a variety of sauces, such as caramel, fudge, or white chocolate. These additional layers of sweetness will elevate your dessert.
## Conclusion
The **ice cream stick** is more than just a frozen treat—it’s a delightful experience that evokes joy, nostalgia, and creativity. From its humble beginnings as the Popsicle to the many variations we enjoy today, the ice cream stick has continued to captivate generations with its convenience, delicious flavors, and endless possibilities for customization.
Whether you’re enjoying a simple chocolate-dipped treat or experimenting with unique flavor combinations, the ice cream stick is a dessert that brings out the childlike excitement in all of us. So, the next time you find yourself craving something sweet, indulge in the simplicity and bliss of a **homemade ice cream stick**—your taste buds will thank you!
