ADVERTISEMENT
The Ultimate Strawberry Jam Recipe: Preserving the True Taste and Smell of Strawberries Without Thickeners
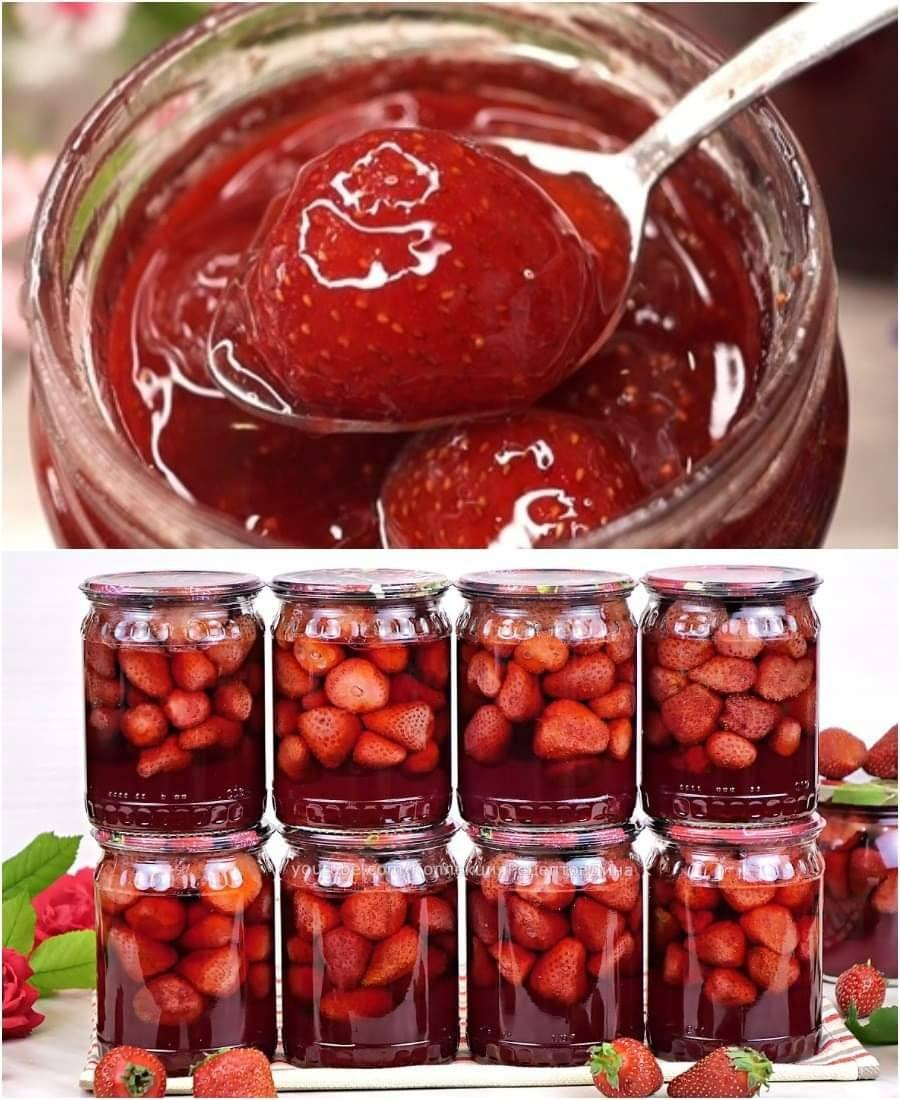
When it comes to homemade strawberry jam, nothing beats the pure, authentic taste of fresh strawberries captured in a jar. If you’ve ever tasted a jar of store-bought jam and found it lacking the richness of real fruit flavor, you know the importance of finding a great recipe. Luckily, this strawberry jam recipe does just that: it preserves the true taste and smell of ripe, juicy strawberries without relying on artificial thickeners or extra ingredients. Simple, natural, and irresistibly delicious!
Why This Strawberry Jam Recipe is a Game Changer
Many strawberry jam recipes out there rely on store-bought thickeners, pectin, or excessive amounts of sugar to achieve the perfect consistency. While these methods work, they can mask the pure flavor of strawberries. This recipe, however, embraces the natural pectin found in the fruit itself, allowing the jam to thicken naturally without any additives. The result? A rich, flavorful strawberry jam that smells and tastes like fresh-picked strawberries—just like summer in a jar.
Ingredients You’ll Need
- 2 pounds of fresh, ripe strawberries: Look for strawberries that are in-season and bursting with flavor. Sweet, ripe strawberries are the foundation of this jam, so it’s essential to pick the best fruit available.
- 2 cups of granulated sugar: This helps to bring out the sweetness of the strawberries and balances their natural tartness.
- Juice of 1 lemon: The acidity from the lemon helps the jam set and enhances the overall flavor of the strawberries.
- Optional: A pinch of salt (to bring out the natural sweetness of the fruit)
Why No Thickeners?
This recipe relies on the natural pectin found in strawberries and lemon juice to achieve the desired consistency. Pectin is a natural substance found in many fruits, including strawberries, and it helps the jam to set as it cools. When combined with sugar and lemon juice, the pectin works its magic to thicken the jam perfectly—no need for added thickeners or store-bought pectin packets.
How to Make Strawberry Jam Without Thickeners: Step-by-Step
Step 1: Prepare the Strawberries
Start by washing your strawberries thoroughly to remove any dirt or pesticides. After washing, remove the stems and cut the strawberries into small pieces. If you prefer a smoother jam, you can mash them with a potato masher or a fork. For a chunkier jam, leave the pieces as they are. The more you mash, the smoother your jam will be!
Step 2: Cook the Strawberries
Place the prepared strawberries in a large pot or saucepan. Add the sugar and lemon juice to the strawberries. Stir the mixture well to combine, ensuring that the sugar dissolves completely. The lemon juice not only adds brightness to the flavor, but it also helps the strawberries release their natural pectin.
Step 3: Simmer and Stir
Bring the strawberry mixture to a simmer over medium heat, stirring frequently to prevent the sugar from burning. As the mixture heats up, the strawberries will begin to break down and release their juices. Continue to cook the mixture for about 30 to 40 minutes, stirring occasionally. The jam will begin to thicken as the water evaporates and the pectin from the strawberries and lemon helps it set.
Step 4: Test the Jam’s Consistency
To check if your jam is ready, place a small spoonful on a plate and let it cool for a minute. Run your finger through the jam—if it wrinkles and holds its shape, it’s done! If it’s still runny, continue to cook it for a few more minutes, testing the consistency again.
Step 5: Jar the Jam
Once the jam has reached your desired consistency, remove the pot from the heat and carefully ladle the jam into sterilized jars. Be sure to leave about half an inch of space at the top of each jar to allow for expansion. Secure the lids tightly and let the jars cool to room temperature.
Step 6: Store and Enjoy
After the jam has cooled, store it in the refrigerator if you plan to consume it within a few weeks. For longer storage, you can can the jam by following standard canning procedures, such as boiling the jars for 10 minutes to create a vacuum seal. This jam can be enjoyed all year long, making it a perfect way to preserve the taste of summer.
For Complete Cooking STEPS Please Head On Over To Next Page Or Open button (>) and don’t forget to SHARE with your Facebook friends
