ADVERTISEMENT
### Instructions:
#### 1. **Make the Ice Cream Base**
Start by combining the **heavy cream**, **whole milk**, and **granulated sugar** in a medium saucepan. Heat the mixture over medium heat, stirring constantly until the sugar is completely dissolved and the cream starts to warm up (but not boil).
Once the mixture is heated, remove it from the heat and stir in the **vanilla extract** and a pinch of **salt**. If you want to get creative, this is the point where you can add flavorings like **chocolate syrup**, **fruit purees**, or any other flavor extract that speaks to your tastes.
#### 2. **Chill the Mixture**
Transfer the ice cream base into a clean bowl and allow it to cool to room temperature. Once it’s cooled, cover the bowl and refrigerate it for at least 4 hours, or preferably overnight. The longer the mixture chills, the creamier your ice cream will be.
#### 3. **Churn the Ice Cream**
After chilling, pour the ice cream mixture into your ice cream maker and follow the manufacturer’s instructions for churning. Typically, it will take about 20-25 minutes to churn the mixture into a soft, scoopable consistency. If you don’t have an ice cream maker, you can place the cooled mixture in a shallow dish and freeze it, stirring every 30 minutes for a few hours until it reaches your desired consistency.
#### 4. **Mix in Your Favorite Add-ins**
Once the ice cream has reached the perfect consistency, it’s time to get creative! You can fold in your favorite **mix-ins**—whether it’s **chocolate chips**, crushed cookies, **candy bits**, or **fruit pieces**. Be sure to fold them gently so they’re evenly distributed throughout the ice cream.
#### 5. **Freeze for Firmness**
Once your ice cream is churned and mixed, transfer it to an airtight container. For best results, freeze it for an additional 4 hours or overnight to firm up the texture and allow the flavors to meld together.
#### 6. **Serve with Toppings**
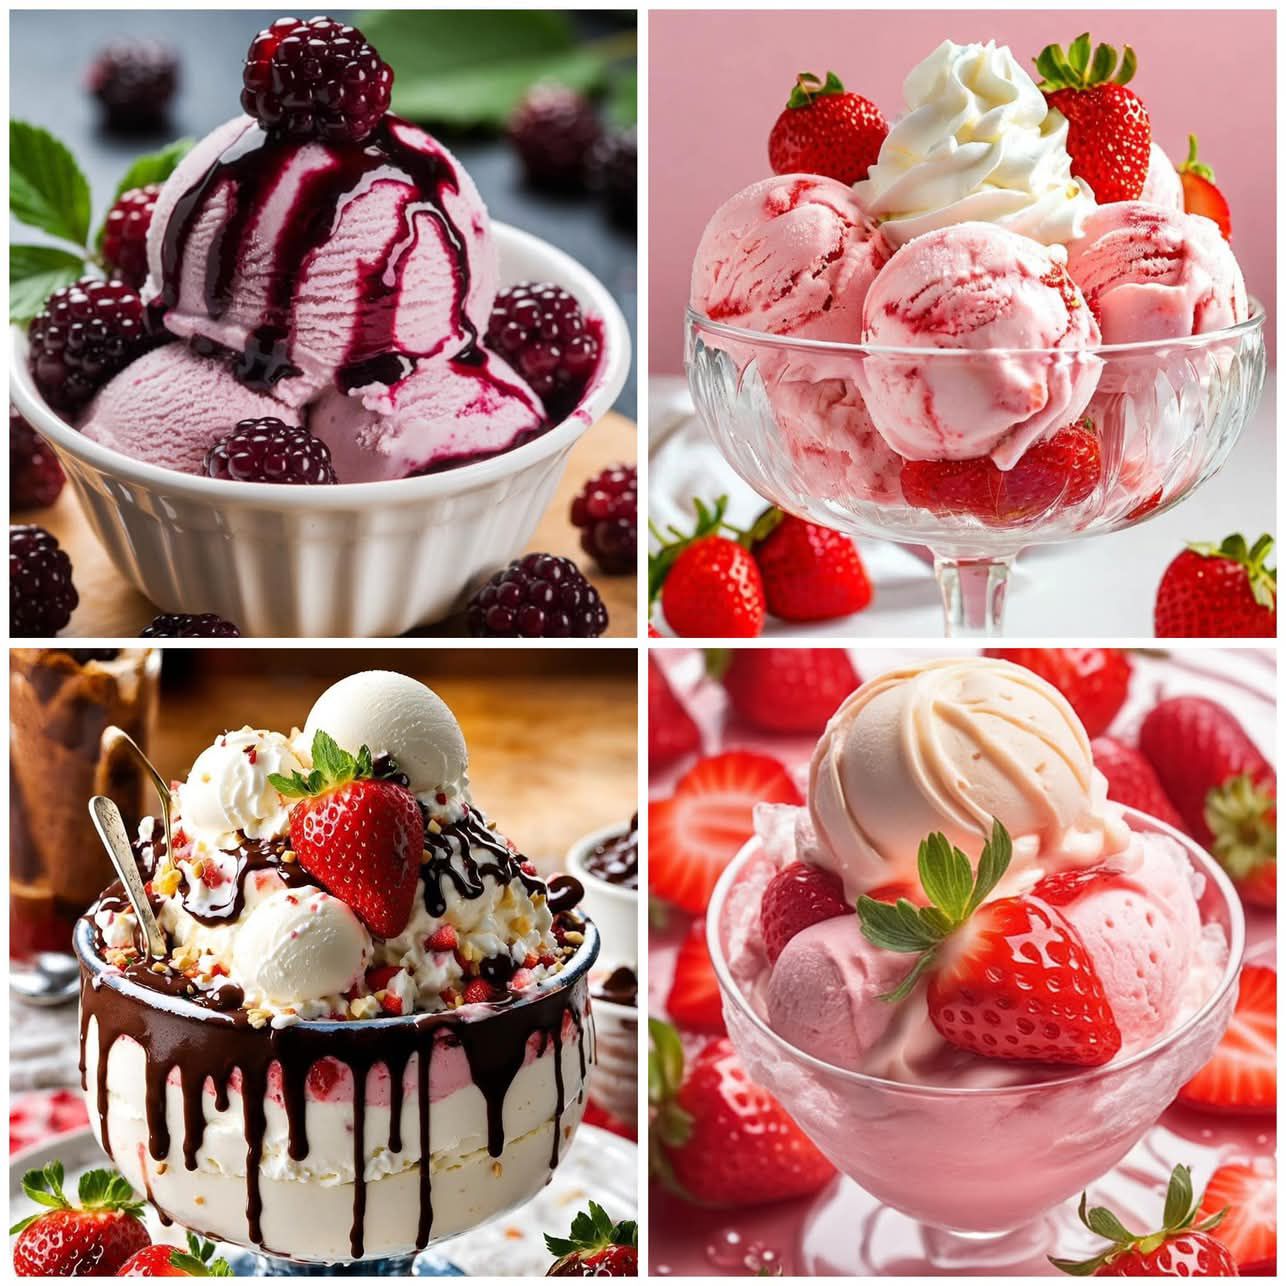
Now for the fun part! Scoop out your homemade ice cream into bowls or cones and top it with a variety of delicious **toppings**. Go wild with **chocolate sauce**, **caramel drizzle**, a generous dollop of **whipped cream**, or anything else you crave. The possibilities are endless!
#### 7. **Enjoy!**
Scoop, top, and dig in! This **Ice Cream Lovin’** recipe is sure to satisfy your sweet tooth and give you the perfect bowl of ice cream to enjoy anytime you need a treat.
### Why You’ll Love This Ice Cream Lovin’ Recipe:
– **Customizable Flavors**: The base recipe is incredibly versatile. You can make vanilla, chocolate, strawberry, or any flavor your heart desires! Add-ins like **fruit**, **cookies**, **nuts**, and even **swirls of caramel** make this recipe perfect for anyone who loves to experiment with flavors.
– **Creamy and Smooth**: The homemade base results in a rich and velvety ice cream with a texture that’s way better than store-bought. The high-fat content of the cream ensures that the ice cream is smooth and indulgent.
– **Perfect for Sharing**: This recipe makes enough to share, whether you’re throwing a party or just want to spoil your family. The homemade touch makes it feel special, and the toppings offer endless customization options.
– **Fun for All Ages**: Ice cream is a universal favorite for all ages, and the fun of topping it with whatever you like makes it even more enjoyable. Kids and adults alike will have a blast creating their own personalized bowls of sweetness.
### Tips for the Best Ice Cream Lovin’:
– **Chill the Base Well**: The colder the ice cream base is when you churn it, the smoother the texture will be. Be sure to refrigerate it thoroughly before churning.
– **Use Quality Ingredients**: The quality of your cream, milk, and vanilla extract really matters in homemade ice cream. Choose the best-quality ingredients for the most flavorful ice cream.
– **Don’t Overcrowd the Add-ins**: When adding mix-ins, less is more. Adding too many ingredients can affect the texture of your ice cream and prevent it from setting properly.
– **Keep It Cold**: If you’re serving this ice cream outdoors or at a party, make sure to keep it cold with an ice cream bowl that has a cold storage feature or by placing it in a bowl surrounded by ice.
### Variations:
– **Vegan Ice Cream**: For a dairy-free version, use coconut milk or almond milk instead of whole milk and heavy cream. You can also swap the sugar for a plant-based sweetener.
– **Chocolate Ice Cream**: Add cocoa powder or melted chocolate to the ice cream base to create a rich, chocolatey flavor.
– **Fruit Ice Cream**: Blend in fresh fruit like strawberries, mangoes, or peaches into the base for a fruity twist.
– **Sundae Bar**: If you want to make this a party-worthy treat, set up a sundae bar with a variety of toppings, syrups, and sauces for guests to create their own creations.
### Conclusion:
The **Ice Cream Lovin’** recipe brings a homemade, customizable twist to one of the most beloved desserts. Whether you’re indulging in it solo or sharing it with loved ones, this creamy, dreamy ice cream can be tailored to suit any flavor preference. Add your favorite toppings and get ready to experience the joy of truly delicious, homemade ice cream. So, the next time you’re craving a sweet treat, remember: there’s always room for a little **Ice Cream Lovin’**!
