ADVERTISEMENT
### **Step 3: Add the Vinegar**
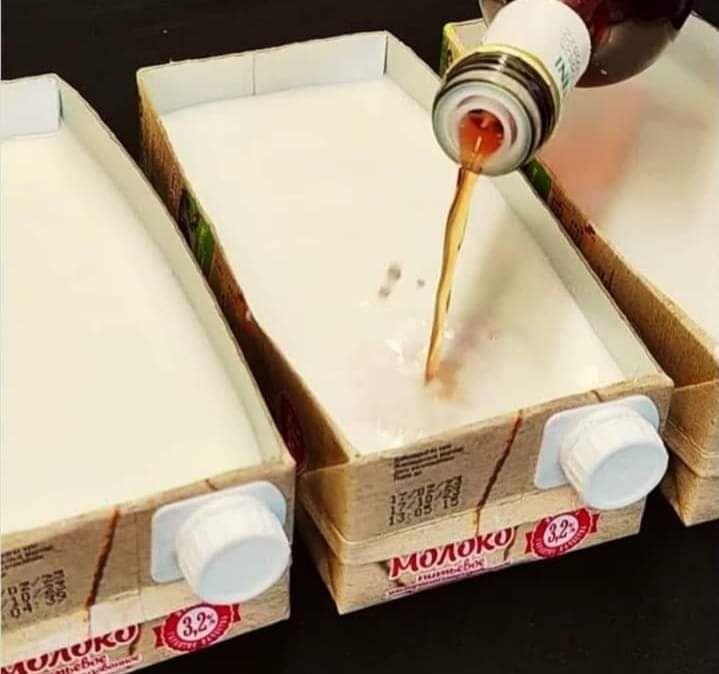
Once the milk is hot, remove the saucepan from the heat. Add the **vinegar** to the hot milk, one tablespoon at a time, stirring gently. You’ll see the milk start to curdle almost immediately. The vinegar causes the milk proteins to coagulate and separate into curds (the solid part) and whey (the liquid part).
Continue stirring gently to make sure the vinegar is evenly distributed. You should see the whey begin to separate from the curds in the pan. If the curds aren’t forming after a couple of minutes, you can add a little more vinegar (about a teaspoon at a time) and gently stir again.
### **Step 4: Let the Mixture Sit**
Let the curds and whey sit for about **5 minutes**. During this time, the curds will continue to firm up. You’ll notice that the whey becomes more distinct and separated. The curds should look like small, lumpy clumps of cheese, and the whey will be a clear, yellowish liquid.
### **Step 5: Strain the Curds from the Whey**
Using a slotted spoon, carefully scoop the curds from the pot and transfer them to a separate bowl. You can also use a strainer or cheesecloth to strain the whey if you prefer a smoother texture. If you like your cheese to be drier, let the curds sit in the strainer for a few minutes to allow more whey to drain out.
At this stage, you can **season** the cheese if desired. Adding a pinch of salt, pepper, or even herbs like rosemary or garlic powder can enhance the flavor.
### **Step 6: Enjoy Your Homemade Cheese!**
Your homemade cheese is now ready to be enjoyed! You can eat it right away, or refrigerate it for later use. If you’ve made a firmer cheese, it can be sliced and served on sandwiches, crackers, or salads. For a softer, creamier cheese, you can spread it on toast or crackers for a quick snack.
—
## Flavor Variations: How to Customize Your Homemade Cheese
While the basic recipe uses just milk and vinegar, you can get creative and customize your homemade cheese to suit your taste. Here are some flavoring ideas to try:
1. **Herb-Infused Cheese**: Add fresh or dried herbs like rosemary, thyme, or oregano to the milk before heating it. The herbs will infuse the curds with a wonderful aromatic flavor.
2. **Garlic and Herb**: After the curds are drained, stir in some minced garlic, chopped fresh herbs, and a pinch of salt for a savory, flavorful spread.
3. **Spicy Cheese**: Add a bit of chili powder or cayenne pepper to the milk when you add the vinegar for a spicy kick.
4. **Lemon Zest Cheese**: If you want a tangy, citrusy flavor, stir in lemon zest before heating the milk. You can even add a bit of lemon juice for extra tartness.
5. **Sweet Cheese**: For a dessert-style cheese, add a spoonful of honey and a dash of vanilla extract to the curds. This sweet cheese is perfect for pairing with fruit or serving as a filling for pastries.
6. **Salted Cheese**: If you like a classic, salty cheese, just add salt to taste after draining the curds. You can also try using different types of salt (like sea salt or smoked salt) for a unique flavor.
—
## How to Use Your Homemade Cheese
Once you’ve mastered the art of making this quick and easy cheese, you’ll find plenty of ways to incorporate it into your meals:
– **Sandwiches and Wraps**: Spread your homemade cheese on bread, pita, or wraps for a light and tasty lunch.
– **Tacos and Burritos**: Use this cheese as a topping for tacos or inside burritos. It’s a great alternative to store-bought shredded cheese.
– **Salads**: Crumble or chop the cheese and add it to a fresh salad for a creamy texture.
– **Snacks**: Pair it with crackers, fruits, or vegetables for a simple, healthy snack.
– **Pasta Dishes**: Stir it into pasta for a creamy, tangy addition. It pairs wonderfully with both tomato-based and creamy pasta sauces.
– **Pizza**: Use the cheese as a topping for homemade pizza.
—
## Conclusion: The Joy of Homemade Cheese
Making cheese at home is not only a fun and rewarding activity, but it also allows you to enjoy a fresh, delicious product without spending a fortune at the store. With just vinegar and milk, you can create a cheese that is just as tasty—if not more so—than what you can buy at the store. Whether you’re new to cheese-making or a seasoned pro, this simple recipe is a great way to start experimenting with homemade cheeses in your kitchen.
So, next time you’re in the mood for cheese, skip the store and give this easy method a try. You’ll be amazed at how simple, quick, and inexpensive it is to make your own cheese—and the result is so much better than anything you can buy in a plastic-wrapped package!
