ADVERTISEMENT
#### **1. Cook the Pasta**
Start by boiling your pasta according to the package directions. Once the pasta is al dente, drain and rinse it under cold water to stop the cooking process and cool it down. Draining the pasta well is crucial to prevent any excess water from diluting the dressing later on.
#### **2. Prepare Your Veggies and Other Ingredients**
While the pasta is cooking, wash and chop your vegetables and herbs. Slice the cucumbers, bell peppers, radishes, and tomatoes into bite-sized pieces. If you’re adding protein, grill or slice the chicken, chop the hard-boiled eggs, or drain and rinse canned chickpeas. Crumble the feta or cube the mozzarella, and set aside.
#### **3. Assemble the Salad in Layers**
Now for the fun part—assembling the salad! Start by layering the ingredients in a large, clear bowl or a glass trifle dish for an impressive presentation. Each layer should be placed gently, without mixing, so you can see the colorful ingredients clearly. Here’s how to layer your salad:
– **First Layer (Pasta)**: Begin with a layer of the cooked and cooled pasta as the base. This is the foundation that will hold all of the other ingredients.
– **Second Layer (Cheese)**: Sprinkle crumbled feta cheese or cubed mozzarella over the pasta layer. The cheese adds a creamy, tangy contrast to the vegetables and dressing.
– **Third Layer (Veggies)**: Layer in the fresh vegetables, such as cucumbers, tomatoes, bell peppers, and radishes. You can arrange them in sections or mix them evenly throughout the salad. Each vegetable will add a different crunch and flavor profile.
– **Fourth Layer (Herbs and Protein)**: If you’re using fresh herbs, sprinkle them generously on top of the veggies. You can also layer in your choice of protein at this stage (grilled chicken, chickpeas, or eggs) for an extra boost of nutrition.
– **Fifth Layer (Dressing)**: Finally, drizzle your dressing of choice over the salad. Be generous, but not too heavy-handed—just enough to coat the layers without overwhelming them.
#### **4. Chill and Serve**
Once your layered pasta salad is assembled, cover it with plastic wrap or a lid and place it in the refrigerator for at least 1-2 hours to allow the flavors to meld. The chilling process helps the pasta absorb the dressing and lets the vegetables and herbs infuse their flavors throughout.
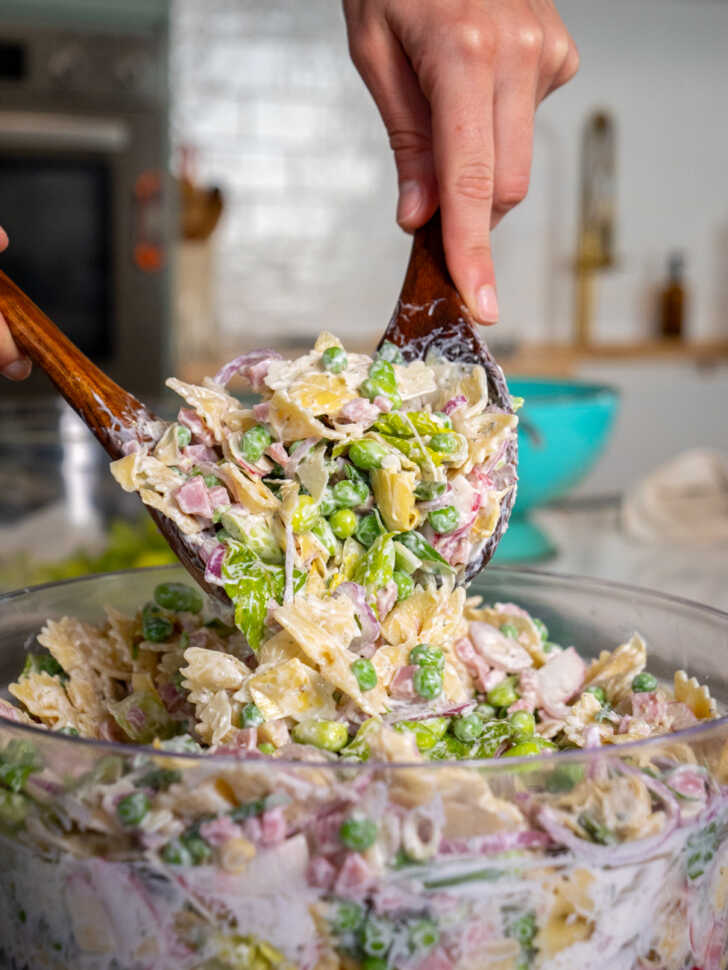
When you’re ready to serve, you can either mix the salad together or serve it as is, with guests scooping from the top layers. The beauty of the layered salad is that each bite offers a different combination of flavors and textures, so feel free to dig in and enjoy the colorful medley!
### **Customization Tips for Layered Spring Pasta Salad**
While this recipe is a fantastic starting point, don’t be afraid to get creative and make the salad your own! Here are a few customization ideas:
– **Fruit Add-ins**: For a touch of sweetness, add fruits like strawberries, grapes, or diced apples to your salad. The natural sweetness of fruit pairs beautifully with the tangy lemon vinaigrette or creamy dressing.
– **Nuts and Seeds**: If you want a little extra crunch, toss in some toasted almonds, sunflower seeds, or pine nuts. They’ll add texture and a nutty flavor that complements the salad’s freshness.
– **Seasonal Veggies**: Depending on what’s in season, you can switch up the veggies. Asparagus, peas, or artichokes make great additions in spring, bringing an even more seasonal touch to the dish.
– **Swap the Dressing**: If you prefer a more robust dressing, you can opt for balsamic vinaigrette, a creamy Caesar dressing, or even a yogurt-based tahini dressing. Just make sure it complements the freshness of the ingredients.
For Complete Cooking STEPS Please Head On Over To Next Page Or Open button (>) and don’t forget to SHARE with your Facebook friends
