ADVERTISEMENT
- If using a bulb, keep the incubator in a safe place away from flammable objects.
- If you have a small thermometer, monitor the temperature inside. You’re aiming for around:
- 30–37°C (86–98°F) for egg incubation
- 20–25°C (68–77°F) for seed germination
- Adjust the lamp distance or airflow if needed.
🌱 What Can You Use It For?
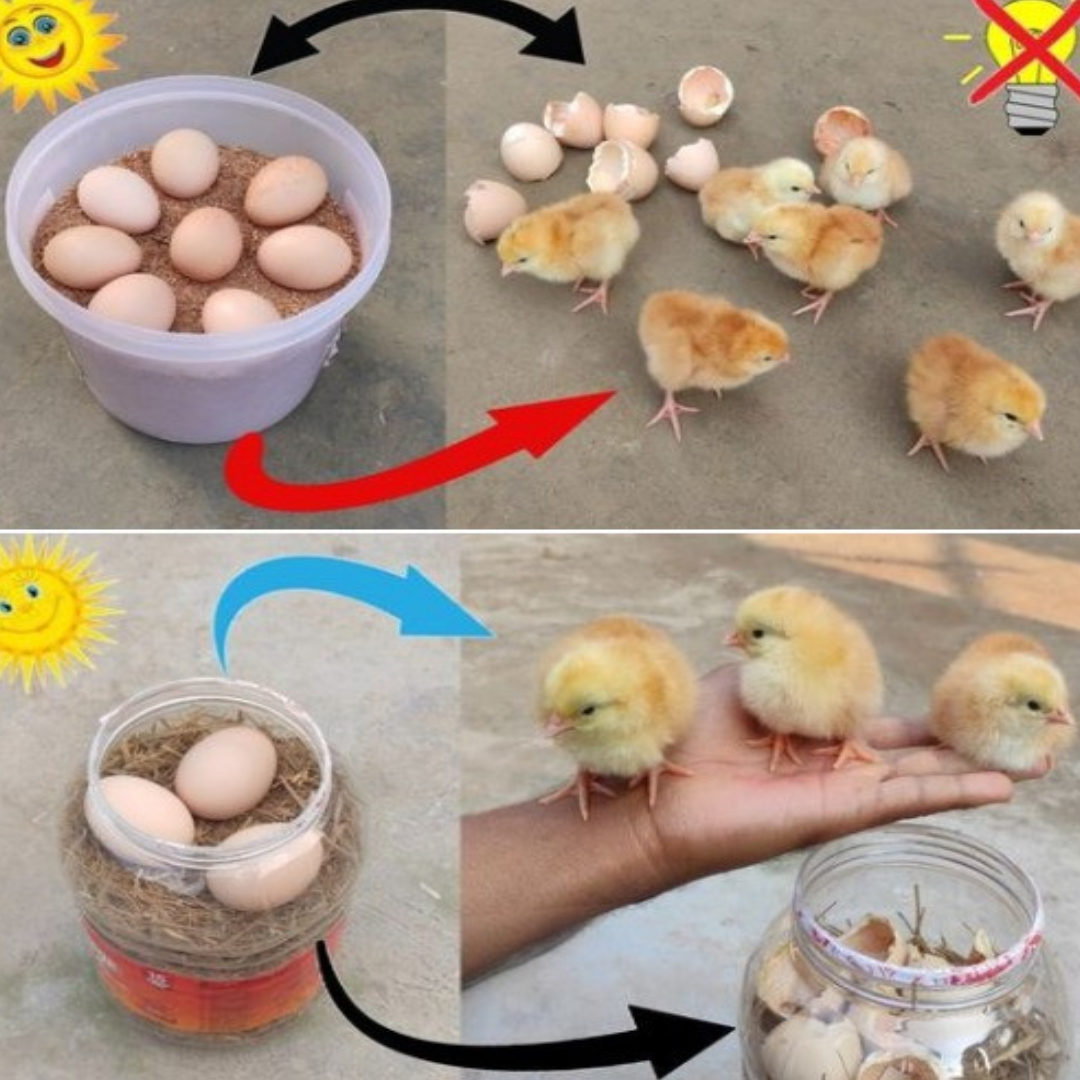
- Hatch tiny eggs (like quail or finch, for educational purposes)
- Germinate seeds faster, especially heat-loving plants like tomatoes, peppers, or herbs
- Experiment with microbes or yeast in a warm environment
- DIY compost starter using kitchen scraps and microbes
- Warm home for baby insects (like caterpillars or silkworms)
⚠️ Safety Tips
- Always supervise if you’re using electricity.
- Don’t use strong heat sources—small LEDs or low-wattage bulbs are safest.
- Never leave it plugged in unattended, especially around children or pets.
🧠 Why It Works
This bottle incubator works on basic principles of heat retention, humidity control, and light diffusion. The clear plastic traps warmth (like a mini greenhouse), while the damp cloth maintains humidity. If you add a gentle heat source, you simulate the conditions needed for life to begin—whether it’s a sprouting seed or a tiny egg.
🌍 Final Thoughts: Smart, Simple, Sustainable
Making a zero-cost domestic incubator from a plastic bottle is more than just a fun DIY—it’s a brilliant way to reuse plastic waste, explore natural sciences, and support eco-conscious living. Whether you’re a curious student, a gardening enthusiast, or just love clever life hacks, this project is a great way to combine creativity with sustainability.
So next time you finish a bottle of water or soda, don’t toss it—transform it. There’s life waiting to grow in there. 🌱💡
Happy incubating!
