ADVERTISEMENT
il they are golden brown and puffed up. Do not open the oven door during the first 20 minutes of baking, as the sudden change in temperature can cause the puffs to collapse.
Once they’re done, remove the puffs from the oven and allow them to cool on a wire rack. As they cool, they’ll deflate slightly — this is normal!
For Complete Cooking STEPS Please Head On Over To Next Page Or Open button (>) and don’t forget to SHARE with your Facebook friends
Step 3: Make the Cream Filling
While your cream puffs are cooling, it’s time to prepare the creamy filling. In a mixing bowl, combine the heavy cream, powdered sugar, and vanilla extract. Using an electric mixer, beat the mixture on high speed until stiff peaks form. This will take about 3-5 minutes, so be patient!
Once the cream is whipped, transfer it to a piping bag with a small round tip or simply use a spoon if you don’t have a piping bag. Set aside.
Step 4: Assemble the Cream Puffs
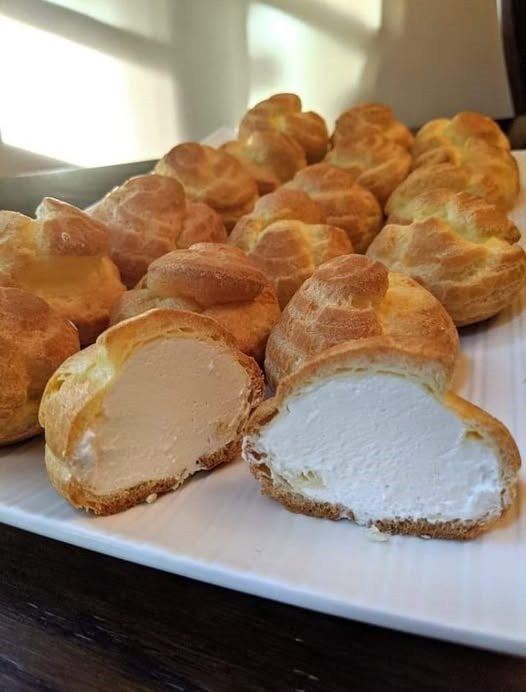
Once the cream puffs have cooled completely, use a sharp knife to slice each puff in half horizontally. Be gentle, as you don’t want to crush the delicate pastry. If you prefer, you can poke a hole in the bottom of each puff and pipe the cream into the center — this method is great for preventing the filling from spilling out the sides.
Pipe the whipped cream generously into the bottom half of each puff, then place the top half back on top. If you’d like, you can also drizzle a bit of glaze on top for a finishing touch.
Step 5: Prepare the Glaze (Optional)
For an extra touch of sweetness and shine, you can make a simple glaze to drizzle over your cream puffs. In a small bowl, whisk together the powdered sugar, milk or water, and vanilla extract until smooth and runny. Drizzle the glaze over the tops of the cream puffs and let it set before serving.
Tips for Perfect Cream Puffs
- Don’t Skip the Cooling Step: After baking, let the puffs cool completely. If you fill them while they’re still warm, the cream could melt and make the pastry soggy.
- Don’t Open the Oven Door Too Early: The key to getting perfectly puffed cream puffs is not opening the oven door during the first 20 minutes of baking. Sudden temperature changes can cause them to deflate.
- Make the Cream Ahead of Time: You can make the whipped cream filling ahead of time and store it in the refrigerator. Just be sure to give it a good mix before piping it into the puffs.
- Store Leftovers Properly: If you have leftover cream puffs (though they’re usually gone in a flash!), store them in an airtight container in the refrigerator for up to 2 days. They’re best eaten fresh but can still be enjoyed for a couple of days.
Why Mom’s Cream Puffs are a Family Favorite
What makes these cream puffs truly special isn’t just the flavor; it’s the memories and tradition that come with making them. Every time I bake this recipe, I feel like I’m connected to the generations of family members who’ve enjoyed these cream puffs at holiday celebrations, birthday parties, and special dinners.
The combination of light, fluffy pastry and rich, smooth filling is simple but elegant. It’s a treat that’s as perfect for casual family dinners as it is for fancy dinner parties. No matter the occasion, Mom’s Famous Cream Puffs are always a hit!
Final Thoughts
Mom’s Famous Cream Puffs are a delightful dessert that will never go out of style. The crispy pastry combined with the smooth and creamy filling makes them irresistible. Whether you’re serving them at a family gathering or simply treating yourself, this recipe is guaranteed to be a crowd-pleaser.
Give them a try, and you’ll see why these little pastries have become such an enduring part of our family tradition. You’ll want to pass them down to future generations, too!
Happy baking!
ADVERTISEMENT
ADVERTISEMENT
