ADVERTISEMENT
—
### Instructions:
#### **1. Activate the Yeast:**
Start by combining 1 cup of warm water (not too hot, as this could kill the yeast), 1 tablespoon of sugar, and 1 tablespoon of active dry yeast in a bowl. Stir it together and let it sit for about 5-10 minutes until it becomes foamy. This is the sign that your yeast is active and ready to go.
#### **2. Mix Wet Ingredients:**
In a separate large mixing bowl, add the 1/4 cup vegetable oil (or melted butter), 1/2 cup sugar, and 1 teaspoon salt. Pour in 1 cup of milk and stir until the sugar dissolves. Once the yeast mixture is bubbly, add it to the bowl of wet ingredients.
#### **3. Gradually Add Flour:**
Slowly start adding the flour, 1 cup at a time, stirring as you go. After each addition, mix the dough until it begins to come together. You might need a little more or less flour depending on the humidity and the flour’s absorbency. Aim for a dough that is soft and slightly sticky but not too wet.
#### **4. Knead the Dough:**
Once all the flour is added, turn the dough out onto a lightly floured surface and knead for about 6-8 minutes. If the dough is too sticky, dust with a little more flour, but be careful not to add too much. You want the dough to be smooth and elastic.
#### **5. Let the Dough Rise:**
Place the kneaded dough into a greased bowl, cover it with a clean towel, and let it rise in a warm spot for 1-2 hours, or until it doubles in size. This is when the yeast works its magic, turning the dough into a fluffy, airy masterpiece.
#### **6. Shape the Dough:**
Once the dough has risen, punch it down to release any air bubbles. Turn it out onto a floured surface again and divide the dough in half. Shape each half into a loaf and place the loaves into greased bread pans.
#### **7. Second Rise:**
Cover the loaves with a towel and let them rise again for about 30-60 minutes, or until they’ve risen slightly above the edges of the pans. This step ensures that your bread will have a light, airy texture once baked.
#### **8. Bake the Bread:**
Preheat your oven to 350°F (175°C). Place the bread pans in the oven and bake for 25-30 minutes, or until the tops are golden brown and the bread sounds hollow when tapped on the bottom. You can also check the internal temperature; it should read around 190°F (88°C).
#### **9. Finish and Serve:**
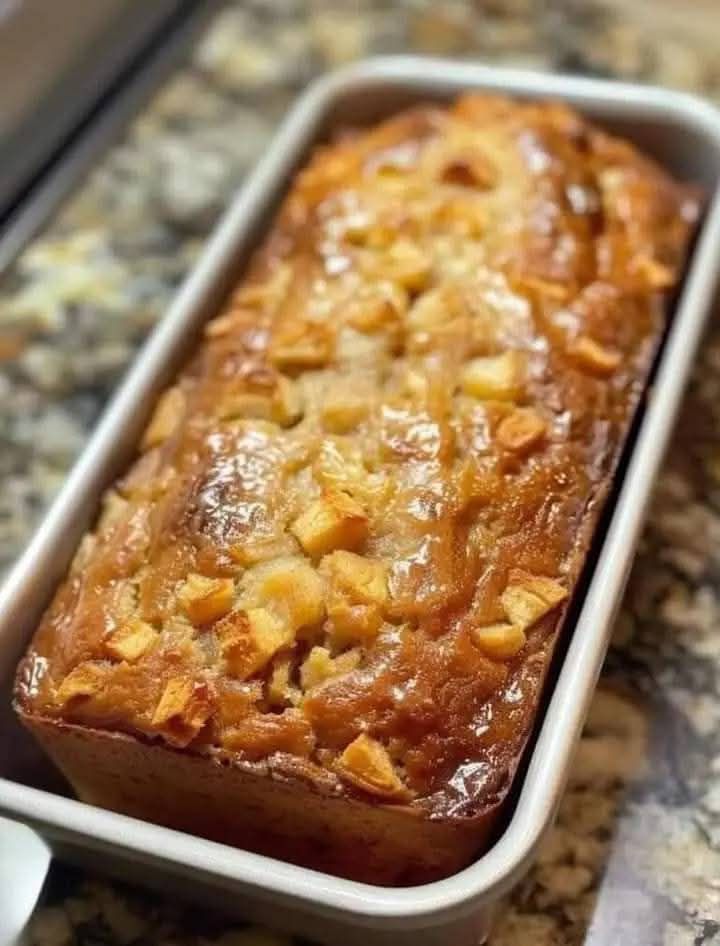
Once the bread is done, remove it from the oven and immediately brush the tops with the 2 tablespoons of butter for a soft, shiny finish. Let the bread cool in the pans for about 5 minutes, then transfer the loaves to a wire rack to cool completely before slicing.
—
### Why You’ll Love This Bread:
1. **Soft and Fluffy Texture:** This bread has a wonderfully soft, pillowy texture, making it perfect for sandwiches, toast, or simply served with a little butter.
2. **Versatile:** Whether you’re making a PB&J for lunch or serving it alongside dinner, this bread can be used for just about anything. Its slightly sweet flavor makes it incredibly versatile.
3. **Easy to Make:** There’s nothing complicated about this recipe. It uses simple ingredients you likely already have in your pantry, and the steps are straightforward, making it beginner-friendly.
4. **No Fancy Ingredients:** There’s no need for specialty flours or ingredients—just basic kitchen staples that yield an incredible result.
5. **Freezes Well:** If you end up with extra bread, it freezes beautifully! Just slice it and store it in a freezer-safe bag. When you’re ready to use it, you can toast it directly from the freezer.
—
### Tips for the Perfect Amish Bread:
– **Warm Water is Key:** Be sure your water is warm (but not too hot), about 110°F. Too hot, and it will kill the yeast; too cold, and it won’t activate properly.
– **Don’t Rush the Rise:** Letting the dough rise properly is essential to achieving a soft and airy texture. Be patient, and let it rise until it’s fully doubled in size.
– **Use a Dough Hook:** If you have a stand mixer with a dough hook, you can use that to knead the dough. It will save you time and energy, but kneading by hand works just as well.
– **Customize the Recipe:** While this recipe is perfect as-is, feel free to add your own personal touch! Add cinnamon for a sweet breakfast treat, or fold in some herbs like rosemary for a savory twist.
—
### Conclusion: A Delicious Tradition to Share
This Amish bread recipe has quickly become a family favorite in my home, and I’m sure it will become one in yours too. With its soft texture, subtle sweetness, and versatility, it’s a recipe that’s easy to make and hard to resist. The beauty of this bread lies in its simplicity, and there’s something truly special about baking bread from scratch with ingredients that have stood the test of time.
Next time you’re craving a warm loaf of bread, give this Amish-style recipe a try. I promise you won’t regret it—and who knows, you might just start a new family tradition of your own!
