ADVERTISEMENT
🍰 My Mom’s Flaky Pie Crust: The Secret to Perfect Pies Every Time
A pie is only as good as its crust — and if there’s one thing I’ve learned, it’s that the flaky pie crust is the true star of the show. The rich, buttery, melt-in-your-mouth texture makes every bite of pie more than just dessert. It’s a perfect foundation for fruit-filled beauties like apple or cherry pie, or creamy custards like pumpkin and pecan.
This recipe for my mom’s flaky pie crust is passed down through generations and is sure to become your go-to for all pie occasions. It’s simple, reliable, and makes the most beautifully tender and flaky crust every time!
🧾 Ingredients (For a Double Crust, 9-inch Pie):
- 2 ½ cups all-purpose flour
- 1 cup (2 sticks) unsalted butter, cold and cut into cubes
- 1/4 cup cold water (more if needed)
- 1 tbsp sugar (optional, for a slightly sweeter crust)
- 1 tsp salt
👩🍳 Step-by-Step Instructions:
1. Prepare the Butter and Flour
Start by placing the flour and salt (and sugar, if using) in a large mixing bowl. Cut the cold butter into small cubes, and add it to the flour mixture. The cold butter is the key to a flaky crust, so make sure it’s chilled and doesn’t soften.
2. Cut the Butter into the Flour
Using a pastry cutter, fork, or two knives, begin cutting the butter into the flour. The goal is to create small, pea-sized clumps of butter surrounded by flour. You can also use your hands, but be careful not to overwork the dough or let the butter melt. The more you handle the dough, the less flaky it will be!
The texture should look like coarse crumbs, with some larger pieces of butter still visible — this is what creates the flakiness.
3. Add Water, Little by Little
Slowly add the cold water, one tablespoon at a time. Mix gently with a fork after each addition. The dough should come together without being too sticky or dry. You want it just moist enough to hold together when pressed. If it’s still too crumbly, add a little more water — but don’t overdo it!
4. Form the Dough and Chill
Once the dough begins to form into a ball, divide it into two equal portions (for the top and bottom crusts). Flatten each portion into a disk shape, wrap them tightly in plastic wrap, and refrigerate for at least 30 minutes. This step helps the dough firm up, making it easier to roll out later and enhancing its flakiness.
5. Roll Out the Dough
After chilling, take one disk of dough and roll it out on a lightly floured surface. Roll from the center outwards, turning the dough as you go, to ensure an even thickness. Aim for a 12-inch circle to fit a 9-inch pie pan.
If the dough cracks or gets too soft, return it to the fridge for a few minutes to firm up before continuing.
6. Transfer the Dough to the Pie Pan
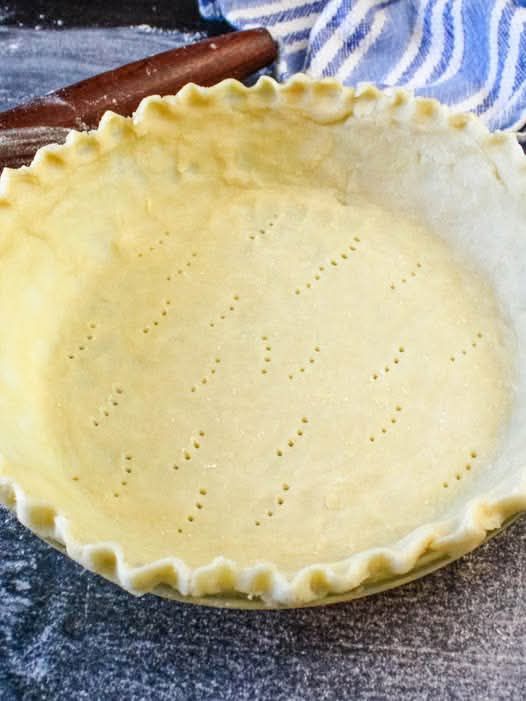
Carefully transfer the rolled dough into your pie pan. You can fold the dough in half or quarters to help with the transfer. Gently press the dough into the bottom and sides of the pan, trimming any excess dough around the edges. Leave about an inch overhang to fold under for a neat edge.
7. Fill and Top
Now it’s time for the fun part — filling! Add your desired pie filling (whether sweet or savory) into the prepared bottom crust. If making a double-crust pie, repeat the rolling process for the top crust and place it over the filled pie. Seal the edges by crimping them together with your fingers or a fork.
For Complete Cooking STEPS Please Head On Over To Next Page Or Open button (>) and don’t forget to SHARE with your Facebook friends
