ADVERTISEMENT
Absolutely! Here’s a polished and engaging article for your No-Bake and Baked Super Energy Dessert Recipe:
No-Bake and Baked Super Energy Dessert Recipe: Fuel Your Day the Delicious Way
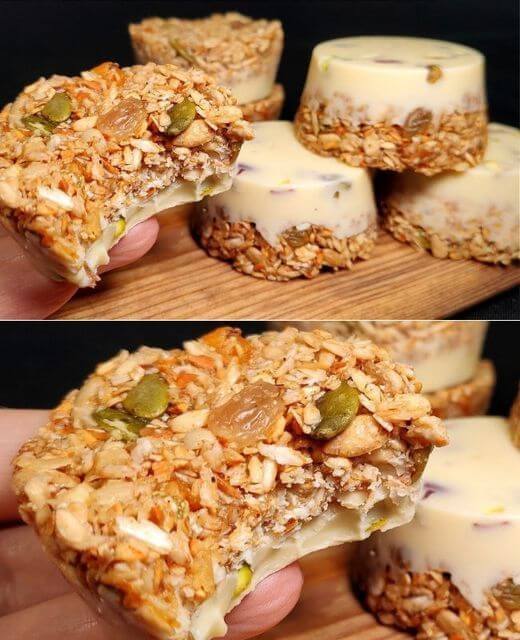
Whether you’re looking for a mid-afternoon pick-me-up, a pre-workout snack, or a healthy dessert alternative, this Super Energy Dessert has you covered—two ways! Packed with wholesome ingredients like oats, nuts, seeds, and natural sweeteners, this recipe offers both no-bake and baked options to suit your preference and schedule.
No matter which version you choose, this energy-packed dessert delivers a satisfying combination of flavor, texture, and nutrition. It’s the kind of treat that feels indulgent but fuels your body the right way—rich in fiber, healthy fats, protein, and slow-releasing carbs to keep you going.
🌟 Why You’ll Love This Recipe
- No-Bake or Baked: Choose the quick chill-and-serve version or go the extra step for a golden, chewy finish.
- Wholesome Ingredients: No refined sugars or empty calories—just clean, real-food energy.
- Kid- and Adult-Friendly: Great for school lunches, office snacks, or post-gym fuel.
- Customizable: Easily adaptable to your favorite flavors, dietary needs, or pantry items.
🥄 Ingredients (Base for Both Versions)
- 1 ½ cups rolled oats
- ½ cup nut butter (peanut, almond, or sunflower)
- ⅓ cup honey or maple syrup
- ¼ cup chopped nuts (walnuts, almonds, cashews)
- ¼ cup seeds (chia, flax, or pumpkin)
- ⅓ cup dried fruit (raisins, cranberries, chopped dates)
- 1 teaspoon vanilla extract
- Pinch of sea salt
- Optional add-ins: dark chocolate chips, shredded coconut, protein powder, or cinnamon
🧊 No-Bake Version (Quick & Easy)
Instructions:
- Mix It Up
In a large bowl, combine all the ingredients. Mix until well combined. The mixture should be sticky and easy to press into a pan. - Shape and Set
Line an 8×8-inch dish with parchment paper. Press the mixture evenly into the pan. Use the back of a spoon or your hands to flatten it out firmly. - Chill
Refrigerate for at least 1 hour, or until firm. Once set, cut into squares or bars. - Store
Keep in the fridge for up to one week or freeze for longer storage.
