ADVERTISEMENT
### Instructions:
#### 1. **Make the Crust:**
– Start by preparing the crust. In a bowl, combine the chocolate cookie crumbs, melted butter, and granulated sugar (if using). Mix until the crumbs are evenly coated and the mixture begins to resemble wet sand.
– Press the crumb mixture into the bottom of a 9-inch springform pan (or a pie dish) to form an even layer. Use the back of a spoon to firmly press the crust down, ensuring it holds together when set.
– Place the crust in the fridge to chill while you prepare the mousse layer. This will help it firm up and set.
#### 2. **Prepare the Chocolate Mousse:**
– In a medium saucepan, heat 1 cup of the heavy whipping cream over low heat until it’s warm but not boiling. Once the cream is heated, remove it from the heat and add the chopped chocolate. Stir until the chocolate is completely melted and the mixture is smooth.
– Allow the chocolate mixture to cool to room temperature. This step is important to avoid melting the whipped cream when combining the two mixtures.
– In a separate bowl, beat the remaining 1/2 cup of heavy whipping cream with powdered sugar and vanilla extract using an electric mixer until soft peaks form.
– Once the chocolate mixture has cooled, gently fold the whipped cream into the cooled chocolate mixture. Be careful not to deflate the whipped cream; fold gently until you have a smooth, fluffy mousse.
#### 3. **Assemble the Cake:**
– Take the chilled crust from the fridge and pour the chocolate mousse over it, spreading it out into an even layer. Smooth the top with a spatula.
– Refrigerate the cake for at least 4 hours, or preferably overnight, to allow the mousse to set properly.
#### 4. **Garnish and Serve:**
– Once the mousse cake is fully set, remove it from the springform pan (if using) and place it on a serving platter.
– Garnish the top with shaved chocolate, chocolate chips, or a dusting of cocoa powder. Add fresh berries for an extra pop of color and freshness.
– Slice and serve chilled. Enjoy the indulgent, melt-in-your-mouth goodness of this no-bake chocolate mousse cake!
### Tips for Success:
– **Use Good Quality Chocolate:** Since this cake is all about the chocolate, using high-quality chocolate will make a huge difference in the flavor and texture of your mousse.
– **Chill the Mousse:** Don’t skip the chilling step! The mousse needs time to set and firm up, so give it plenty of time in the fridge for the best results.
– **Crust Variations:** If you’re not a fan of chocolate cookies, you can substitute graham cracker crumbs, or even use crushed pretzels for a sweet and salty twist.
– **Whipped Cream:** Be sure to use heavy whipping cream for the mousse. Light cream or non-dairy substitutes won’t give the same rich, fluffy texture.
– **Serving Ideas:** This cake is perfect on its own, but it can also be paired with a scoop of vanilla ice cream or a drizzle of raspberry sauce for added flavor.
### Why This Recipe is Perfect:
– **Simple Ingredients, Impressive Results:** With just a few basic ingredients, you can create a dessert that looks and tastes like it came from a fancy bakery.
– **No-Bake Convenience:** There’s no need to heat up your oven, making this the perfect dessert for warm weather or when you’re short on time.
– **Perfect for Special Occasions:** This mousse cake makes an elegant centerpiece for birthdays, dinner parties, or holiday celebrations, and it’s always a hit with guests.
### Conclusion:
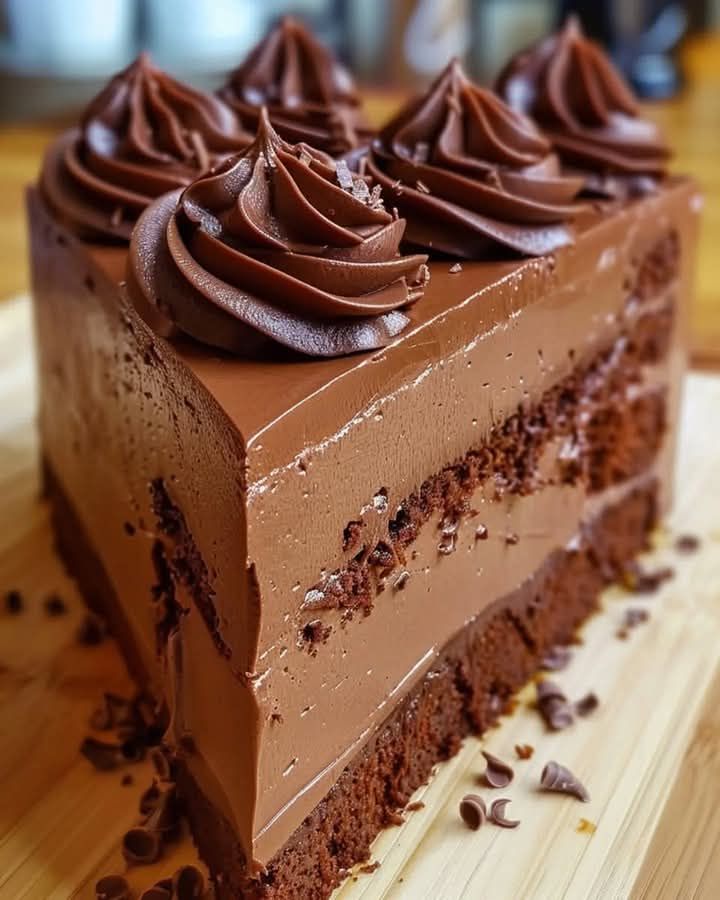
If you’re a chocolate lover looking for a show-stopping dessert with minimal effort, **No-Bake Chocolate Mousse Cake** is your answer. With its rich chocolate mousse, buttery crust, and effortless preparation, this dessert is the ultimate treat for any occasion. Whether you’re making it for a special event or simply indulging in a sweet moment, this no-bake cake is sure to leave a lasting impression and become a go-to favorite in your dessert repertoire. So, grab your ingredients, chill the cake, and get ready to indulge in a chocolatey slice of heaven!
