ADVERTISEMENT
adding fruit toppings or variations to the crust.
Instructions:
1. Make the Crust
- In a medium-sized bowl, combine the graham cracker crumbs, melted butter, and sugar (if using). Mix until the crumbs are evenly coated in butter and the mixture holds together when pressed.
- Press the mixture into the bottom of a 9-inch pie pan or springform pan, making sure it’s compact and even. Use the back of a spoon to press it firmly.
- Refrigerate the crust for about 15-20 minutes to help it set while you prepare the filling.
2. Prepare the Lemon Filling
- In a large mixing bowl, beat the cream cheese with an electric mixer until smooth and creamy. Make sure the cream cheese is softened at room temperature to avoid lumps.
- Add the powdered sugar, fresh lemon juice, lemon zest, and vanilla extract to the cream cheese and continue beating until everything is well combined and smooth.
- In a separate bowl, whip the heavy whipping cream until stiff peaks form. This adds a light, fluffy texture to the filling.
- Gently fold the whipped cream into the cream cheese mixture. Be careful not to deflate the whipped cream—this will keep your cheesecake filling light and airy.
3. Optional: Use Gelatin for Extra Firmness
- If you want a firmer cheesecake that holds together more solidly, you can dissolve unflavored gelatin in a small amount of water (about 1/4 cup) and gently heat it until it dissolves completely. Add this dissolved gelatin to the cream cheese mixture before folding in the whipped cream.
- This step is optional, but it will help the cheesecake firm up faster, especially if you plan to serve it in a hot climate.
4. Assemble the Cheesecake
- Once your crust has set, spoon the lemon cheesecake filling on top. Smooth the surface with a spatula, making sure it’s even and neat.
- Refrigerate the cheesecake for at least 4 hours (overnight is best) to allow it to set and firm up properly.
5. Serve and Garnish
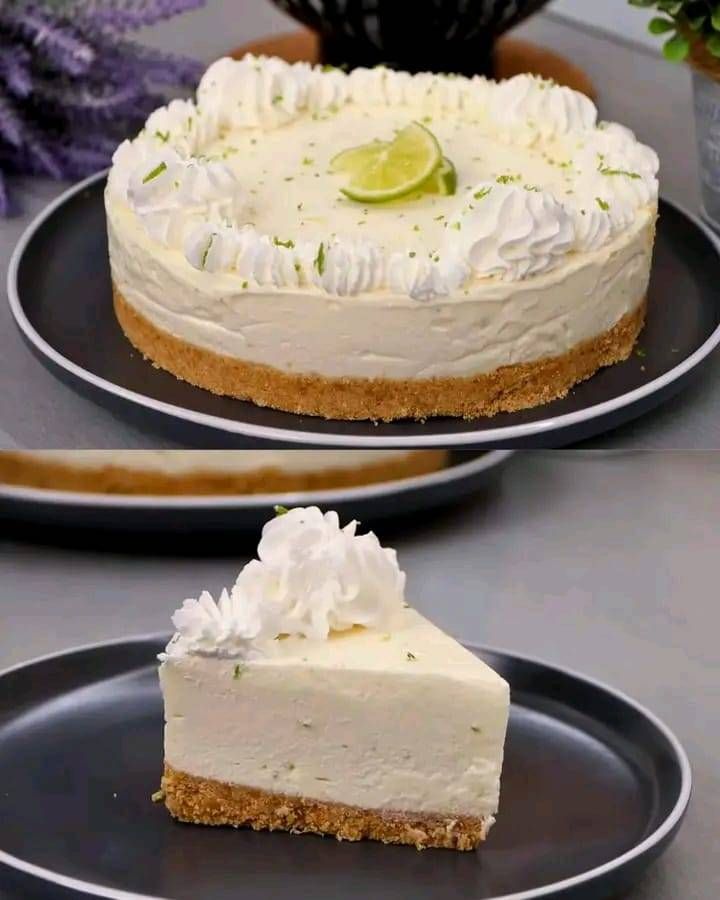
- Before serving, you can garnish the cheesecake with fresh lemon slices, whipped cream, or even some fresh berries (like blueberries or raspberries) for added flavor and color.
- Slice and serve chilled. Enjoy the creamy, tangy goodness of this no-bake lemon cheesecake!
Tips for Success:
- Room Temperature Cream Cheese: Make sure the cream cheese is softened to room temperature for smooth mixing. Cold cream cheese can cause lumps in the filling.
- Chill Time: Patience is key. Make sure to give the cheesecake enough time to chill in the fridge so it firms up properly and is easy to slice.
- Flavor Variations: You can add a spoonful of raspberry or blueberry compote on top of each slice for a fruity twist or mix some fresh fruit into the filling.
- Extra Texture: For added texture, you can mix in some crushed graham crackers into the filling or sprinkle them on top before serving.
Health Benefits of No-Bake Lemon Cheesecake:
While this cheesecake is indulgent, it’s also packed with beneficial nutrients:
- Lemon: Lemons are high in vitamin C, which supports the immune system and promotes healthy skin.
- Cream Cheese and Heavy Cream: Provide calcium and healthy fats, essential for maintaining strong bones and supporting cellular function.
- Probiotics: If you use yogurt-based cream cheese, you’ll be adding probiotics, which are great for gut health.
Why You Should Make This No-Bake Lemon Cheesecake:
This no-bake lemon cheesecake is the perfect dessert for those who want to enjoy a decadent treat without spending hours in the kitchen. It’s easy to make, incredibly delicious, and offers a refreshing lemon flavor that is sure to please a crowd. Plus, the combination of creamy filling and a crunchy graham cracker crust will make every bite melt in your mouth.
Whether you’re new to baking or a seasoned pro, this no-bake cheesecake is sure to become one of your favorite go-to recipes for gatherings and special occasions. The best part? No baking required, just chilling and enjoying!
Give this recipe a try, and let the tangy lemon and creamy filling transport your taste buds to dessert heaven! 🍋🍰
