ADVERTISEMENT
Once the biscuits are crushed, transfer them to a large mixing bowl.
### Step 2: Melt the Butter
In a microwave-safe bowl, melt about **½ cup (115g) of butter** in the microwave or on the stovetop. If you’re using the microwave, heat it in short bursts of 20-30 seconds, stirring in between, until the butter is fully melted.
Once the butter is melted, pour it over the crushed biscuits in the mixing bowl. Stir the mixture well until all the crumbs are evenly coated in the butter.
### Step 3: Add the Sweetened Condensed Milk
Pour in the **sweetened condensed milk** (about **½ cup or 170g**) and stir it into the biscuit-butter mixture. The condensed milk adds the necessary moisture and sweetness to the slice. Stir until everything is fully combined.
### Step 4: Incorporate the Marshmallows and Mix-ins
Add in your **marshmallows** (about **2 cups**) to the mixture and stir carefully to avoid breaking them apart. If you’re using additional mix-ins like **chocolate chips**, **nuts**, or **dried fruit**, now is the time to fold them in gently.
If you prefer to add a chocolate layer to your slice, you can reserve some chocolate chips or melted chocolate to pour over the top later.
### Step 5: Press the Mixture into a Pan
Prepare a baking pan by lining it with **parchment paper** or lightly greasing it. You can use a square or rectangular pan, depending on the size and shape you prefer for your slice. Typically, an 8-inch square pan works well.
Press the marshmallow mixture into the prepared pan, making sure it is evenly distributed and compacted. You can use the back of a spoon or a piece of parchment paper to press down firmly. The mixture should form a solid, even layer.
### Step 6: Add the Chocolate (Optional)
If you’re using a **chocolate topping**, melt the chocolate of your choice (dark, milk, or white) in the microwave or using a double boiler. Once melted, pour the chocolate over the marshmallow mixture and spread it out evenly with a spatula. This adds a smooth, glossy layer to your slice and enhances its flavor.
If you prefer to keep it simpler, you can skip the chocolate topping and allow the slice to set with just the marshmallow layer.
### Step 7: Refrigerate to Set
Place the pan in the refrigerator for at least **2-3 hours**, or until the slice has firmed up and set completely. This will ensure that the marshmallow slice holds its shape when sliced and served. If you’re in a rush, you can also place it in the freezer for about 1 hour to speed up the setting process.
### Step 8: Slice and Serve
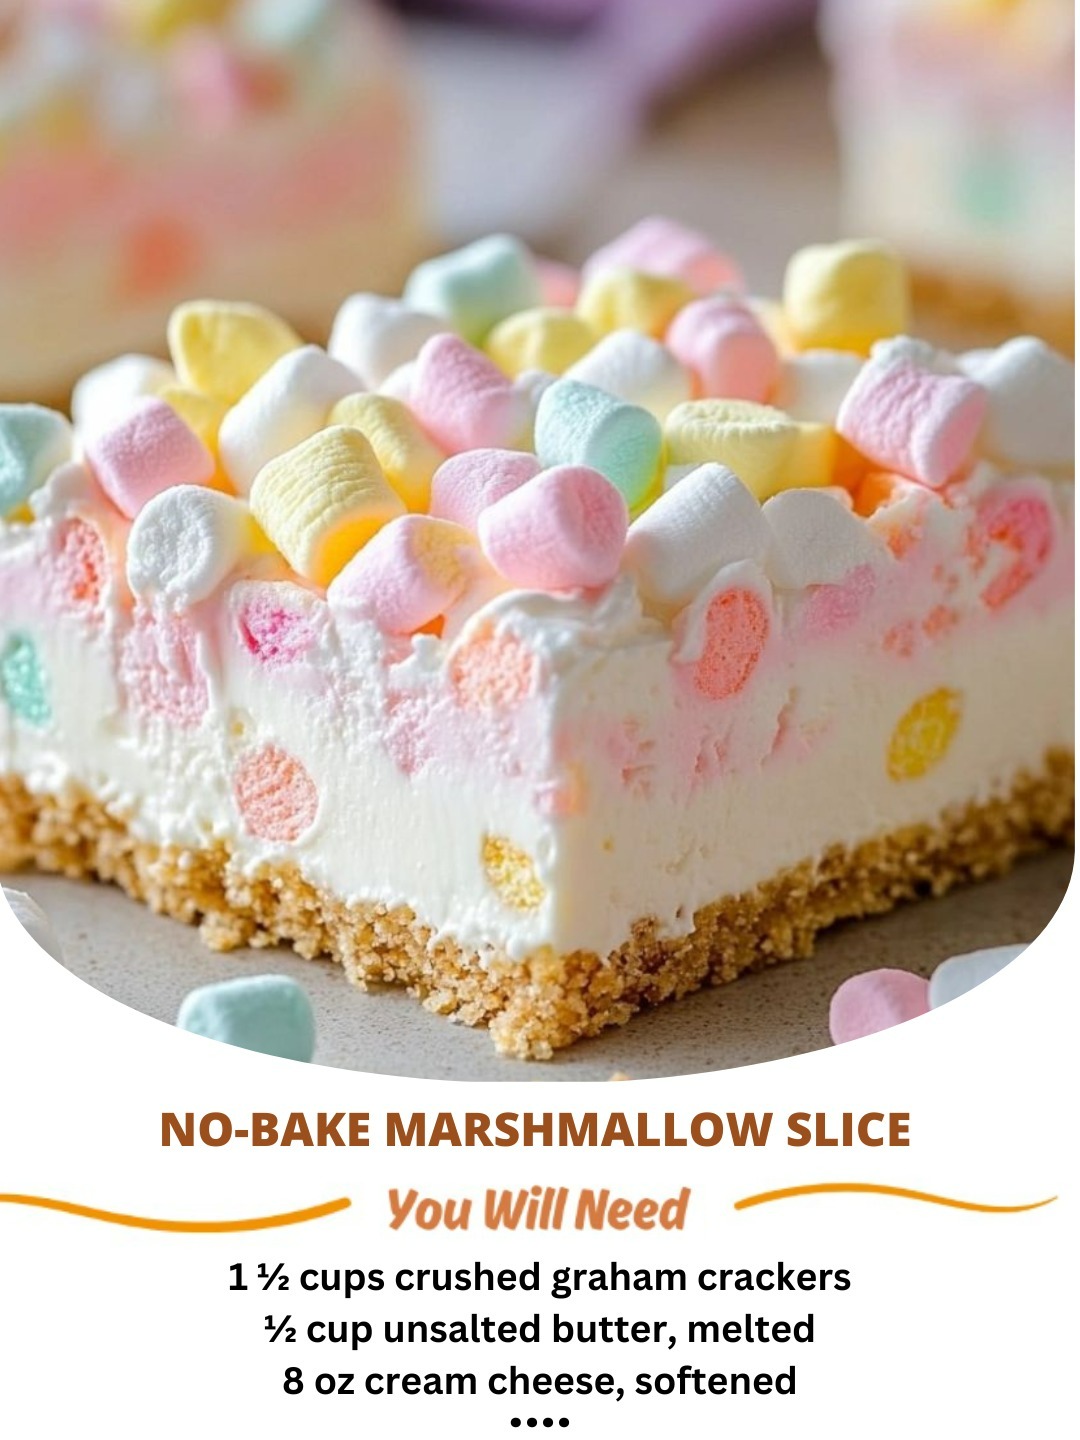
Once the **No-Bake Marshmallow Slice** has set, remove it from the refrigerator and slice it into squares or rectangles. Serve it chilled, and enjoy the delicious blend of textures and flavors. It’s perfect for parties, picnics, or any occasion where you want to offer something sweet and crowd-pleasing.
## Tips for Perfecting Your No-Bake Marshmallow Slice
While the **No-Bake Marshmallow Slice** is simple to prepare, here are a few tips to help you achieve the perfect result:
### 1. **Use Fresh Marshmallows**
Fresh marshmallows provide the best texture and flavor. Avoid using stale marshmallows, as they can be tough and less enjoyable.
### 2. **Press the Base Firmly**
For a sturdy slice that holds together well, make sure to press the biscuit mixture firmly into the pan. This will help create a cohesive, easy-to-slice base.
### 3. **Chill Long Enough**
To get the right consistency, it’s important to chill the slice long enough to allow it to set properly. Don’t skip the refrigeration step, as it helps the ingredients bind together and makes the slice easier to slice.
### 4. **Experiment with Mix-ins**
Feel free to get creative with your **No-Bake Marshmallow Slice** by adding your favorite mix-ins. From candy bits and fruit to nuts and coconut, there’s no limit to what you can add.
### 5. **Store Leftovers Properly**
Store any leftovers in an airtight container in the refrigerator for up to 4-5 days. You can also freeze the slice for longer storage if needed.
## Variations of No-Bake Marshmallow Slice
While the classic **No-Bake Marshmallow Slice** is delicious on its own, you can try different variations to suit your taste preferences:
### 1. **Chocolate-Orange No-Bake Marshmallow Slice**
Add some **orange zest** or **orange-flavored chocolate** to your slice for a refreshing citrus twist that pairs wonderfully with the chocolate and marshmallows.
### 2. **Nutty No-Bake Marshmallow Slice**
Add **chopped nuts** such as almonds, walnuts, or pecans for extra crunch and depth of flavor. The nuts complement the sweet, chewy marshmallows and add a nice texture contrast.
### 3. **Peanut Butter Marshmallow Slice**
Incorporate **peanut butter** into the base mixture for a rich, nutty flavor. The combination of peanut butter and marshmallow creates a decadent treat that’s both savory and sweet.
### 4. **S’mores No-Bake Marshmallow Slice**
For a campfire-inspired treat, make a **s’mores** version by using **graham crackers**, mini marshmallows, and chunks of **chocolate** in the slice. The result is a delightful take on the classic summer dessert.
## Final Thoughts
The **No-Bake Marshmallow Slice** is a delightful and easy-to-make treat that’s perfect for all occasions. Whether you’re making it for a family gathering, a party, or just a sweet snack for yourself, it’s guaranteed to be a hit. With minimal effort and just a few simple ingredients, you can create a dessert that everyone will love.
So why wait? Grab your marshmallows, biscuits, and sweetened condensed milk, and start making this indulgent treat today!
