ADVERTISEMENT
### Instructions:
#### Step 1: Prepare the Whipped Cream Mixture
1. **Whip the Cream**: In a large mixing bowl, whip the **heavy whipping cream** until stiff peaks form. This can be done with an electric hand mixer or a stand mixer. It usually takes about 3-5 minutes on medium-high speed.
2. **Blend the Cream Cheese**: In another bowl, beat the **cream cheese** until smooth. Add in the **powdered sugar** and **vanilla extract**, and mix until fully combined.
3. **Combine**: Gently fold the whipped cream into the cream cheese mixture. Be careful not to deflate the whipped cream—fold it in slowly until everything is smooth and fluffy. You should have a light, airy mixture that will hold its shape when layered.
#### Step 2: Color the Cream Mixture
1. **Divide the Mixture**: Divide the cream mixture evenly into six small bowls (or fewer if you prefer a less colorful cake).
2. **Add Food Coloring**: To each bowl, add a few drops of food coloring. Stir gently to combine until each bowl has a different vibrant color. You can adjust the amount of coloring based on how intense you want each layer to be.
#### Step 3: Assemble the Icebox Cake
1. **Layer the Graham Crackers**: In a 9×13-inch baking dish or a similar-sized rectangular pan, lay down a single layer of **graham crackers**. Break them to fit as needed, but don’t worry if there are small gaps between the crackers.
2. **Spread the First Layer of Cream**: Spread a layer of the **colored cream mixture** (such as the red color) over the graham crackers, smoothing it out with a spatula. Be sure to cover the crackers completely.
3. **Continue Layering**: Add another layer of **graham crackers**, then spread the next color of cream (such as orange) over the crackers. Repeat the process with the remaining colors in the order you prefer, layering graham crackers in between each colored cream layer. The more colorful the layers, the more striking your cake will look!
#### Step 4: Refrigerate and Set
1. **Chill the Cake**: Once all layers are assembled, cover the pan with plastic wrap and place the icebox cake in the refrigerator. Chill for at least **4 hours**, but overnight is even better. The longer it sits, the more the flavors meld, and the graham crackers soften to create that classic icebox cake texture.
#### Step 5: Add the Finishing Touches
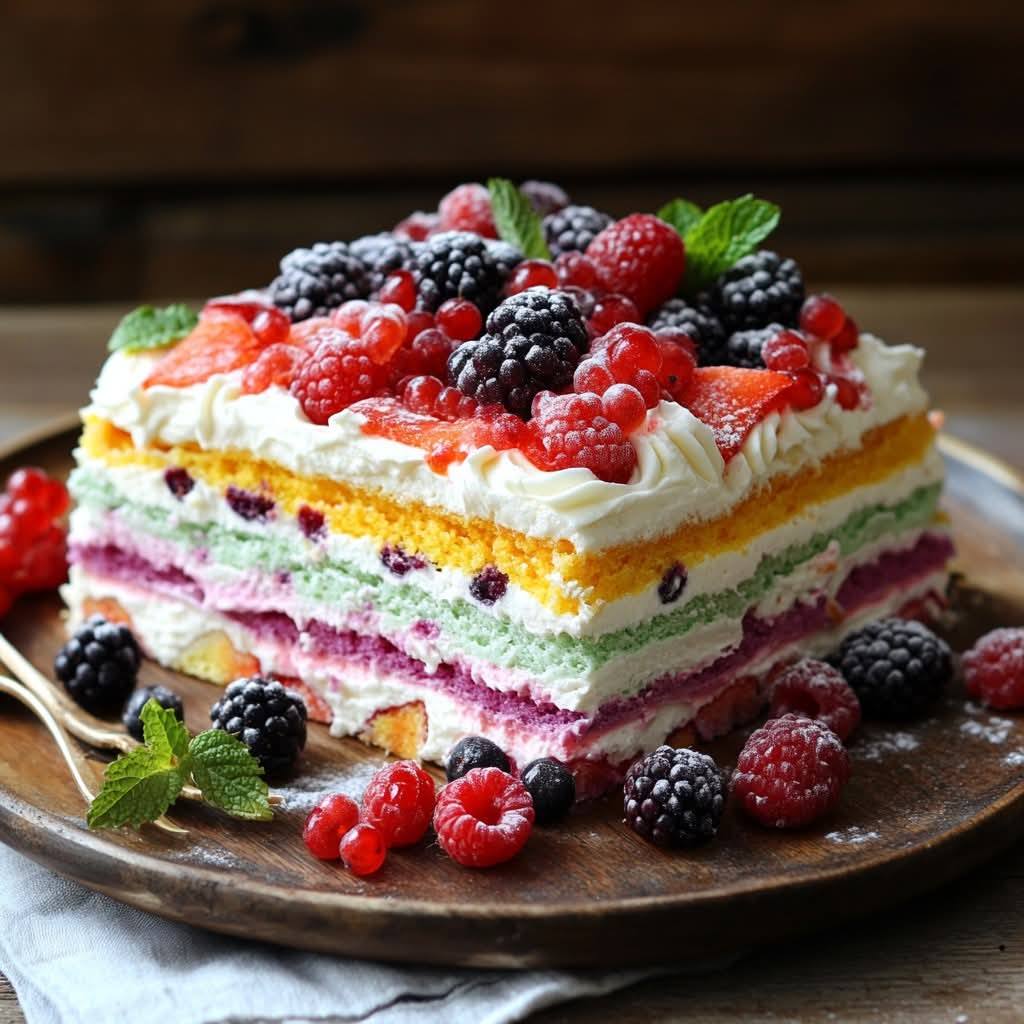
1. **Top with Extras**: Before serving, feel free to get creative with the topping. You can add a layer of whipped cream on top, sprinkle some **fun sprinkles**, or even add fresh **berries** for a fruity touch.
#### Step 6: Slice and Serve
1. **Serve**: Slice the icebox cake into squares or rectangles, and serve chilled. The cake will cut beautifully, and each bite will be a burst of creamy, colorful goodness.
### Tips for the Perfect No-Bake Rainbow Icebox Cake:
– **Use Fresh Graham Crackers**: Fresh graham crackers work best to avoid any crumbling when assembling. If they’re stale, they may break apart more easily.
– **Adjust the Colors**: Feel free to get creative with the colors! You can stick to traditional rainbow hues, or match the colors to your party theme (e.g., pink and purple for a girl’s night, red, white, and blue for the 4th of July, etc.).
– **Make it Your Own**: Add extra fillings like crushed cookies, mini chocolate chips, or chopped fruit between the layers for added texture and flavor.
– **Top with Whipped Cream**: For extra decadence, top your cake with a fluffy whipped cream topping. This will give your dessert an extra light and airy texture.
– **Plan Ahead**: This dessert gets better as it sits, so it’s perfect for making the night before a party. Just assemble it, refrigerate, and let the cake set overnight.
### Why No-Bake Rainbow Icebox Cake is Perfect for Any Occasion:
– **Parties & Celebrations**: The No-Bake Rainbow Icebox Cake is an eye-catching treat for birthdays, baby showers, or holiday gatherings. Its vibrant colors make it a fun, festive addition to any table.
– **Hot Weather**: When it’s too hot to turn on the oven, this dessert is a great way to still enjoy something sweet without heating up the house.
– **Easy and Stress-Free**: You don’t have to worry about baking skills or precision—just layer and chill! It’s the perfect dessert for anyone who wants something simple yet delicious.
– **Kid-Friendly**: The colorful layers and creamy texture make it a fun dessert for kids to enjoy. You can even involve them in the assembly process for a fun family activity.
### Final Thoughts:
The **No-Bake Rainbow Icebox Cake** is the perfect dessert for those who want a show-stopping treat that’s easy to prepare and full of flavor. With its light, creamy layers, graham cracker crunch, and vibrant colors, this cake is sure to be the star of any occasion. Plus, it’s totally customizable, so you can make it your own and impress your guests with minimal effort. Whether it’s for a special celebration or just a fun family treat, this dessert will leave everyone smiling—and asking for seconds!
